How We Choose Brand Partners. Is It All About the Free Stuff?

In a world where influencers can easily “get free stuff” from companies, we tend to be selective. There are many reasons for this, but two stand out. (1) We don’t need that much stuff as we continue to downsize. (2) We want to support companies whose products we believe in.

Long before we became “influencers,” we were just two people who traveled extensively! For a decade, we had been tent campers and international travelers who enjoyed hiking and backpacking. In 2017, we bought our first RV but had no intention of having a social media presence. We launched this blog in 2018 and started our YouTube channel in 2019. We had no idea what would come of our little Cruisin’ with the Colemans. It’s become more than we imagined, and we are thankful for that. We didn’t force it; it just continues to evolve.

At this point in our online journey, many companies have contacted us. We see that as a huge compliment—at least, we did until we remembered the impact of our decisions and what we chose to promote. Yes, we have made mistakes along the way. We have accepted free products and created a video or reel about them, only to later realize that wasn’t a wise choice. We are much more careful and selective now. I will never forget that awful drone we promoted for a short time. It wouldn’t harm anyone, but it was a terrible drone. 

There is a significant difference between free products and a brand partnership. However, let me clarify: we have decided that if we either can’t or won’t use an item, we don’t want the free products at all. People can expect quality reviews of the brands and products we support. We might review a single item from a company without it being a brand partner; it will always be a product we believe we can use.

For instance, the company “Airplane Pockets” sent us two free samples of their pockets. We tried them out, enjoyed them, and created a reel about them. Since we liked them so much, we added them to our Amazon Storefront under “Travel Gear.” We avoid receiving gear that we wouldn’t use. While these Airplane Pockets aren’t something we’d use if we were only traveling with a backpack, we love using them when traveling with a suitcase. This is a perfect example of a company we will collaborate with that isn’t a brand partner.

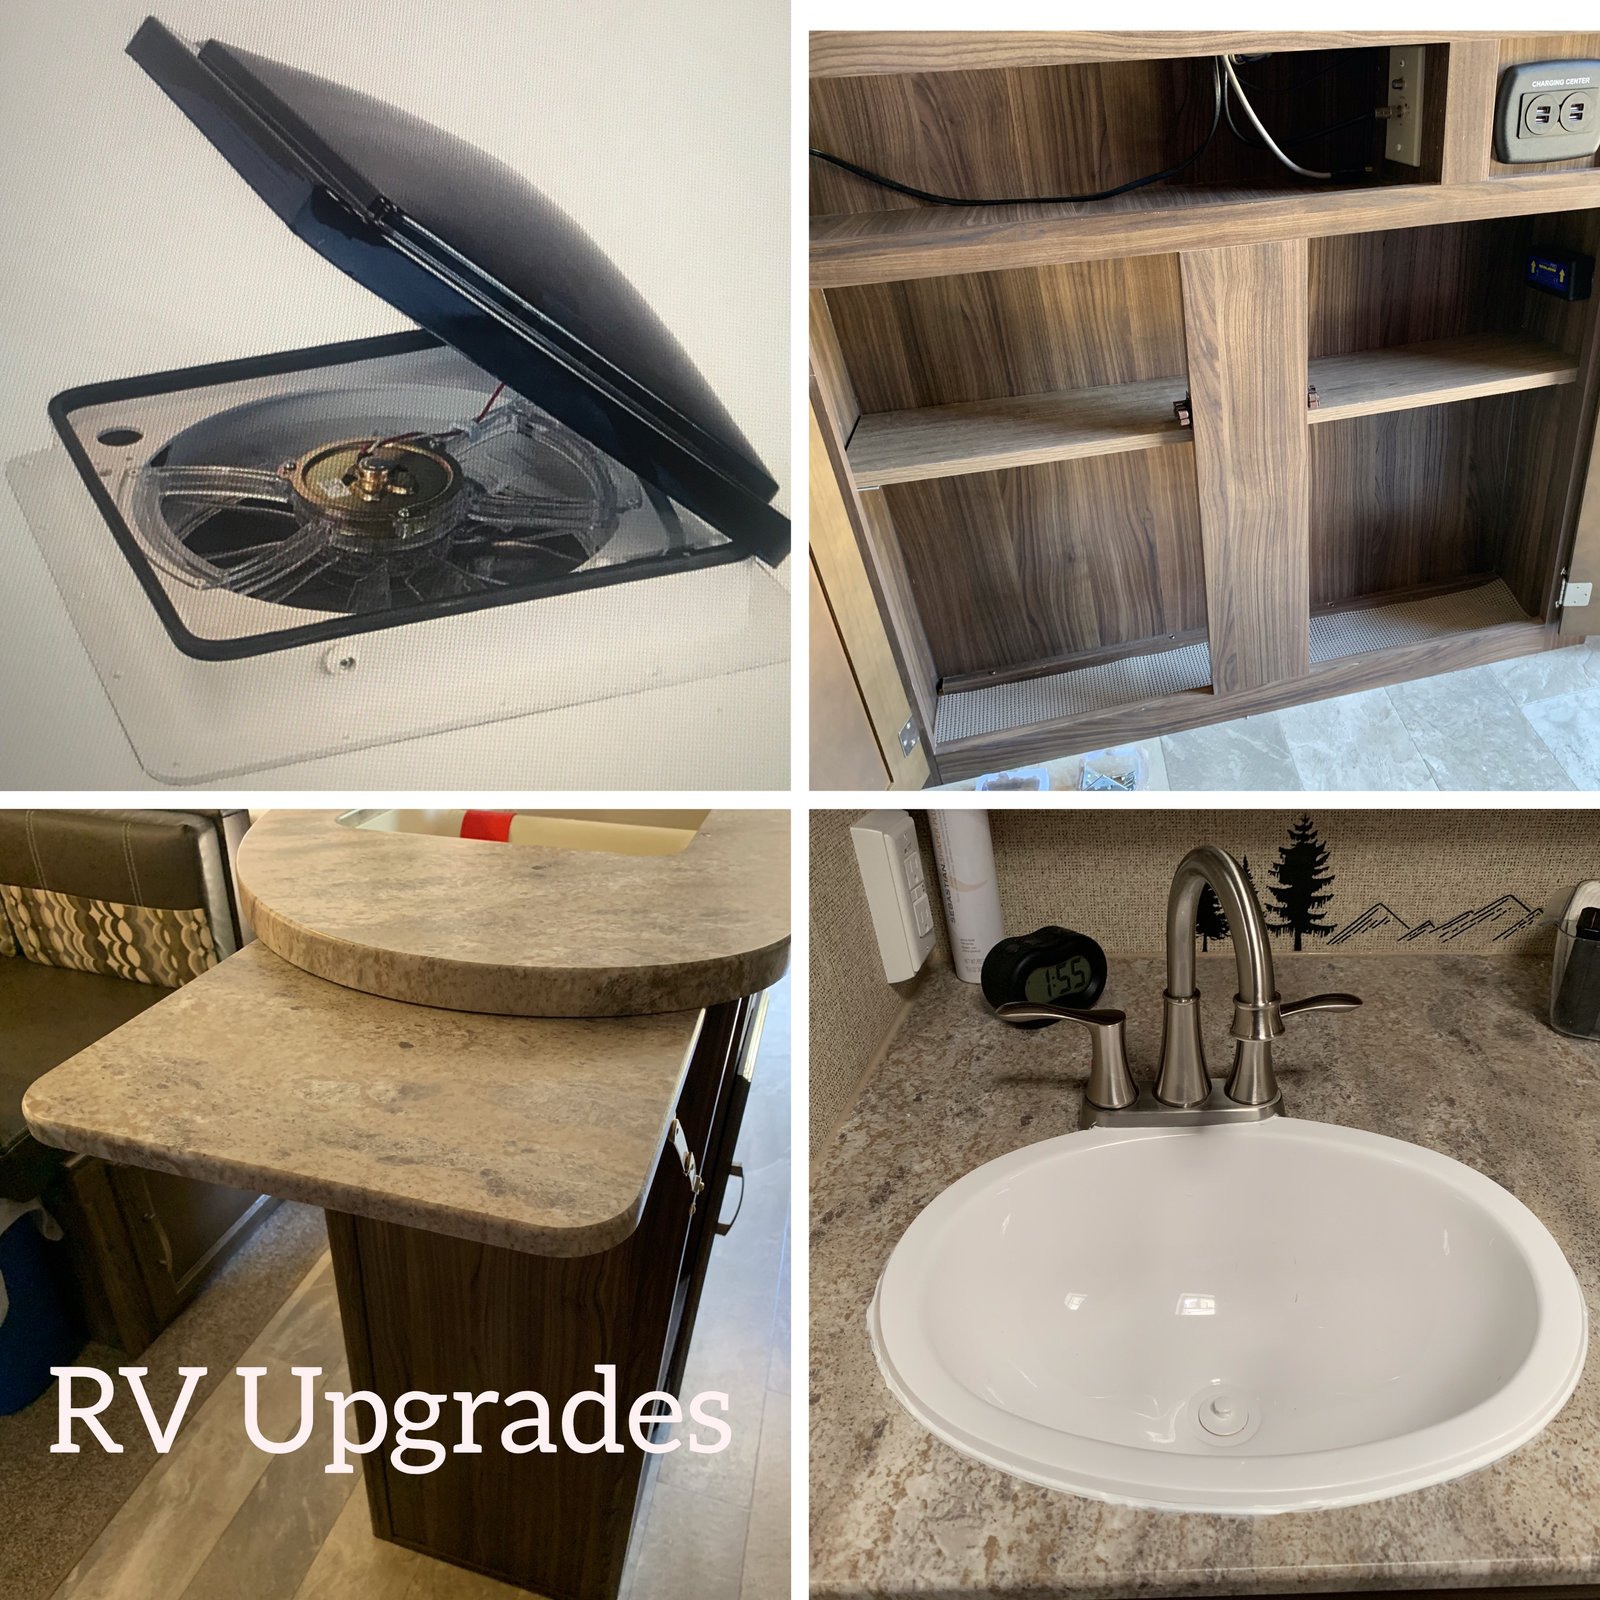
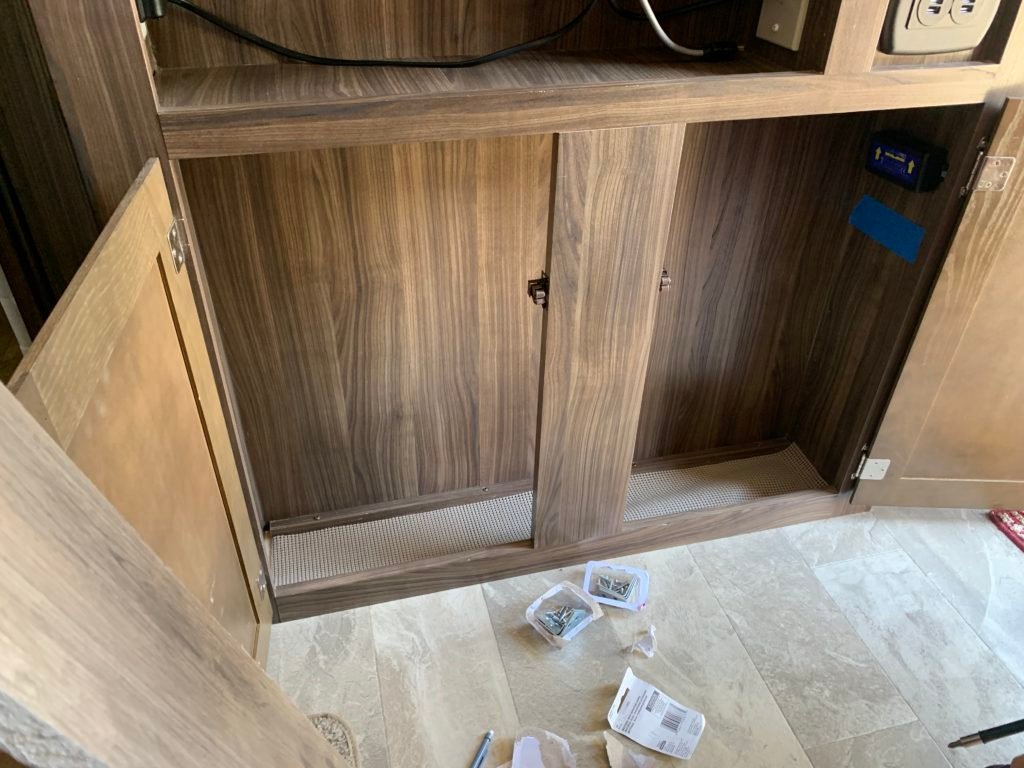
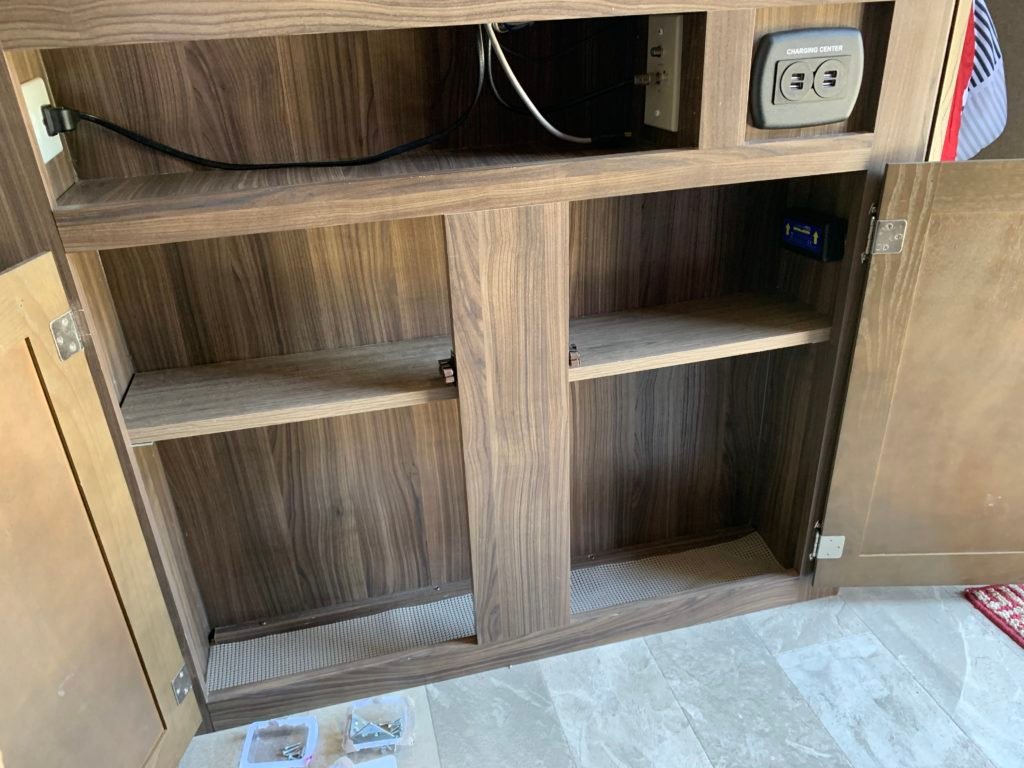
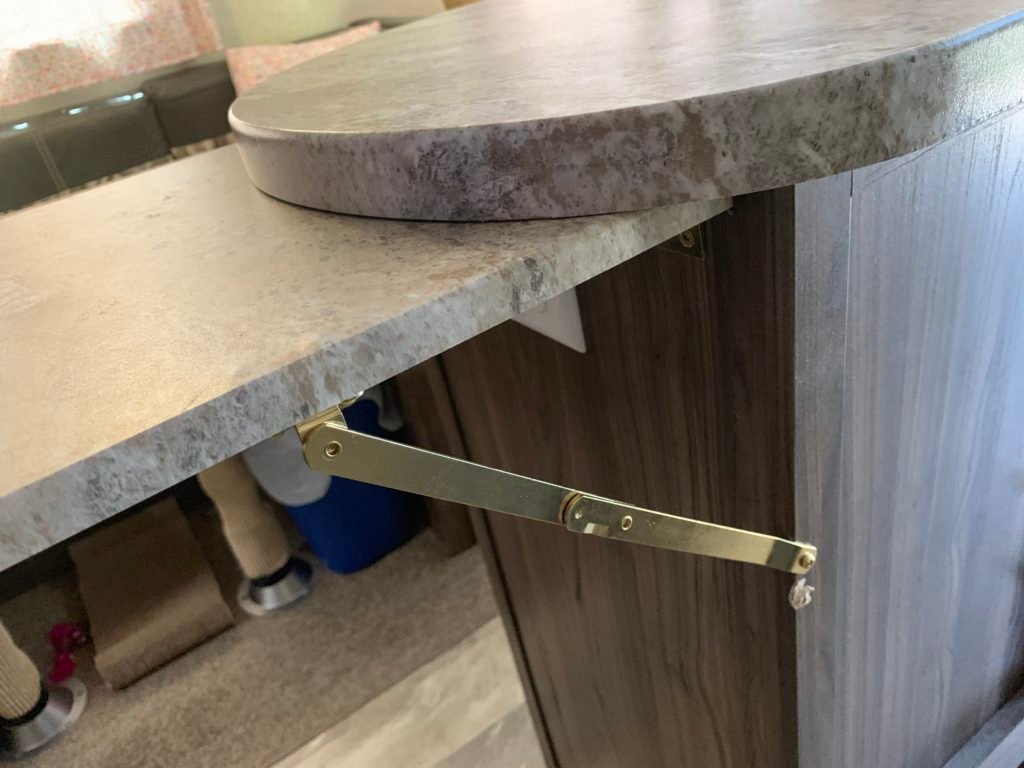
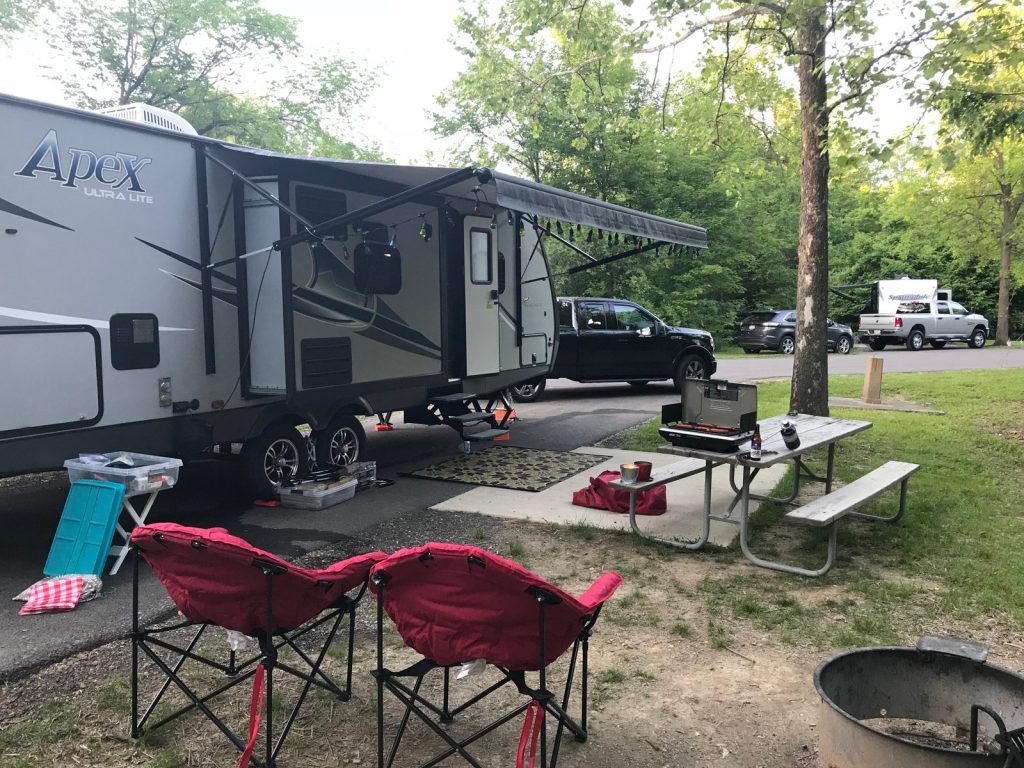
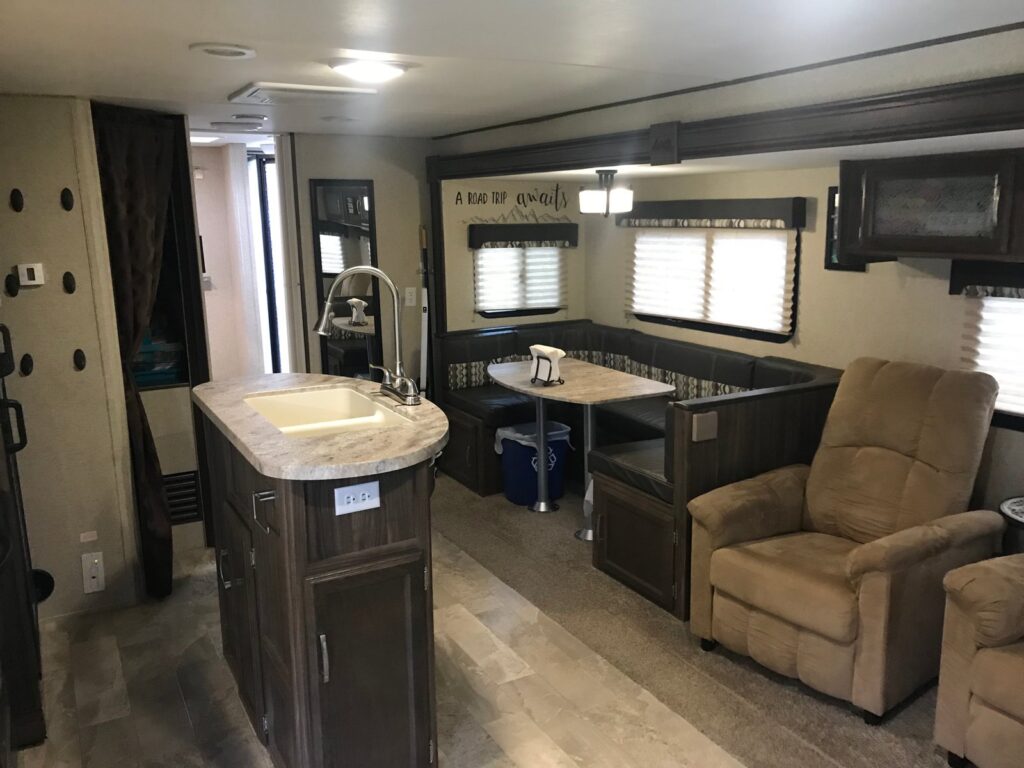
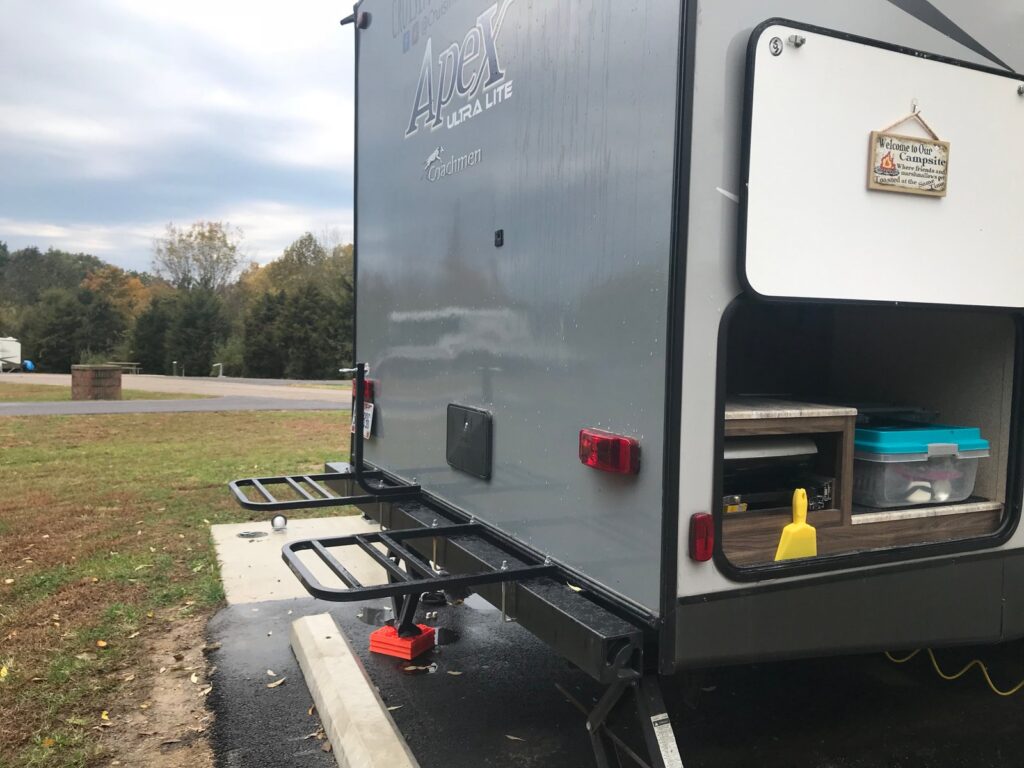
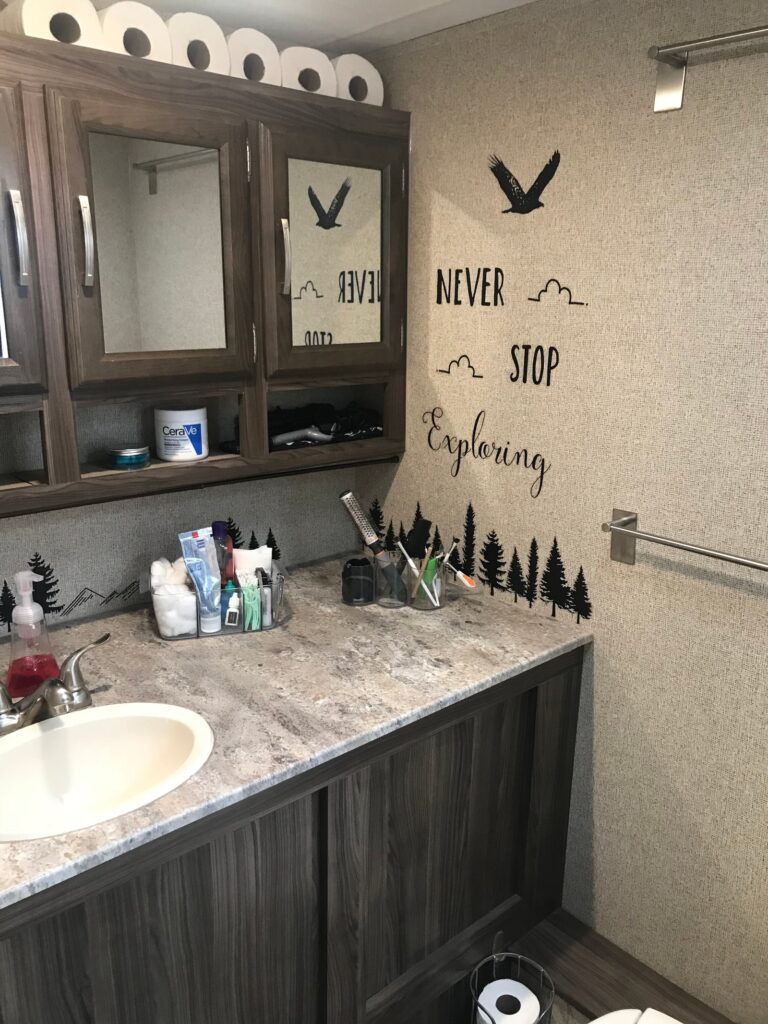
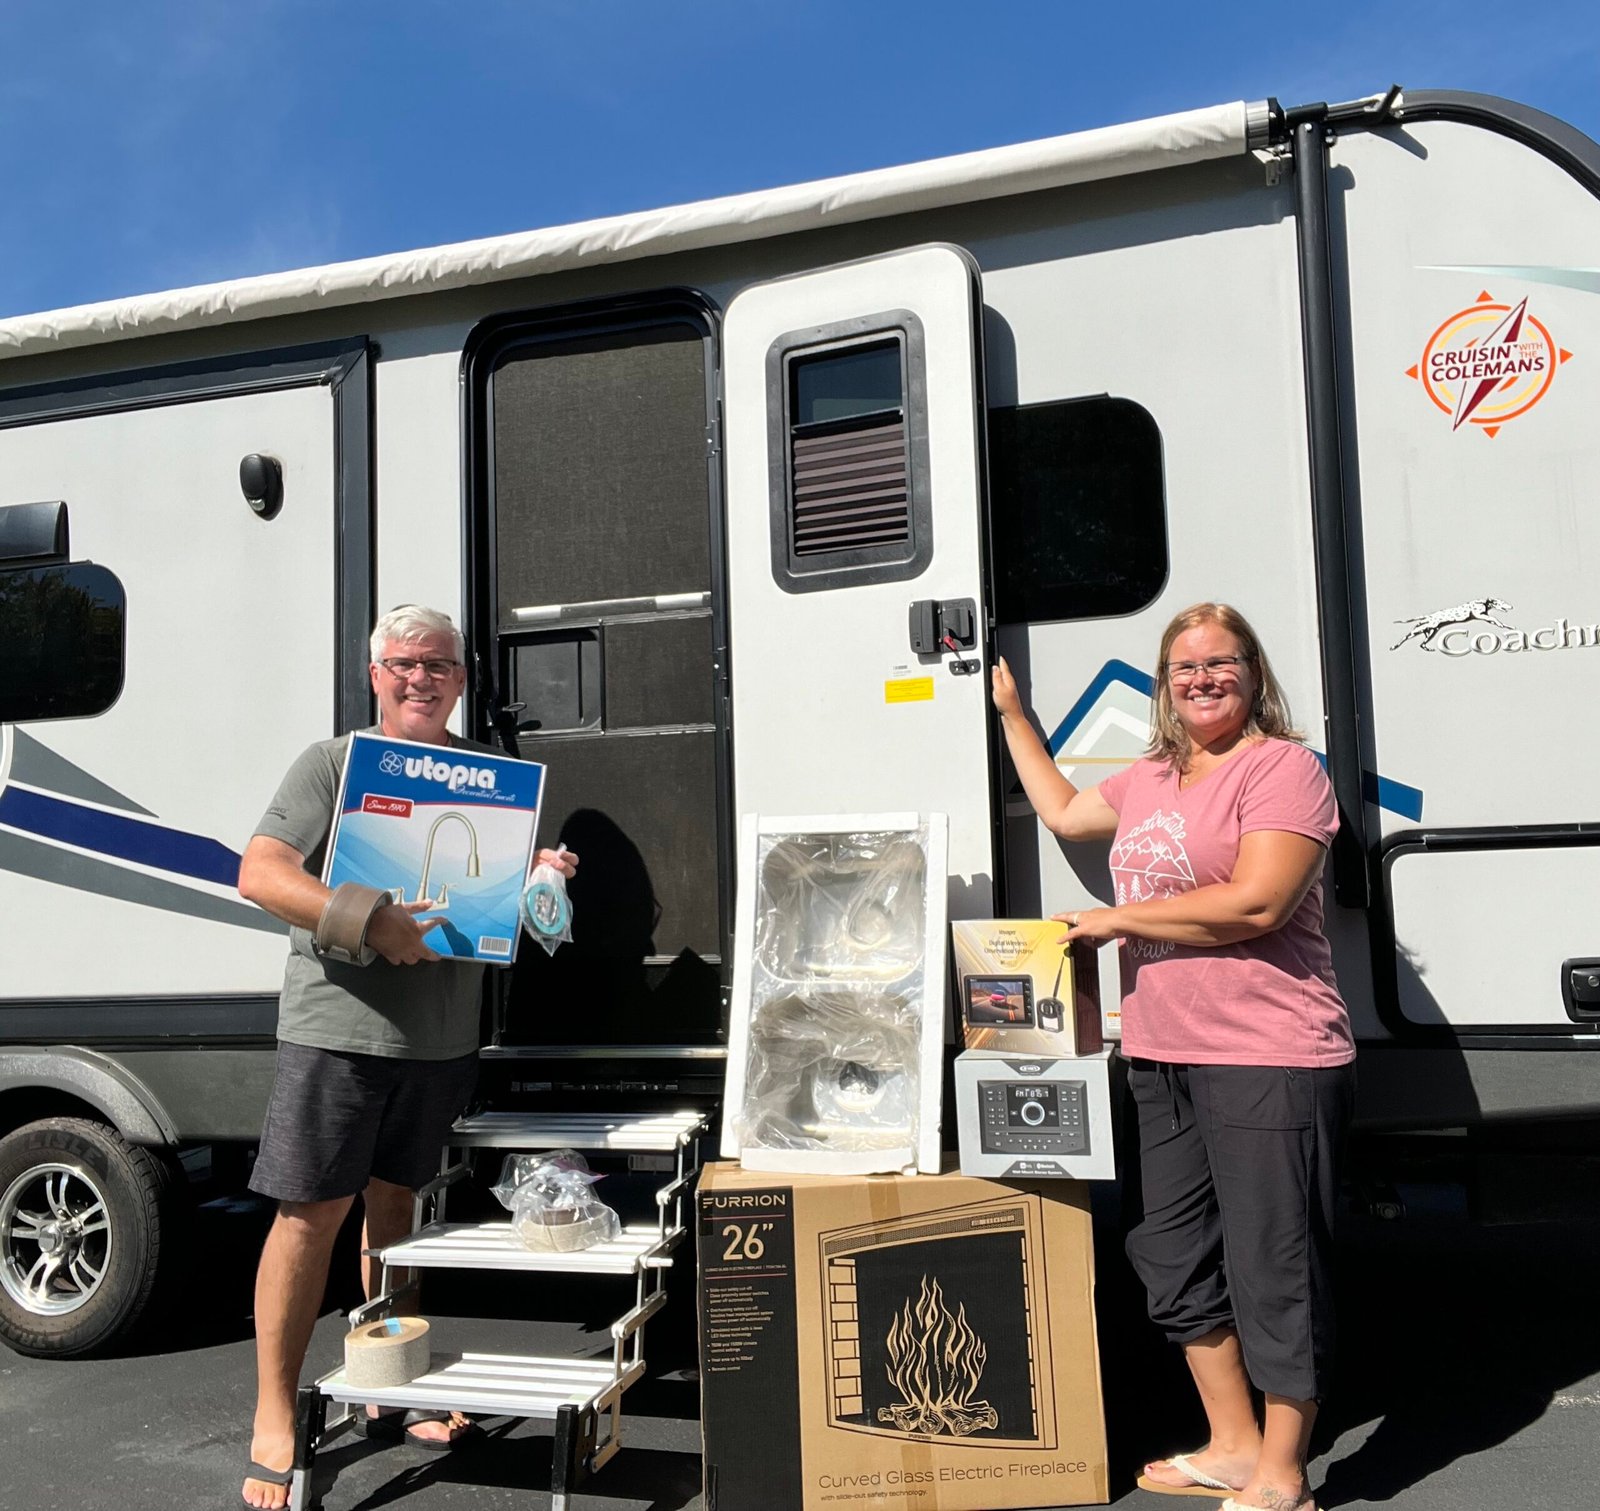
An example of a brand partner is RecPro—we LOVE their products for our RV. We had been purchasing from RecPro long before we connected with them as a brand partner. We began remodeling our RV within the first six months of owning it. From removing the jackknife sofa and installing a backup camera to upgrading our blinds, RecPro has everything we need for our renovations. They became a brand partner in 2023 when we reached out to them. What we appreciate about this partnership is that we already knew we loved their products.

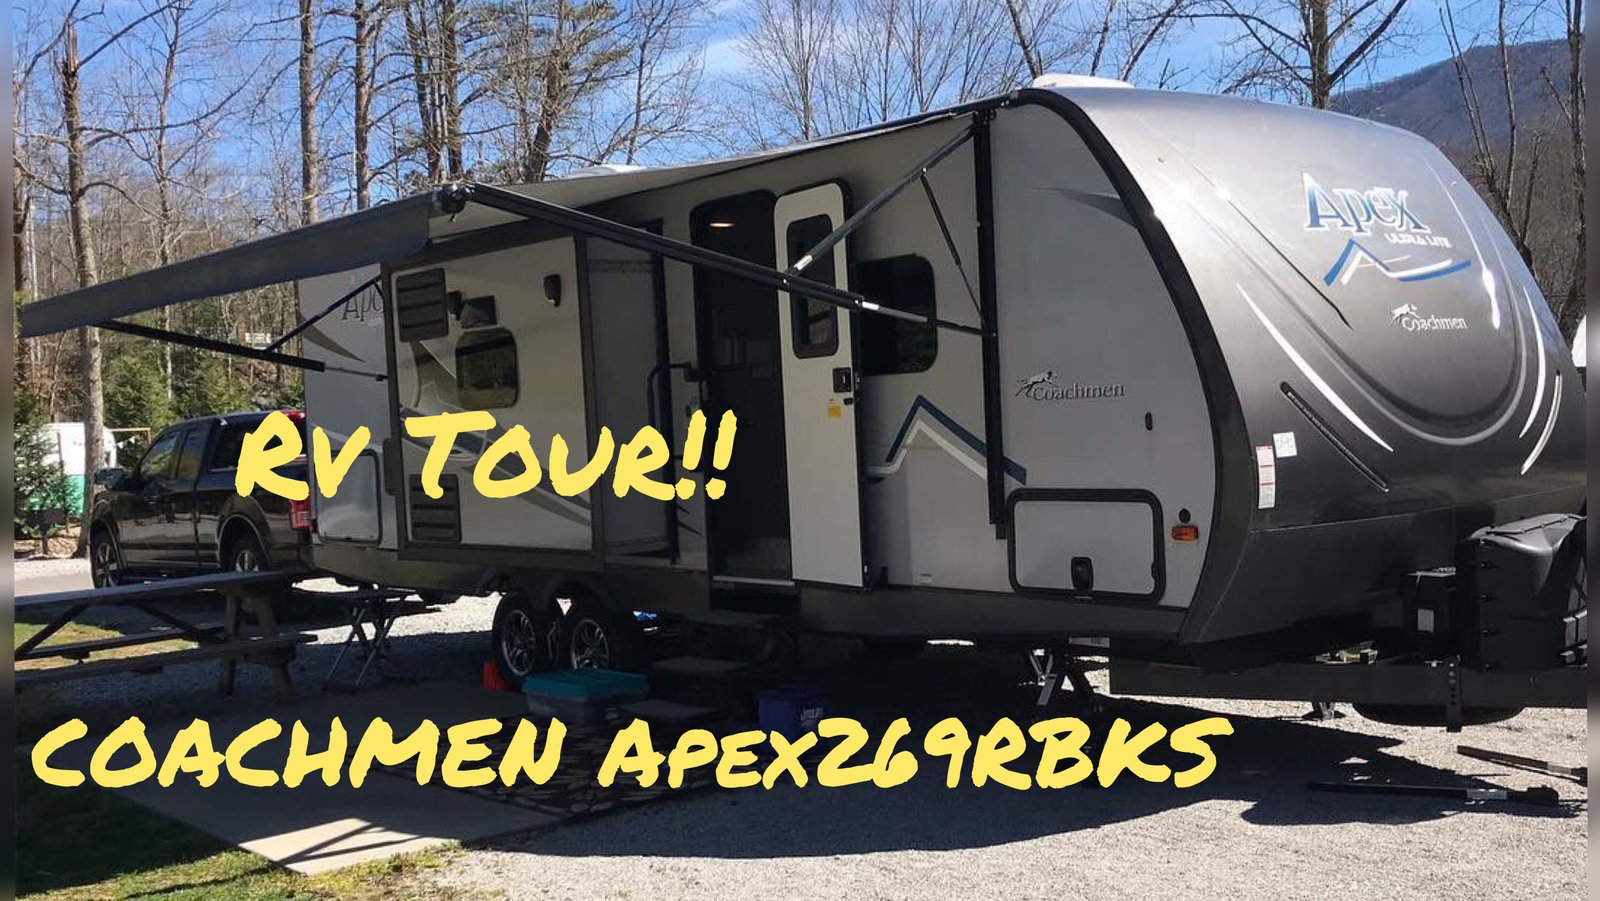
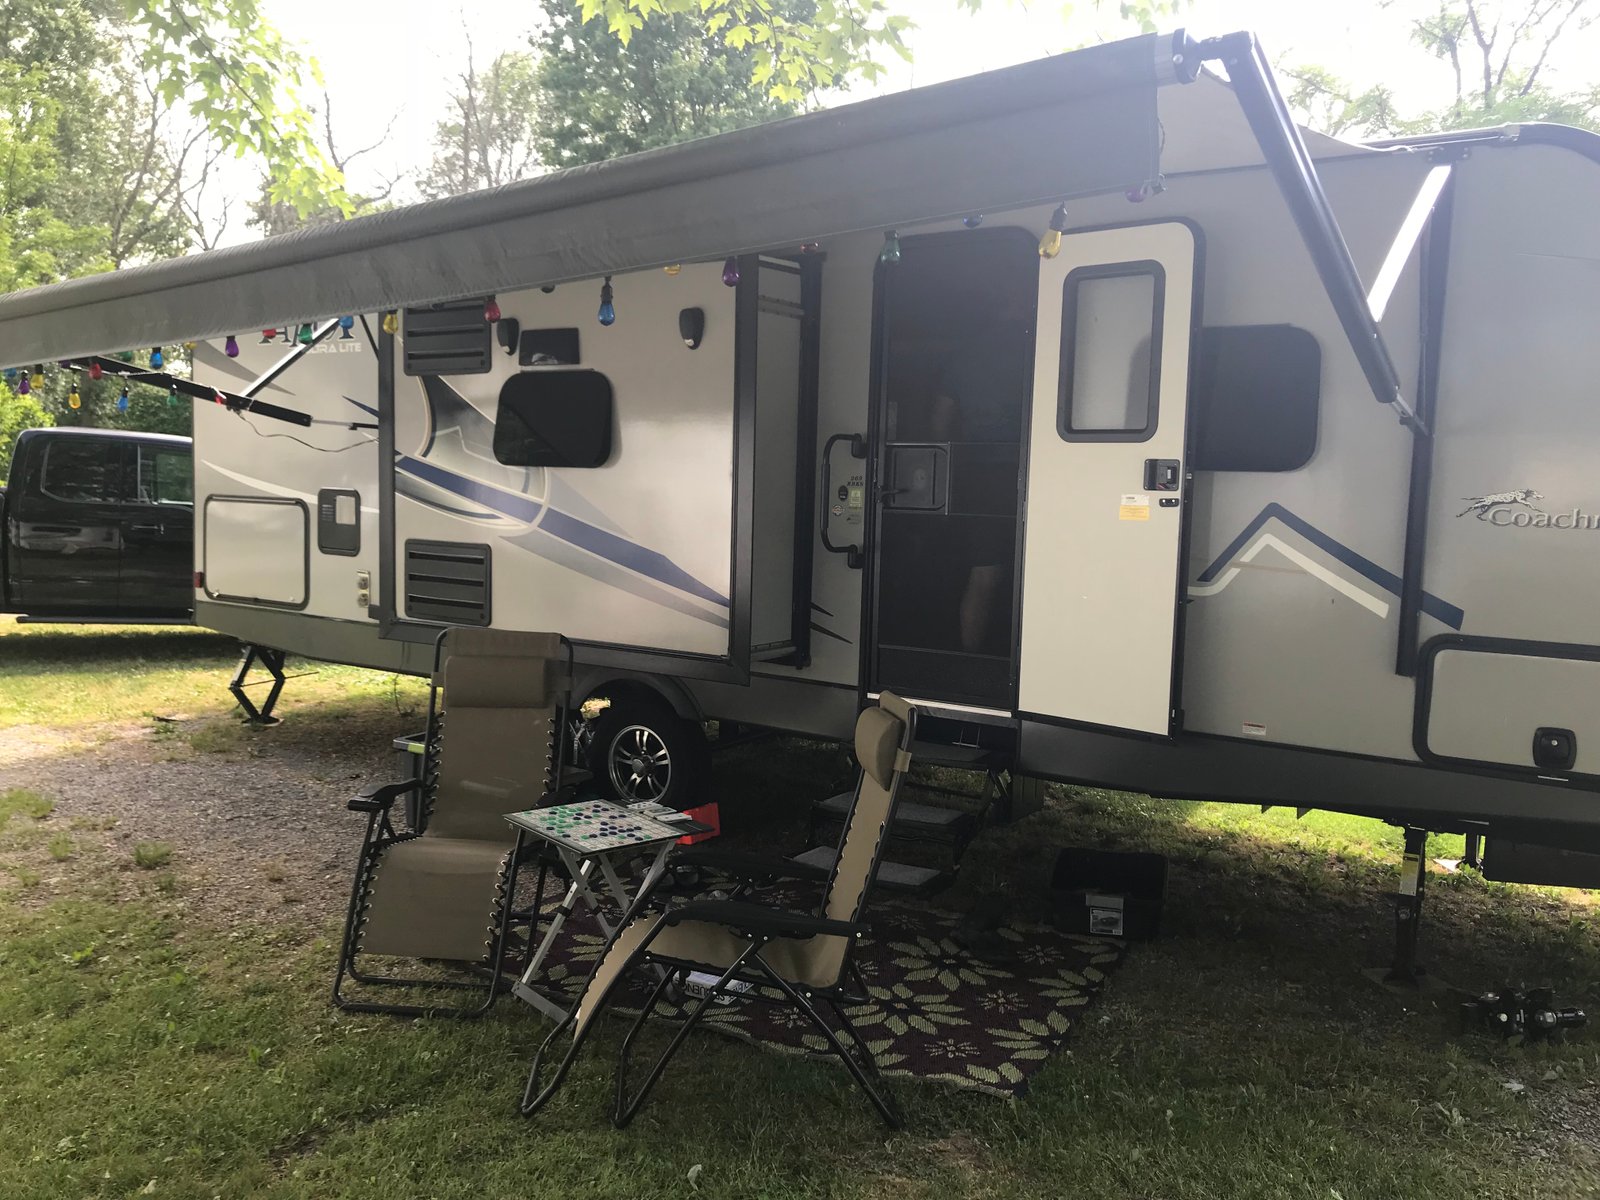
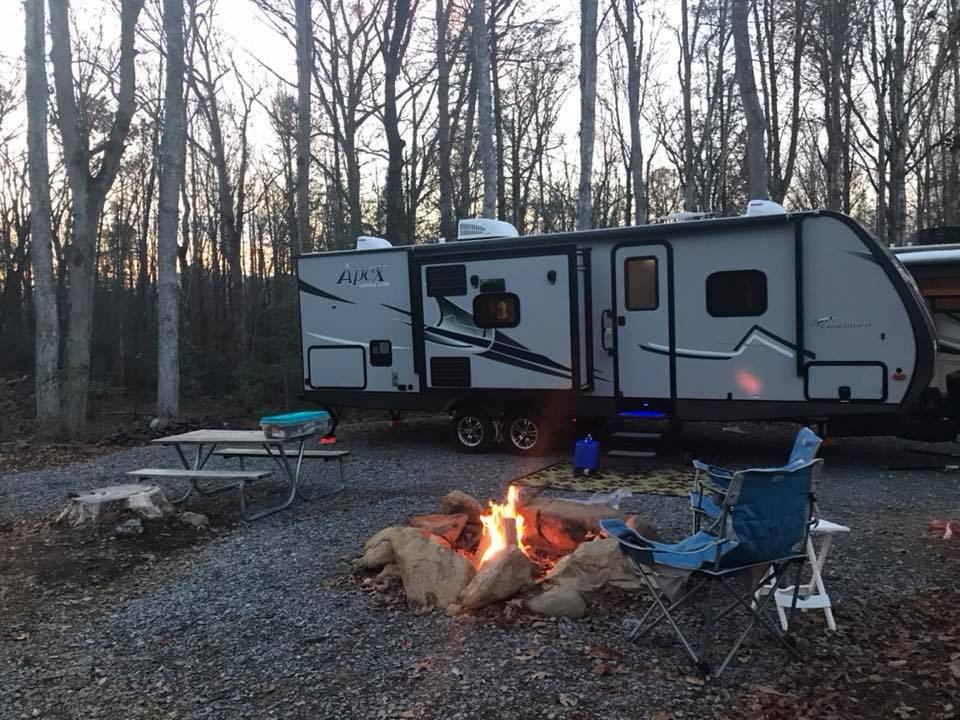
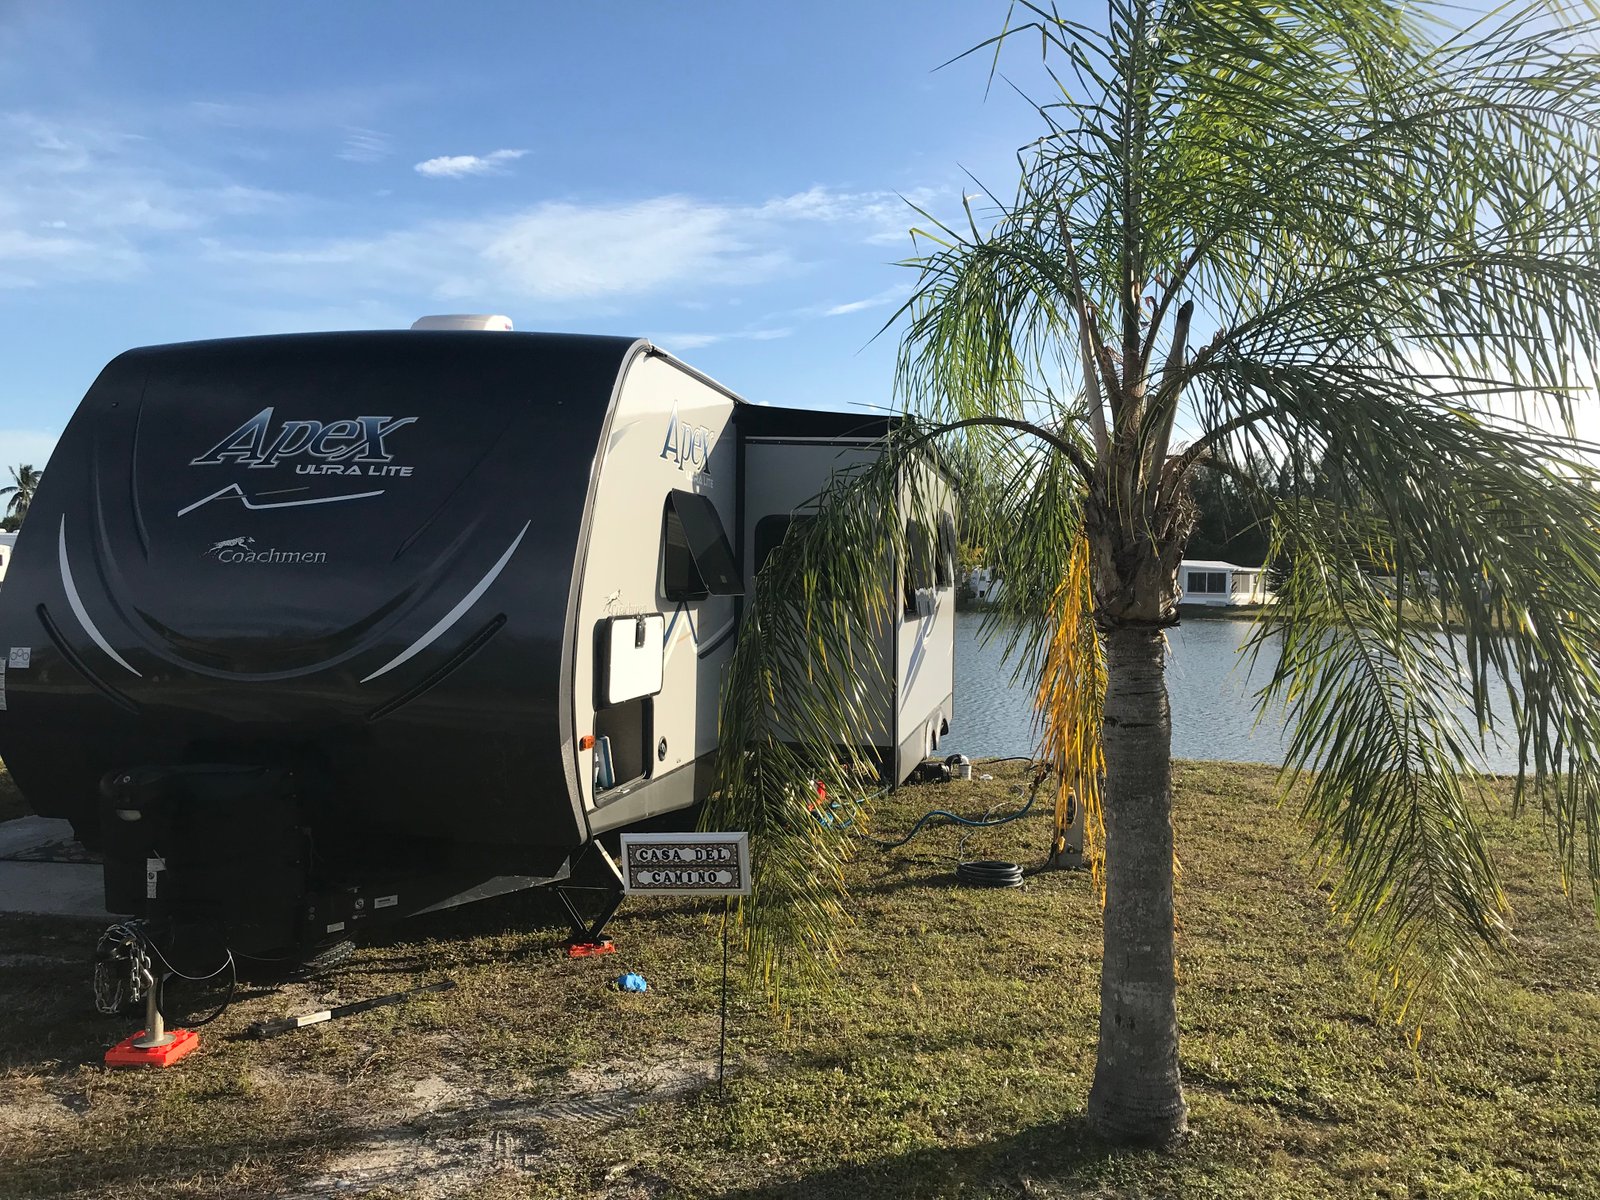
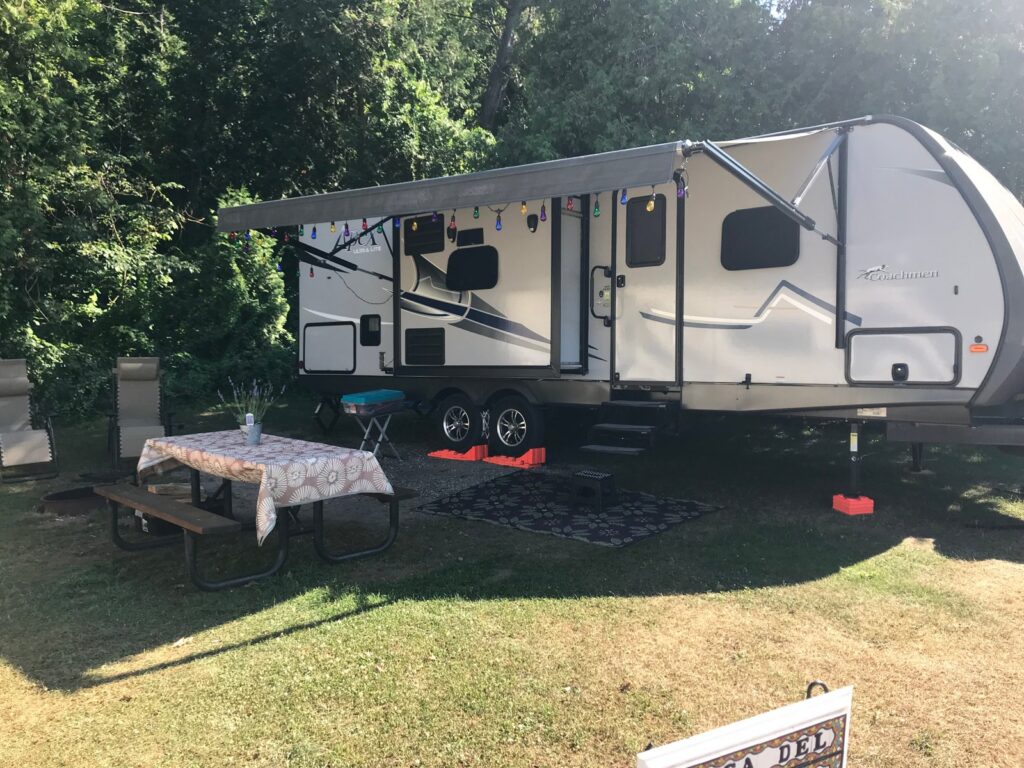
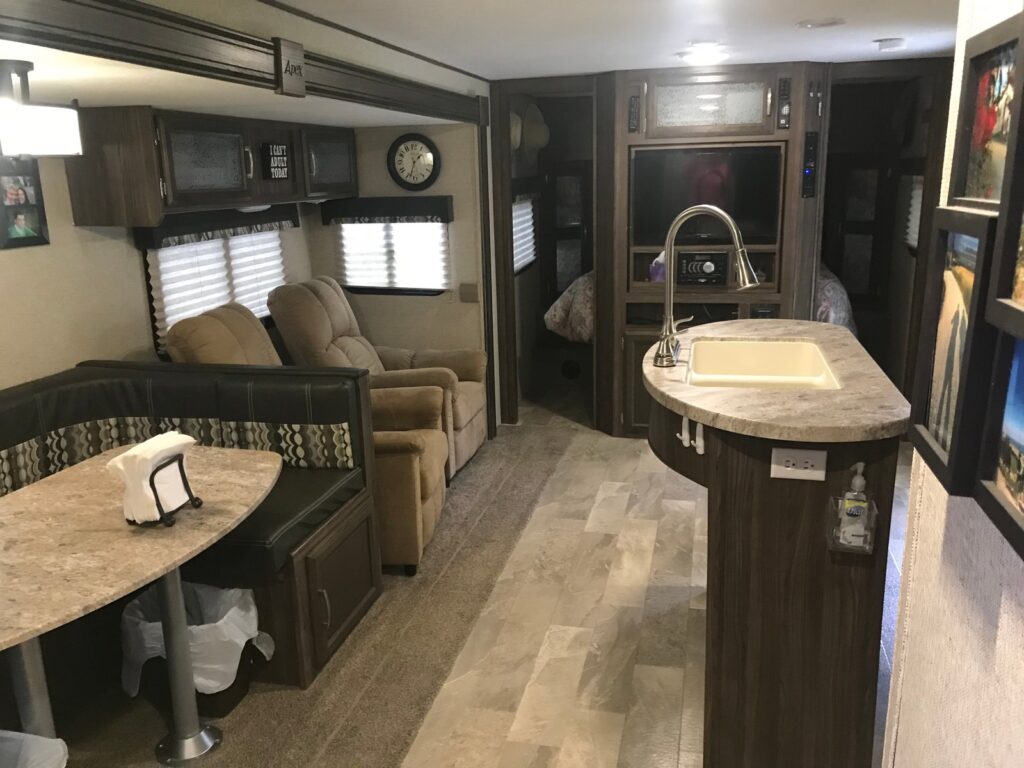
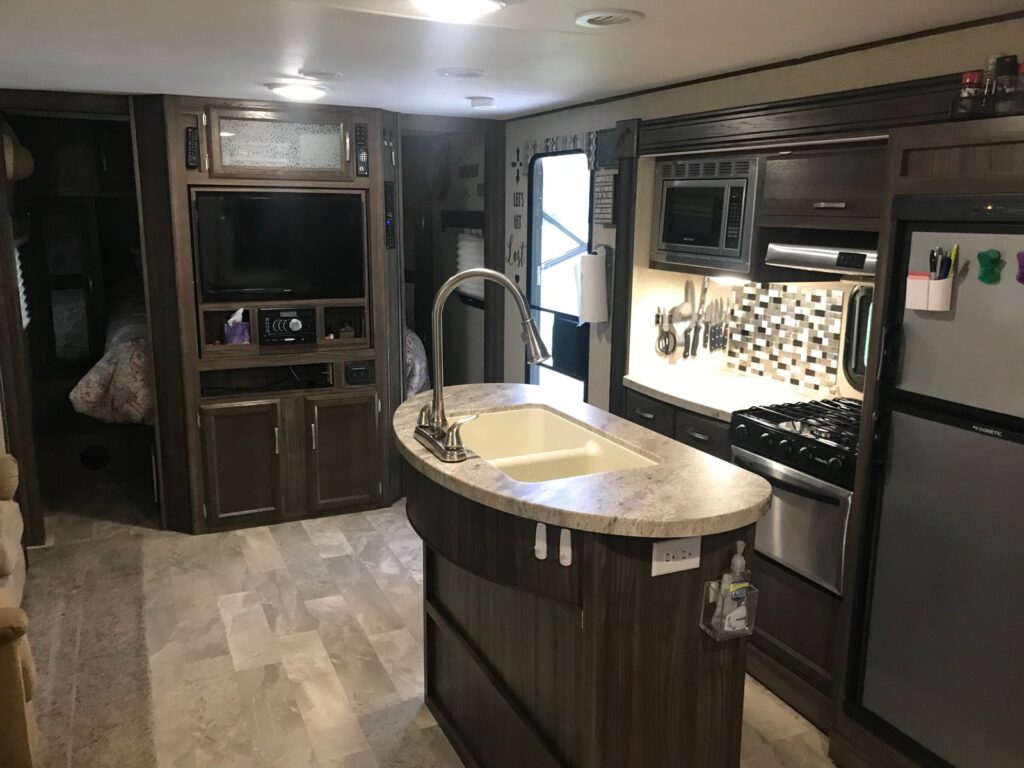
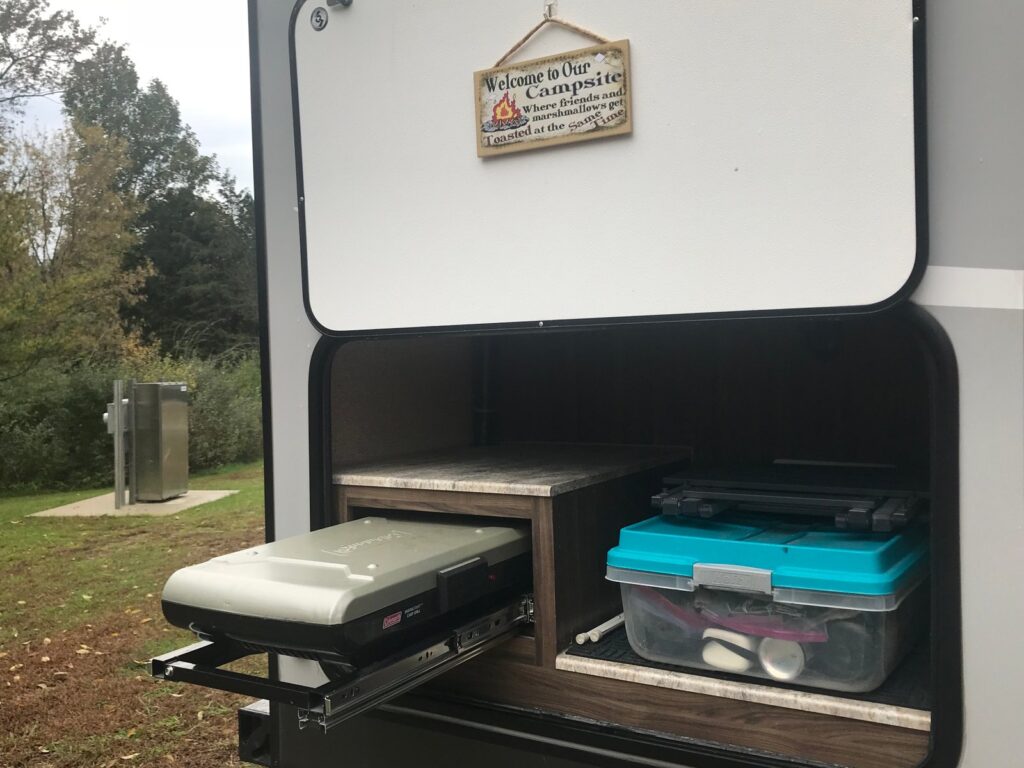
That’s the same reason we partnered with Coachmen Apex. We loved our rig even before we bought it. In fact, we purchased it sight unseen! We viewed similar models and many online tours, but we knew the Coachmen Apex 269RBKS was the right choice for us! We researched it while backpacking across Spain in 2017 and bought it within a week of returning home so we could explore and travel more 

It wasn’t until 2023 that we partnered with Coachmen, and we signed the contract on Christmas Day. It was the best Christmas gift we could receive because we love Apex. We adore our rig, but most importantly, we appreciate the people who work for Apex. What they admire about us is who we are – people who love to travel and embrace the way they travel. They don’t ask us to change. And thank goodness, because we have no intention of being anyone other than who we have always been.

Another example of a brand partner is a husband and wife duo who founded Rivet Supply Co. They create “adventure boards” designed for your RV. We instantly fell in love with their board when we first spotted it on Instagram. They qualify as a brand partner because we continue to work with them as their company grows.

Our channel will continue to focus on us, covering RV travel, international travel, hiking, backpacking, beaches, and everyday life. The products and brands we connect with will simply be part of the story we tell. Perhaps discussing Coachmen will inspire you to consider RV life, even if you choose another brand; we love that you are getting outdoors. If we feature the products we use when renovating our house or RV, we make them accessible to you so you feel it’s something you can tackle when you are renovating.

What’s in it for us? If we do a product review, it’s just free product(s) to evaluate. Every brand we collaborate with is a little different. Sometimes, we receive free product(s) and also have a discount code to share with you. Other times, we get a discount code for you while also receiving a percentage back. Those partnerships help Cruisin’ with the Colemans feel more worthwhile when we are tired from our day jobs but have blogs to write or videos to create.

Clear Source Water Filter is a brand partner and a product we’ve used for many years prior to partnering with them.

This is a labor of love—we enjoy sharing our adventures with you. We hope our grandchild(ren) will read about and watch our travels to learn more about who we were when we were younger. We certainly aren’t getting rich from being influencers, and that’s completely fine with us! But our travels now have another layer, and that’s pretty cool!

How do we generate revenue? A few brand partners provide a small percentage of compensation for items purchased, but it’s not substantial. We also earn a bit from our Amazon Storefront. When you buy products through our affiliate link, we receive a small commission. It doesn’t cost you more to use our link, but it helps us. Our accountant appreciates it when we earn some money because it shows the distinction between this being a hobby and a business.

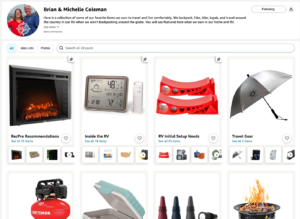
Our Amazon Storefront is filled with all the products we use and love!

If you watch our YouTube videos, we earn a small income. So please watch those ads—we appreciate it! Brian creates our videos, and I manage the blog and social media. These roles help us determine what needs to be done and who should do it. We like to call Cruisin’ with the Colemans our 5-9 job, meaning we work on it after our 9-5 jobs that pay the real bills. Haha! But, as I mentioned earlier, it gives our travels more purpose, and that’s a huge win! 

Thank you for reading this blog. If you have any questions about the products we use or the companies we partner with, please comment. We appreciate you following our adventures, and we hope they inspire you to take an adventure with us.

[contact-form][contact-field label=”Name” type=”name” required=”true” /][contact-field label=”Email” type=”email” required=”true” /][contact-field label=”Website” type=”url” /][contact-field label=”Message” type=”textarea” /][/contact-form]

RV Slideout Upgrade

Making modifications to our CC (the name of our travel trailer is Casa del Camino or CC) can take away from the adventure, relaxation, and wine time of RV living, however, the payoff is huge. The more we have modified CC, personalized her, the more we love her. I remember wanting to sell, upgrade, and go bigger, but really what we needed to do is make her our own rig.

I think it’s that way with anything you own, if you take care of it and make it your own, you love it more. My son and I lived in a townhouse that was very small for 19 years, 11 of them joined with my husband and stepson. It was crowded at times, especially when we had company over, but with creativity, it never felt too small and it certainly felt like home. The same goes with anything you own, you have to personalize it and learn how to make it work for you.

In this week’s video, we are tearing out the dinette, adding wallpaper, and upgrading our recliners. I didn’t know how important this upgrade was until it was done. I knew the space felt crowded but I didn’t know this modification would make that big of a difference.

Links to the products used in this modification:

The Dinette and the Carpet

We wanted to keep this dinette for two reasons: (1) We needed a table and (2) so we had an extra bed. Well, we sit at the picnic table outside a lot, especially with guests, and we don’t have overnight guests who need to sleep in our rig. We spend most of our time in CC either in our recliners or in bed. The benches of the dinette became storage areas and created clutter that drove us both crazy. Remember, we are pros at creativity in a small space, we just had to give ourselves permission to demo our rig.

We were concerned about the carpet and what was behind the wall, rightfully so. We have seen enough demo’s to know that we should be ok, but one can never be sure. The walls had screw holes from where the dinette was screwed to the wall, this is why wallpaper was necessary. But, thankfully, the floor was fine. I just took a wire brush to the floor to pull up the matted down parts and then vacuumed it really well. You cannot tell there was once a dinette there at all!

The Wallpaper

Picking out wallpaper wasn’t too much of a debate, we both wanted something that complimented the look we had already. We like the color scheme we have which is shades of brown with bright colors in our accent pieces. As we scrolled through Amazon, this wallpaper popped up. We weren’t sure because the name of it included “berry” but once it was on the walls it was perfect! The slideout has this warm, wood-grain, shiplap feeling with trinkets on the walls from our travels. All of our wall hangings are up with command strips.

The Recliners, Bench, Ottoman, Snack Table

If you have been following along for a bit you know that we are now on the 3rd set of furniture in CC. The rig came with a jackknife sofa, perfect if you have guests. We hated it because it was terribly uncomfortable. We found new recliners on Amazon, linked here, which we really liked but they weren’t comfortable enough and we didn’t want fabric recliners. However, we couldn’t justify spending the outrageous price RV stores wanted for Thomas Payner recliners. I searched on Facebook Marketplace for about a month when we found Bargain Furniture Barn. I think once we sell the previous recliners, we will only be out $100 on this part of the upgrade. Not bad!

We still needed storage space!

Though we didn’t use all of the bench storage in our dinette, we needed something. The 30″ bench that you see above between our chairs is perfect for grocery bags, our laptop bags, and miscellaneous items. The bonus: Brian removed the hinges and arms, moved them from the long side to the short side, now it opens up from what is the front for us. The table is perfect for beverages, stuff, and of course, it’s a cat hangout. The bench tucks right under it and because Brian moved the hinges to the back, it opens perfectly. Easy access and a ton of storage!

The white ottoman took a bit of searching as well because I wanted one that was the width of the table and tall enough for 2-liter bottles of soda. Most of the ottomans I found came in at 12″ and seemed to be too flimsy for our needs but this one is a whopping 18″ square. It fits 2-liter bottles of soda and wine bottles (wrapped in bubble wrap for travel) perfectly. I think I had 4 or 5 sodas and 4 bottles of wine with a bit of extra room. The ottoman also has a tabletop on the flip side of the lid and it came with a smaller ottoman which we don’t use. We can move this around for guests and can have a 3rd person at the table.

What You Don’t See – What We’re Repurposing

What you don’t see in our video is how we are repurposing parts of the dinette and we didn’t talk about it in the video because we didn’t know at the time what we were doing. The cushions from the bench were used to re-cushion the IKEA chairs and we re-covered them with fabric from leftover from the curtains. The chairs are so comfortable you can play games for hours!

The doors from the dinette are going to be used under the bed. We have a very thick queen size mattress on our bed and it’s too heavy to lift up even with the upgraded lift arms we installed. Therefore, Brian is working on figuring out how to install the doors and then we will have under the bed storage bins that we can roll out. This will probably be where we store our hiking and biking gear, maybe…

The dinette table itself will be used for a stovetop cover. Brian is going to have to get creative here, but I know he is up for the task. Stay tuned to our YouTube channel for a video on that once it’s complete.

The Final Look

This modification took a small space with impractical storage for us and created an ideal living space. When you live small you, of course, have to downsize your stuff but the things you use regularly must be practical, comfortable, and provide easy access to your storage. It took us a bit but (I think) we have created that space that is perfect for us.

Have questions? Need help with your upgrades? Have better ideas? Share, ask, comment below. We love to hear from you. Follow our journey on social media if you want to see where we are this week.

Until next time…

Just a Few More RV Upgrades

This is my absolute favorite blog subject! I love when we are able to tool around the rig, personalize it, and make upgrades. Honestly, I love anytime we can be in the rig during the school year but blogging about it is a huge bonus. For this blog, I am going to talk about upgrades we did in the bathroom, the kitchen island, and under the TV storage.

We created an RV tour video on our YouTube channel and I blogged about our upgrades in April 2019. You can find the blog by clicking here. But let’s talk about what we have done since April. The links are also at the end of this blog.

Easy Upgrade: Adding a Shelf = New Liquor Cabinet

This may not seem like much but who needs a shelf that is this tall? And why in the world wasn’t there a shelf? I could ponder those questions or we can fix the problem. We found the wood at Lowe’s and were thrilled when it matched so well (when does that happen?). Brian installed the shelf using L brackets on the sides and on the front middle. The L brackets are in the framing so it’s not going anywhere. This is going to be our liquor/soda cabinet on the bottom shelf and camera equipment on the top shelf. To protect the bottles when moving we have invested in bottle wraps as seen below.

Creative Way to Add Countertop Space

Every rig comes with counter covers for the sink. We never used them. I tried but they were always in my way when I needed in the sink. I have tried using one side but not the other, still didn’t work. The photos don’t show it but I use a roll-up sink draining board and it’s perfect for resting things while we are cooking and for dishes as they dry.

Since counter space is at a premium, we had to get creative. It took some time to make this commitment because it is relatively permanent but we decided to use the sink covers as collapsable pull-down counters. They are screwed into the island with a collapsible arm bracket. Result: They are absolutely amazing!!

Upgrading the Bathroom Sink & Faucet

Excuse the clutter in my photos, stuff was everywhere that weekend for some reason. Regardless, the bathroom sink was a hot mess before this upgrade! Water would go everywhere when I washed my face or brushed my teeth. The faucet was too far back to get your hands underneath. This took a bit of creativity to ensure we could use the existing water lines. Fortunately, Brian found flexible connection lines at Lowe’s. Underneath our bathroom sink is the outdoor kitchen, so access to the water lines was not an issue. He used the same faucet holes and that did mean it is a bit off-center, though not obvious enough for us to care and the faucet head swivels. Using his Dremel, Brian cut the hole for the new sink to be a bit larger and he cut a notch out the sink so it is flush with the faucet. The entire project took him less than 2 hours (as seen on the clock in the photos). Below are links to the sink and faucet and a close-up of the new sink and faucet installed.

Finally, a sink that is perfect for washing your face and brushing your teeth

Ventilation Magic: Upgrading the Bathroom Fan

I have heard about them, I have dreamt about them, and now we own one! Haha, the Fan-tastic Vent fan seems to be a staple for many RV’s. I didn’t know what a difference they made until we upgraded.

YES! This fan is amazing and super easy to install (so Brian tells me). We ordered the Fan-tastic Vent 2250 with a reverse thermostat. This is not the one with a remote or rain sensor but it will pull air in or out of the rig depending on your preference. I cannot believe how quiet this fan is; it has a lot of power and we have only used it on the low speed so far.

This project took about 2 hours. It made a huge mess with pieces of styrofoam insulation everywhere. We also needed to put more shims in between the styrofoam and the roof to hold the new screws in place. It is terrifying to see how little is holding up your roof, but that’s another subject, let’s just say it’s a few boards, some styrofoam, and a lot of air.

We were both surprised at how the original vent fan cover was brittle and shattered into pieces when Brian took out the fan (see pictures above). We had a Max-air cover over our vent so there was no damage to our rig, but besides UV rays there is no reason the cover should have been broken.

Speaking of covers, the Fan-tastic Vent needs a special vent cover, see the links below. We thought our Max-air cover would work but it’s too small. Next time we go out we will be installing the new vent cover that is shown below which is a very easy install. Besides wire cutters, wire nuts, and shims, all you need to make this upgrade happen is a couple of hours and what is shown below.

As I mentioned at the start of this blog, we have done a lot more RV upgrades, you can see that blog by clicking here. We also have an RV Tour (created before these upgrades) on our YouTube channel linked below.

What have you done to make your rig your own? Tell us about your upgrades or personalize tips – we love to hear them!

Until next time…

Coachman Apex RV Tour

Hacks, Upgrades, and Links to Fancy Up Your Rig

You know when you are excited about something and you feel like you have to tell everyone because they need to know too? This is how I feel about our Apex and all of the things we have done to personalize it, upgrade it, and just make the best possible use of our small space. I love seeing what other people have done to their RV because it inspires us. That’s the goal of this blog post, to inspire you and give you ideas to personalize your rig.

We purchased almost everything I am referencing in this post on Amazon. We love using Amazon because it can be shipped anywhere, and with Amazon Prime, it can usually be delivered in just a day or two. You may or may not know, but Cruisin’ with the Colemans is a new venture for us (we started in June 2018), and we are hoping that travel blogging will become our full-time gig in the future. Therefore, we are starting to figure out how to make money and one way we can do that is Amazon Affiliate links. This means if you buy any of the products we suggest then we get a small percentage of your purchase when you use our link. There is no extra cost to you. We can make two promises when we share products with you – (1) We will never share products that we haven’t used. (2) We won’t share products if we don’t think they are amazing!

On to the good stuff – our video! Here is a link to the RV tour on YouTube.

Outside of the Rig

On the outside of the rig, we haven’t done too much. Brian told you about what we have done to add stability to our rig, which included using x-chocks and added 2 additional stabilizer jacks. He also gave you his favorite outdoor hack and upgrade. Lightweight rigs are great because they don’t use as much fuel and you can tow it with a smaller truck. We tow our rig with a Ford F-150. Our F150 has a 12,000 towing capacity. One of the drawbacks can be stability inside of the rig when you have a lot of people walking/jumping around.

Necessary: X-Chocks

If you have duel axel tires, you will like the x-chocks. They keep your rig from moving. Bonus: It’s harder to steal your rig with x-chocks between your tires!

Upgrade: Stabilizer Jacks

These are so much better than what came with the rig! I can’t wait until we upgrade all of our stabilizer jacks.

Brian’s Favorite Hack: Command Cord Bundlers

As you saw in the video, these are great for storing items on the sides of the walls in your pass-through.

Upgrade: Bumper Bike Rack

We weren’t sure about adding this weight to the back bumper, we have heard that you shouldn’t put anything on the back bumper. However, this bike rack is very lightweight, coming in at only 21 pounds. We carry 2 bikes on the rack and have not any problems.

Upgrade: Slim Shade RV Window

If you have not heard about the slim shade, you are missing out. We heard about it in our Apex Facebook group and it took less than an hour to install. It makes your RV window a useable window while providing shade at night.

Hack: Cat Doors

Brian showed you how we converted the outdoor kitchen into the cat litter box space and storage area. This the cat door we used. I am sure an outdoor kitchen is great for many people, but this was the best decision we could have made to ensure cat litter isn’t all over the inside of our rig.

Inside the Rig

Time to move inside the rig! There are so many things we have done, I am sure something will be missed in this blog post. No fears though – just leave a comment and we’ll help find whatever we leave out. I listed my favorite hack as the IKEA baskets; however, it is so hard to pick just one favorite. Everything we have done, inside and outside, has made both our lives easier, made time in the rig more enjoyable, and has creates less clutter overall because everything has its place. Let’s start with comfort!

Upgrade: Dorel Living Slim Recliners

The couch that came with our rig was so uncomfortable! If you are active, like we are, you need a comfortable chair to come back to and put your feet up. Yes, we lost a hide-a-bed; however, we still have the dining table that can convert to a bed and we have no plans of having that many people sleeping in our rig. Haha These recliners are so comfortable, they come broken down so they are easy to get in the rig, and they fully recline.

Hack: Collapsible Drink Holders

My dad is a truck driver and I remember these cup holders from when I was little riding with him in his semi. Putting together the right keywords to find them on Amazon was the hardest part. This is something so small, yet so helpful when you need a place to put your drink while you relax in your recliner.

Hack: Acu-rite Weather Station

A hack? An upgrade? A necessity? I don’t know what to call it but we love this weather station. We actually bought 3 different ones before we settled on this version. The first was too small, the second needed to be plugged in if it was going to work, but this one was just right. 🙂 Another reason I love Amazon, easy returns!

Necessary: Rosewill Electric Oscillating Tower Heater Fan with Thermostat/Portable Ceramic Space Heater with Remote Control

This is called a heater fan; however, in the summer it works as a cooling fan. All you need to do it set the temperature at whatever you want the rig to be set at and it will either warm up the room or blow cooling air. It helps us use less propane in the winter and keeps the air moving in the summer.

Hack: Mounted Spice Rack

As you learned in the video, I am not the cook in the family. Brian not only cooks but enjoys being creative in the kitchen. If you have tried any of his recipes from his “Recipe of the Month” blog posts, you know how good his food can be! What Brian tells me, is when you’re cooking it’s important to have a few basic things close by, like oil, salt, pepper, etc. We found this spice rack on Amazon and then Brian cut a piece of pipe insulation which just sits behind the spices to keep them from moving when we’re going down the road. Brillant, I tell you!

Hack: Flexible Cutting Board for Freezer

This wasn’t our idea at all, we saw this idea in other RV Tour videos and it works great to collect the build-up of ice in your freezer. We bought this flexible cutting board and then cut it down to fit our freezer. I mentioned in the video that we hadn’t determined if it worked yet and I am happy to report that it works beautifully! No more puddles of water or scraping the back of the freezer! All we do is pull out the cutting board, shake it off outside or in the sink, and put it back. Voila!

Michelle’s Favorite Hack: IKEA Rimforsa Baskets

Installing the boards on the wall and then hanging these baskets was so brilliant. We tried using command hooks and hanging baskets with them but it was pulling off the wallpaper. This hack works perfectly and now we can store fresh fruit and veggies, bread, and stuff that you would have in your “junk” drawer. One thing I mentioned in the video was that I store the baskets on the dining table bench while we drive but I didn’t mention that I put non-adhesive gripping shelf liner on the bench first and then set the baskets down and they don’t go anywhere. I use that liner on all of my shelves. It works great!

Hack: Pantry Door Organizer

Oooohhhh my pantry! Didn’t you love it? It’s big and there is plenty of room for everything I need to store. We have the laundry basket, various cleaning rags, kitchen towels, and of course food and snacks. It was tough to find a door organizer that was narrow enough for our RV pantry door but Amazon came through again! Brian drilled this into the top and the bottom of the door where it’s not hollow and so far, so good! As you saw in the video, I use this organizer for all of my cleaners, cans, and just odd shaped stuff. I am not sure if I will always organize it this way, but it works for now.

Necessary: Bissell Bolt 2-n-1 Lightweight Vacuum

This is an absolute necessity in my mind. It weighs only 5 pounds and has a removable handheld vacuum. It works great on the carpet and laminate flooring. It works on a rechargable battery and the charge lasts a long time. I have one in the RV and in my home.

Upgrade: Homlody High Pressure Shower Head

I feel like we have tried every showerhead out there! Haha It took a while for us to agree on the perfect showerhead but I am happy to report this is the one! We know that a lot of people rave about the Oxygenics showerhead. Brian liked it but I hated it. To me, the Oxygenics felt like a clogged hose. The showerhead pictured below has great pressure, turns off with ease, and doesn’t use a ton of water. Now we don’t boondock so I can’t attest to how it works when boondocking but we do camp with electric and a full tank of fresh water. We can easily go 3-4 days with just electric.

Hack: Shower Light, Motion Sensor, Waterproof

Who would have guessed that it would be dark in the shower at night with a skylight in the shower? I would assume we aren’t the only ones who shower at night when we smell like a campfire. But I need light in my shower at night! This light is perfect because it’s a motion sensor and only goes off when we open the shower door. It runs on batteries and it’s waterproof because it’s an indoor/outdoor light. How did we hang it up? Command strips of course!

Hack: Shower Foot Rest

Ladies, can I have your attention for a minute? We all know that men design showers because they don’t think about us and our need to lift a leg while we shave. Haha This footrest is one of five that I tried out, again thank you Amazon. Brian hung it up with the sticky pads and silicone caulk that it came with and thankfully it won’t be coming down!

Necessary: Adhesive Towel Bars

This is a simple but necessary hack. We have command hooks for extra stuff to dry but we like towels laying flat to dry as they dry faster. They are up with adhesive and we got the same style for our toilet paper holder.

Hack: Folding Bathroom RV Door

As we said in the video, we needed to remove the door that came with the bathroom because of the cat tower. The tower and the door were just too much in the same space. The only downside to this door is that your opening is just a bit narrower; however, we haven’t found it to be a problem.

Hack: Stick On LED Lights with Magnetic Backing

These are in our closets in the bedroom and in the passthrough. They provide plenty of light in those small spaces. They have magnets that hold the light to the base and then we have the base held with command strips. The idea is the you can leave the base up when you take it off to change the batteries. They only downside is that they are battery suckers, but we are in/out of our closets a lot.

Hack: Shoe Holder Storage Cart

Ok, did this one make you get excited? I love this hack! My only question to Coachmen is why the heck is there this dead space between the bed and the center console? Well, now I am glad there is this space! It took quite a bit of searching to find the right size. We tried using shoe boxes but the stacking and re-stacking of boxes irritated me and Brian’s giant shoes didn’t fit, haha. This is perfect, the wheels make it easy to slide in/out and it fits plenty of shoes.

Not Mentioned in the Video...

There were a few things I meant to talk about in the video but I forgot. So here are just a few more ideas to inspire your creativity as you personalize your rig.

Vinyl Lettering Over the Bed

This is a small touch that makes a big statement and adds a pop of color over our bed. Unfortunately the vinyl lettering that we used throughout the rest of the video is no longer available, I am sorry. If it becomes available again, I will update this blog post.

Outdoor Rug

Everyone needs a good outdoor rug that easily rinses off and adds a bit of personality to your home of the road.

Caravan Sports Zero Gravity Chairs with Cup Holders

Zero gravity chairs are all the rage and we love ours – especially the price coming in at only $40! That’s why I had to share the link with you. We bought one for our daughter-in-law, fell in love with it, and then bought some for ourselves. Below the link to the chairs is the cup holder. Be warned, there are several sizes, this is the biggest one. The last link is the bags we bought for our chairs. The chairs fit perfectly in them and we store the chairs in the back of the truck.

Our tour comes to end. Did you play the drinking game every time I said command hooks and tension bars? Haha! Command hooks are your best friend in an RV. If you enjoyed the video, please help us build our future by subscribing to our website and our YouTube channel. Then give them both a thumbs up. This helps to ensure more people see our content.

Do you have questions? Need to know more? Leave a comment below. We love hearing from you!!

He Said What? She Said What?

Questions answered from both Brian and Michelle

As we travel and talk with people, we often get many of the same questions. This week we decided to answer some of those questions in a “she said, he said” format because as you all know men are from Venus and women are from Mars. Ok, maybe, maybe not, but we don’t always agree or have the same stories. So here’s what he had to say…and what she had to say too.

How did you get into RVing?

Brian: We have loved to travel and spent many years as tent campers. We got to a point where we wanted to be able to be gone longer and go further, but the tent was a little limiting due to weather and other conditions so the decision to upgrade to an RV was an easy one.

Michelle: This is a funny story actually and I can’t believe Brian didn’t tell you first! As you have probably read in our blog posts we hiked across Spain on the Camino de Santiago in 2017. When we laied in bed in the evenings, resting our bodies, we talked about how much we loved being outside and seeing the world and we didn’t want the adventure to end. However, we talked about how challenging it was to only camp in a tent because of weather and determining if it was worth gathering all of our gear up “just to go out for the weekend.” We lived in a condo with very little space so our gear always had to be tucked away in our basement. We also didn’t have the the space to spread out our gear to let it dry out (and something always needed to be dried out!). So I started watching a lot of YouTube videos about RV’s and researching how much they cost. Then one day on the trail I said to Brian, “what would you think about buying an RV?” He said what I knew he would say, because this is his standard answer, “Absolutely!” We continued researching for the perfect RV, in our budget, over the summer, made our list of “must haves,” and the day we got off the plane from Spain we started shopping. Within a week we found the perfect RV, bought it, and have already put on over 8,000 miles. Best decision ever!

Our REI Kingdom 8 tent was the perfect fit for many years.

Brian: Michelle forgot to mention that CC (Casa del Camino) is not even our first RV. We actually left the lot with a smaller RV initially and immediately regretted the decision. After a stressful weekend in that camper, we bought our F-150 and upgraded to our Apex 269RBKS.

Michelle: Ugh, Brian. I wasn’t going to tell them that story! Geez, have some dignity. Hahahaha

What was your biggest RV newbie mistake?

Brian: Last Christmas on our way home from Florida we were really struggling with when would be the best time to winterize. In Tennessee, the weather forecast said that the overnights temps would drop down to about 30 and we knew that we would be OK. The temperature actually dropped down to the mid-twenties for most of the night. The next morning, I couldn’t get the valves open to drain the tanks because they froze. Even with a space heater and blow dryer, I had no luck. We decided to drive knowing that things would warm up as the morning progressed. When we stopped for lunch, there was a giant icicle hanging off the dump valve. I was terrified that it was a poop-cicle. It turned out to be from the gray tank, but it was still a pretty expensive mistake!

Michelle: Yeah, that possible poop-cicle was quite a scary moment and a costly mistake but at least it was only gray water. But that was not our biggest mistake by far! Learning about x-chocks and tire blocks and a million other things it seems like you need to know so your RV doesn’t move while it’s parked was quite overwhelming. We knew very little before we bought an RV since our outdoor home had always been a tent (and a really nice one I might add). I assumed that all RV spots were pretty level since we had always found pretty level tent sites. The problem is that even “pretty level” with an RV means you better make sure the rig doesn’t move. <insert facepalm> as I prepare to relive this story.

We were camping at Winton Woods campground in Cincinnati. We had an absolutely beautiful campsite on the lake. The site seemed pretty level but we needed a couple of leveling blocks on one side, then we put our x-chocks in and lowered the tongue jack. Brian unhooked his chains from the truck and I was about to unhook mine when the entire RV rolled backwards! Yes, our rig was headed for that beautiful lake we had to camp next to, I can’t believe it but we almost lost our rig into the lake. Fortunately, I had not taken off my chain and the truck saved us. The problem? I will take some of the blame. I didn’t tighten down the x-chocks enough. But from now on we always us x-chocks and we put chocks behind and in front of the tires. The sad part is, that isn’t the only time the rig has moved. Don’t even mess around with your set up, always make sure the rig is 100% secured before you unhook it from your truck. Live and learn, thank goodness we still have our CC.

Where is your favorite RV location or adventure?

Brian: So far I would have to say that some of the campgrounds we found in Michigan have been my favorites. I really loved the Munising Tourist Park Campground in the UP of Michigan. Our site was about 100 feet from the water and we had beautiful views of Lake Superior. I also really love camping at Traverse City State Park. The sites are a bit tight (click on the link to read a previous blog about these sites) but you are across the street from Lake Michigan and right on a bike path that will take you just about anywhere in Traverse City. I have also really enjoyed the Zion River Resort in Virgin, Utah. We have only tent camped there in the past but it is definitely on our list for our next trip to Zion National Park.

The view from the Munising Tourist Campground

Michelle: We always like to say that our favorite adventure is the one we are on right now. We try to live in the moment but we are always thinking about what’s next. We leave in a few days for Gatlinburg, and oh, how we love going down there to camp and hike. The best part is now that we have an RV we can spend more time there since we are not paying for a hotel. We can camp over our Thanksgiving break and Spring Break in our rig when normally those are times we would have to find a hotel. On this trip to Gatlinburg we are camping only 5 miles from the downtown strip and on the trolley route. I love trying out new campgrounds while we are there. The next thing I am looking forward to in our Summer 2020 out West trip. We have traveled out west 3 times but only going by hotel or in our tent. It is very exciting to think about taking our rig, our cats, all of our gear, and seeing the countryside. We hope to boondock and stay at Harvest Hosts. Which means our next RV upgrade is going to have to be a generator. Oh the money you spend when you are an RV’er.

Cosby KOA, near Great Smoky Mountain National Park

What is your best RV upgrade?

Brian: This probably sounds funny coming from a guy, but I love the new curtains that we just put in. The wooden window boxes that hid the top of the blinds were so bulky and made the RV seem very impersonal. Our new curtains soften the interior and make the room feel so much bigger and bring more of our personality into Casa del Camino, our home on wheels.

Michelle: If you are not a cat owner, this may sound utterly ridiculous but my favorite upgrade is what we have done for our cats. When you travel with two cats and they are not happy, they will let you know immediately. The first big change we made was converting our outdoor kitchen into a litter box and storage area and adding access through a cat door in the bathroom. This space is completely theirs when we are parked and there is plenty of room for our outdoor grill and cooking tools while we are traveling. This keeps the litter out of our rig and it’s easy to clean because we do it all from the outside. The second change we made was adding a cat tower. Fortunately, we have room for one in our rig and the cats love running from one end of the rig to the end with a bonus run up the tower. We have leashes for them and we get them out when there are opportunities but the tower really helps when they are cooped up in the rig for several days in a row.

The cat tower is an important place to watch what is going on in the RV.

Do you plan to go full-time?

Brian: We would both quit our jobs and go full time tomorrow if we could. Unfortunately, there are bills to pay and we do both really love our jobs! I like to say that we live like we’re retired on weekends and any break that we get from school, which is why we spend as much time as possible on the road.

Michelle: Absolutely! There are a lot of decisions to make before we can go full-time, mainly those decisions revolve around finances. We both have been teaching for more than 20 years and are well-vested in our retirement plans. Therefore, quitting our jobs and going full-time is something that will happen but not for a bit. The best part is that for a couple of months a year we get to live like full-timers since we are both off in the summer.  

With Half Dome in the background, we are always looking forward to the next adventure.

We want to bring you more “He said/She said” segments. Let us know what you want to hear by leaving a comment or question below. Don’t forget to follow us on Instagram and Facebook to see gorgeous photos of the Great Smoky Mountains National Park and Gatlinburg, Tennessee.

Our Unique Apex RV Tour – The Update!

The title of this blog has changed a few times, just like our adventures. We wrote this blog post originally after our big summer adventure and before we left for our Christmas trip. A lot has happened in that time. We came home ready to sell CC. That’s her name, Casa del Camino or CC for short. It means Roadhouse or Home of the Road and if you read any of our blogs you will see why she has been lovingly named CC.

Our Apex, Our 2nd home

Today I am updating this blog post and really changing half of its original intention. We want to give you a tour of CC and tell you that we’ve decided to keep her, unlike in the original post when we told you we were selling. We thought it was time to upgrade our 2018 Coachmen Apex 269RBKS. Apparently, a lot of RV’ers upgrade their rig after only a year and we wanted to be just like the crowd. Haha, not really but we felt like we needed more. We travel with a lot of toys – bikes, kayaks, backpacks, and all of their respective gear so we wanted to be able to carry more than we can comfortably carry currently with our Ford F150. Also, we really know our long term goal is to travel in a class A rig. But ultimately we don’t want to get into debt over any of these decisions. So, here we are, we have decided to wait. It’s a smart decision and our Apex is pretty awesome. It’s time for us to be more patient and appreciate what we have today.

With that, it’s time to give you a small tour! Our Apex well-made and we have had a blast personalizing the rig. Some of our favorite features in the Apex:

The HUGE pantry
The kitchen island
The counter space in the bathroom
The storage everywhere, inside and out
The color and style of the rig
The power jack and power awning
Our upgraded smart TV with an upgraded arm to tilt and angle
Additional stabilizer jacks we added
The numerous other upgrades we’ve done
See for yourself, the photos in the gallery below are captioned:

Now that we are keeping CC we want to improve her even more. We are having a friend make new curtains, see our Instagram page for the fabric sample. We are going to buy blackout blinds, upgrade the fans to the Fantastic Fan, add the Tire Minder Tire Pressure Monitor system, and a few more small things before we head out West in the summer of 2020. We hope to get a generator but we will have to see if that is in the budget and if we are sticking with our F150 to pull our CC. Not to worry, we will blog about our upgrades as we go.

If you want to get the “grand” tour with a video of the rig you will have to stay tuned! We plan to create a new video tour when we kick off our YouTube channel in the coming months. There is a lot going on at Cruisin’ with the Colemans and we hope you have enjoyed adventuring with us thus far. We ask that you help us grow by sharing our blog posts, Facebook, and Instagram pages.

Thank you for being a part of the journey so far! We have enjoyed bringing you along!

Until our next adventure…

8 Tips for Successful RV’ing with Cats

As we prepare our next RV trip we continue to mourn the loss of our sweet little Lola. She was only 4 years old and seemed to be battling cancer her entire short life. Pepe and Lola are rescues that we fell in love with 4 years ago (this week actually) from one of our no-kill shelters in the area. You can find more amazing cats just like them at SICSA and we look forward to adopting from them again. Right now, we are still in shock and mourning while Pepe wanders around the house trying to find his best bud. Pepe is certainly more clingy, sitting on our laps at every possible moment. We will press on because we know that Lola is no longer in pain. For that, we are grateful.
To honor our sweet girl, let’s talk about how much fun it is to RV with cats! Imagine the joy and wonder you feel when you experience new places, now imagine that same joy and wonder through the eyes of a cat. Everything can be exciting for a cat, their noses are always twitching with new smells and their eyes are always flickering with the new sights.

Don’t get me wrong, it can be quite scary for these little ones. Look at Pepe’s backside in the photo above, he is obviously on alert. There was probably a fly outside swooping with great speed right outside the door. Haha. Let’s looks at a few tips for making traveling with cats easier for you and our furry friends.
#1 – Toys, Toys, and more Toys!
It is important to have a few of their favorite toys in the rig that you can rotate so the cats don’t get bored. Our cats love the laser, the feather on a stick, a mouse, a small bear, and their shoelace. The feather, shoelace, and laser never get old! The mouse and bear show up in random places and get moved enough that we know they love them. I have seen Pepe sleeping with the bear – so sweet! We love Jackson Galaxy toys, you can find them at any Petsmart.

#2 – Scratch Pads
Our cats have their front claws so it is critical to have scratch pads around the rig. Lola loves the one below, as you can tell. She especially loves it when it has catnip on it. We also have a scratch pad behind our chairs, one that hangs on a wall with command strips, and as you will see soon, a tower with scratchers on it. They get their relief to claw and your furniture will be saved. On a side note, if you are RV’ing full-time with cats, it is imperative that you are able to trim their nails. We play with and massage our cat’s paws all of the time so it is natural for us to touch and trim their nails. They don’t mind the trim at all but we set the stage for success early on. Talk to your vet so you can help your cats with the nail trim.

#3 – Hiding nooks
Cats have to have places to escape (don’t we all need that?). They need to be able to hide from each other, their guardians, and those pesky bugs. Lola loved this spot in our towels, she also loved the pantry. We tried creating places for the cats but they found their own hiding nooks. For example, we put cat doors on our under the bed storage, but the cats were never fans of that space. As long as they have somewhere to hide, you will be fine.

#4 – Places to Sit/Watch
If our cats are not on our laps or hiding, they are watching out the window or watching over our shoulder. We tried putting a bird feeder on our rig, but we learned the cats are already in sensory overload. There are plenty of birds and bugs flying around, they didn’t need the feeder too and the birds were not fans of being that close to the cats. Really, as long as they can see out the window, they are completely happy! We try to keep one window shade open overnight that the cats can see out of because the action really happens overnight! As long as humans can’t see in, we leave various shades open. If we don’t leave a shade open, we find that the cats spend more time climbing all over us while we are trying to sleep. It’s really for our ability to sleep without interruption.

#5 – Litter Box Space
This was tough at first – where to put the litter box?? Oh, the challenges! We read every blog we could find about the litter box dilemma and we didn’t like where anyone was keeping their litter box. From the shower, to under the dining table, to under the bed, we were not excited. We didn’t want clay in the shower, we didn’t want the smell (or thought of it) under the dining table, and we didn’t want to hear the litter box scratching while we slept. So we were stuck with what to do?? Oh, and it’s not just about the smell and noise, it’s about (1) ease of cleaning and (2) we don’t want to step on the litter they leave behind when they exit the box.
Then a big lightbulb popped on!  The outdoor kitchen on our Apex did not impress us as a needed space. The grilled had to be moved to a picnic table just to use it and we don’t need an outdoor fridge. So there it was – convert the outdoor kitchen into a litter box space and bonus storage while we travel. They enter from the bathroom and clean off their paws before they come back in the rig. There is still some litter that comes back inside, but it is minimal. The best part – we go outside to clean the box and so no mess inside! This is one issue everyone has to be content with because cats need a good space to use the bathroom and you need to be happy with the location, smell, and ability to clean the box often.

#6 – A Tower?
Our sweet Pepe is a high energy cat and even with all of the stimuli around him, this cat was missing one of his favorite activities – running up the stairs. We have plenty of stairs at our home for him to run and he was missing it in the rig. It was Thanksgiving week and we were camping in the Great Smoky Mountains, Pepe had a lot of stimuli, was getting walked, and was still driving us crazy at 3 a.m. with his restlessness. So we went to Petsmart and we found this cat tower. Just like that – we got to sleep through the night! Though it is a bit obtrusive for us, it has been worth it for him. Now there are plenty of scratchers, spots on the tower for both of the cats to sleep, and a place for Pepe to watch us while we use the bathroom. Haha. Note: In the photo below, Lola is chilling on her scratcher on the bottom of the tower. We like to move the scratchers around because it keeps the cats interested. Cats really do get bored easily.

#7 – Walking with Cats
Yep, we do it! We knew when we bought our rig that we would have to teach them to walk on leashes. We were quite nervous because they were already 2 years old but we were determined. And guess what? They thoroughly impressed us with their abilities! They learned pretty quickly how to do it, but the desire took a bit of patience. Here is what we know: (1) don’t drag them, it will not help the learning process, (2) walk where there are no cars or other people, (3) walk by a good tree line, (4) it’s not your exercise, it’s theirs so walk slowly and not too far, (5) start with just wearing the harnesses indoors, then upgrade to the leashes indoors, and then go outside, and finally (6) if it is fun for them, they will walk with ease. We got the harnesses and leashes on Amazon.

#8 – Safe Travel Space
This is absolutely critical – the cats have to enjoy travel days! They cannot ride in a travel trailer or in a fifth wheel. First of all, the rigs are not temperature controlled, and second, you try riding back there. I did and the bounce is beyond scary. My stomach took a while to recover from the adventure. 🙁
We pull our travel trailer with a Ford F150 Supercab. The cats get the entire back seat area. They have a tower so they can see us and see outside. The bottom of the tower has a box to hide in, which Lola claimed as her spot. On the other side of the back seat area (which you can’t see in the picture, sorry) is a hard-sided carrier with the door open and Pepe sleeps in there. On top of the carrier is a clear Rubbermaid tub with recycled paper for an emergency litter box. We learned the hard way – don’t have clay in the litter box in the truck! Day one: we had a clay everywhere, and in turn, had to run to Petsmart for recycled paper litter and vacuum the truck out after a long day of driving. 🙁 The carrier is big enough to serve a dual purpose in case you need to lock up the cats for whatever reason. The Rubbermaid tub fits very snug between the front seat and the back seat that we have in the upright position so it doesn’t move while we are driving.
We don’t have food or water in the truck while we drive, but we don’t drive for more than 6-8 hours in a day. We did at first have food and water in the truck but it was making a mess. Therefore, after some research, we learned that cats can go much longer than we realize without food and water, certainly longer than we drive in a day. However, we always have treats in the glovebox just to make them happy if the day is getting long.
Full disclosure – we do use Hemp Oil to calm our cats. Travel days are stressful for everyone. We have a lot on our minds from did we do everything, how’s the construction, how long will it take, and where are we going. The cats feel our stress and they don’t like the moving from the trailer to the truck and back, they don’t like semi’s that fly by, and they just are not as comfortable as they would like to be. The Hemp Oil takes the edge off and calms them just enough.
Finally, we have also learned they travel better when they wear their harnesses and walk in their leash from the trailer to the truck and vice versa. They also rip fewer of our shirts when they walk vs. clinging to our t-shirt. We hadn’t figured this out yet in the photo below.
img_2128
Did you learn anything about successfully RV’ing with cats? If yes, please like and share! We want the message to be heard that you can successfully travel with cats and we enjoy seeing our community grow. We will be back in our rig, as a family of 3 this time, in 6 weeks when we head to Florida for Christmas vacation.
I am sure there are more tips, please comment below and give us your best tip on RV’ing with cats! We will be sure to include more tips the next time we talk about RV’ing with cats! For now, we say goodbye to our sweet Lola. She had an amazing 4 years of life. We leave you with this important message – Please spay and neuter your animals! And help control the pet population by finding homes for stray aminals!
RIP Miss Lola Lou 7/21/2014 – 10/31/2018

★ 25 years guiding ★ 48 U.S. states ★ 10 countries ★ 3,000+ Camino miles