Recipe of the Week – Cheesy Risotto

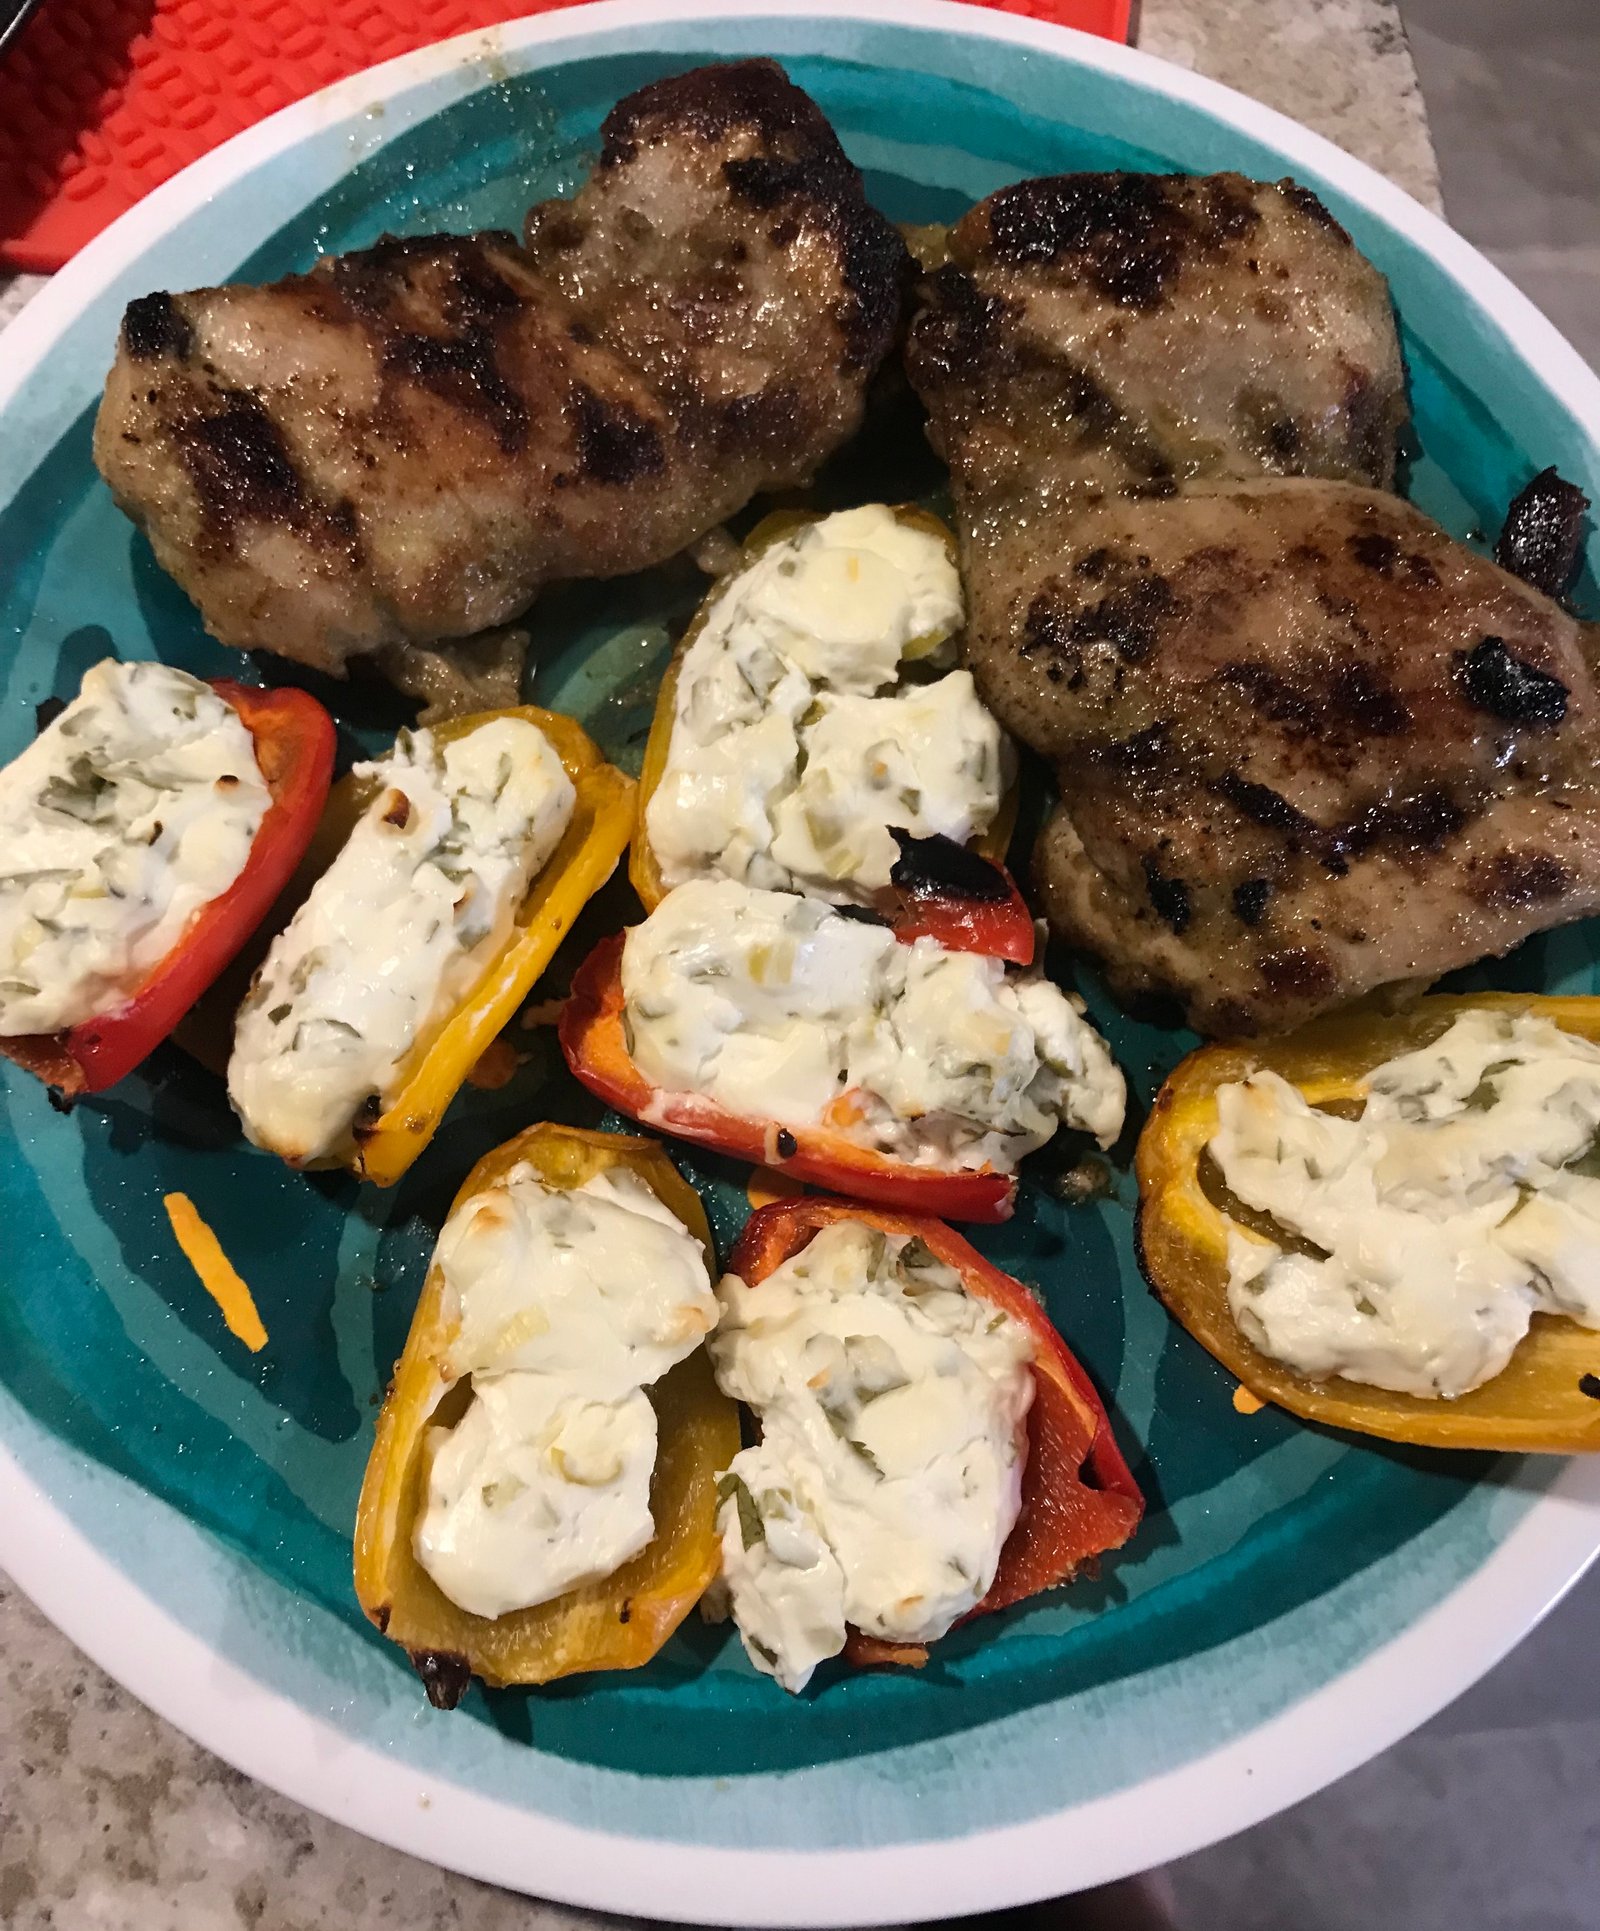
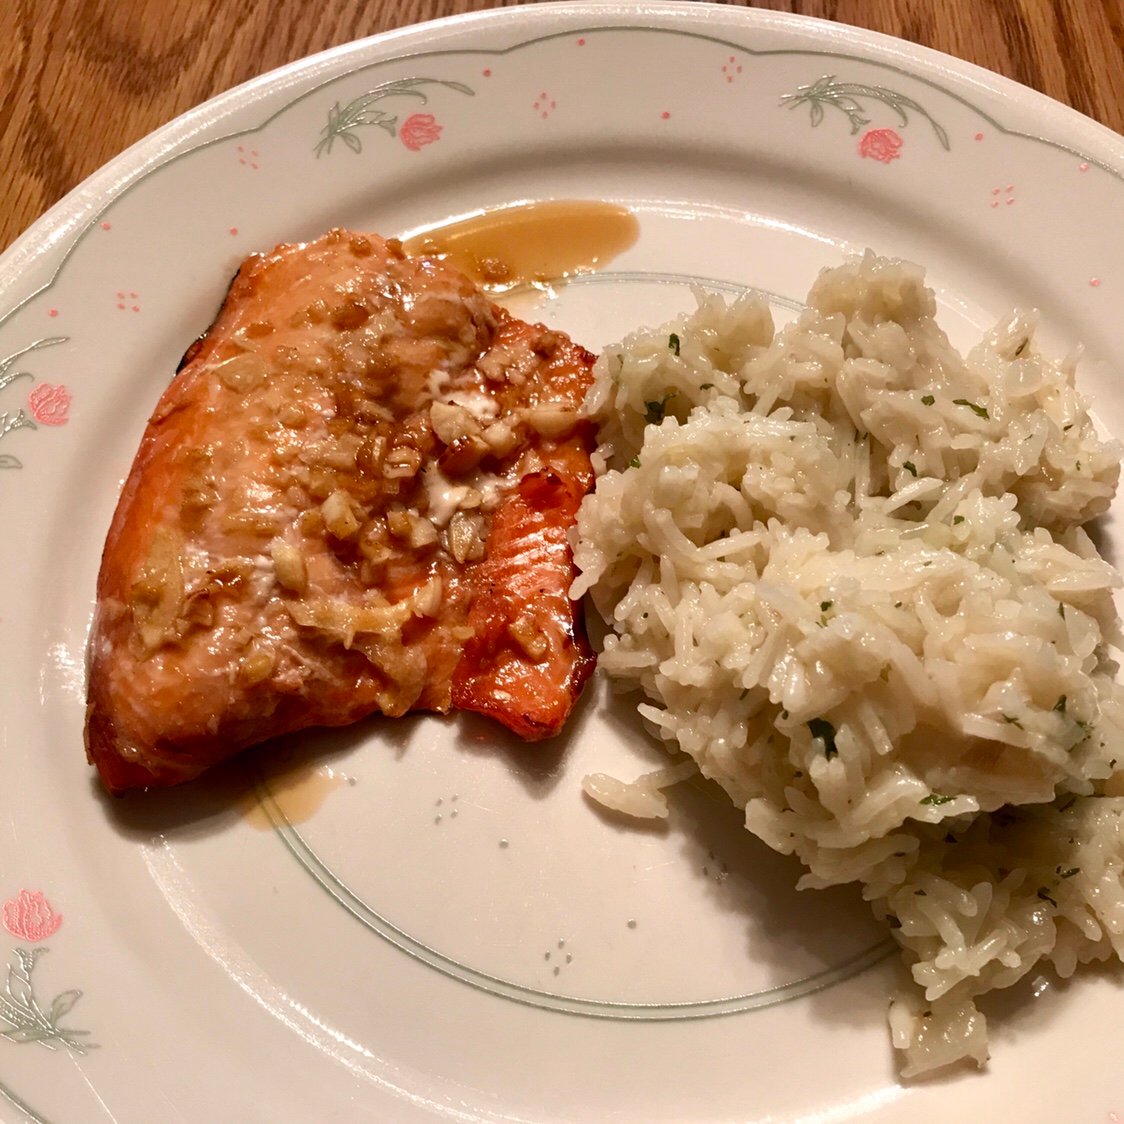
Today’s blog post starts with a picture of Pepe in front of the fireplace because he’s adorable and it brings us to our favorite fall thing… comfort food! Jessica Vu, swing dancer extraordinaire, teacher, and lovely friend, also happens to be an amazing cook! Her blog Purple Leopard Recipes has some wonderful gluten-free cooking and this Cheesy Risotto will make your never want for mac and cheese again.  While we were traveling through Wisconsin this summer, the cheese and sausages made me think of this recipe so I made some adjustments in honor of the Cheese State. I hope that Jessica approves!

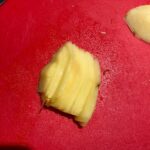
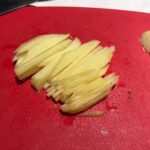
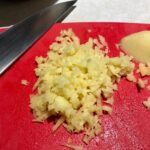
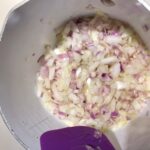
Dice 6 oz of kielbasa, a red or sweet onion, and two cloves of garlic.

In a large pot, saute the sausage in 1 tablespoon of canola oil over medium high heat until it begins to get crispy. Don’t worry about the brown bits in the bottom of the pot, but don’t let them burn.

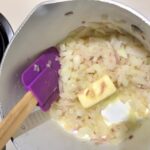
Add the onions and garlic and cook until soft.

Add one and a half cups of Arborio rice. Arborio is a short grained rice that is perfect for risotto because of its high starch content.  It has a creamy texture and yet remains firm when cooked for longer periods. Do not make risotto with other types of rice, you WILL be disappointed.
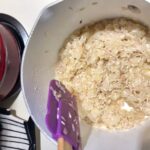
Risotto is notorious for home cooks because it needs to be watched non-stop. Now is the time to focus.  Toast the rice in the until some grains begin to pop. You will need 4 cups of chicken broth for the remainder of the cooking process. Put it in a sauce pan and warm it to the point of steaming, but not simmering. This will speed up the cooking process over using room temperature broth. Add broth 2/3 of a cup at a time, stirring frequently with a rubber spatula.
img_7376
Let the rice simmer until the liquid is absorbed. Run the rubber spatula down the center of the pan. If the rice runs back together, it is not time for more liquid.
[wpvideo YnXEOHaW ]
When the rice and broth stays in place, add another 2/3 cup of broth.
[wpvideo mbOujDAe]
Continue this process until you are down to the last 2/3 cup of broth. Rice will absorb moisture from the air. This means that some times you may need more broth than others depending on the relative humidity in your environment, the age of the rice, and other factors. Taste the rice to see if it is done. There should be a little bite and firmness to it, but you may want to add the last of the broth and cook longer. Our rice is kept in an airtight container and I pretty much always use all of the broth.
Remove the pan from the heat and add 1/2 cup of dry white wine or dry sherry.  You can leave this step out, but it does add some nice flavor. Stir until absorbed.
Next add 1 1/2 teaspoons of Coleman’s ground mustard (hello, of course it’s Coleman’s), 1/2 cup of FAGE 2% Greek Yogurt, and 1 cup of shredded cheddar cheese. Stir until everything is well incorporated, creamy, and melty (one of my favorite cooking techniques)!

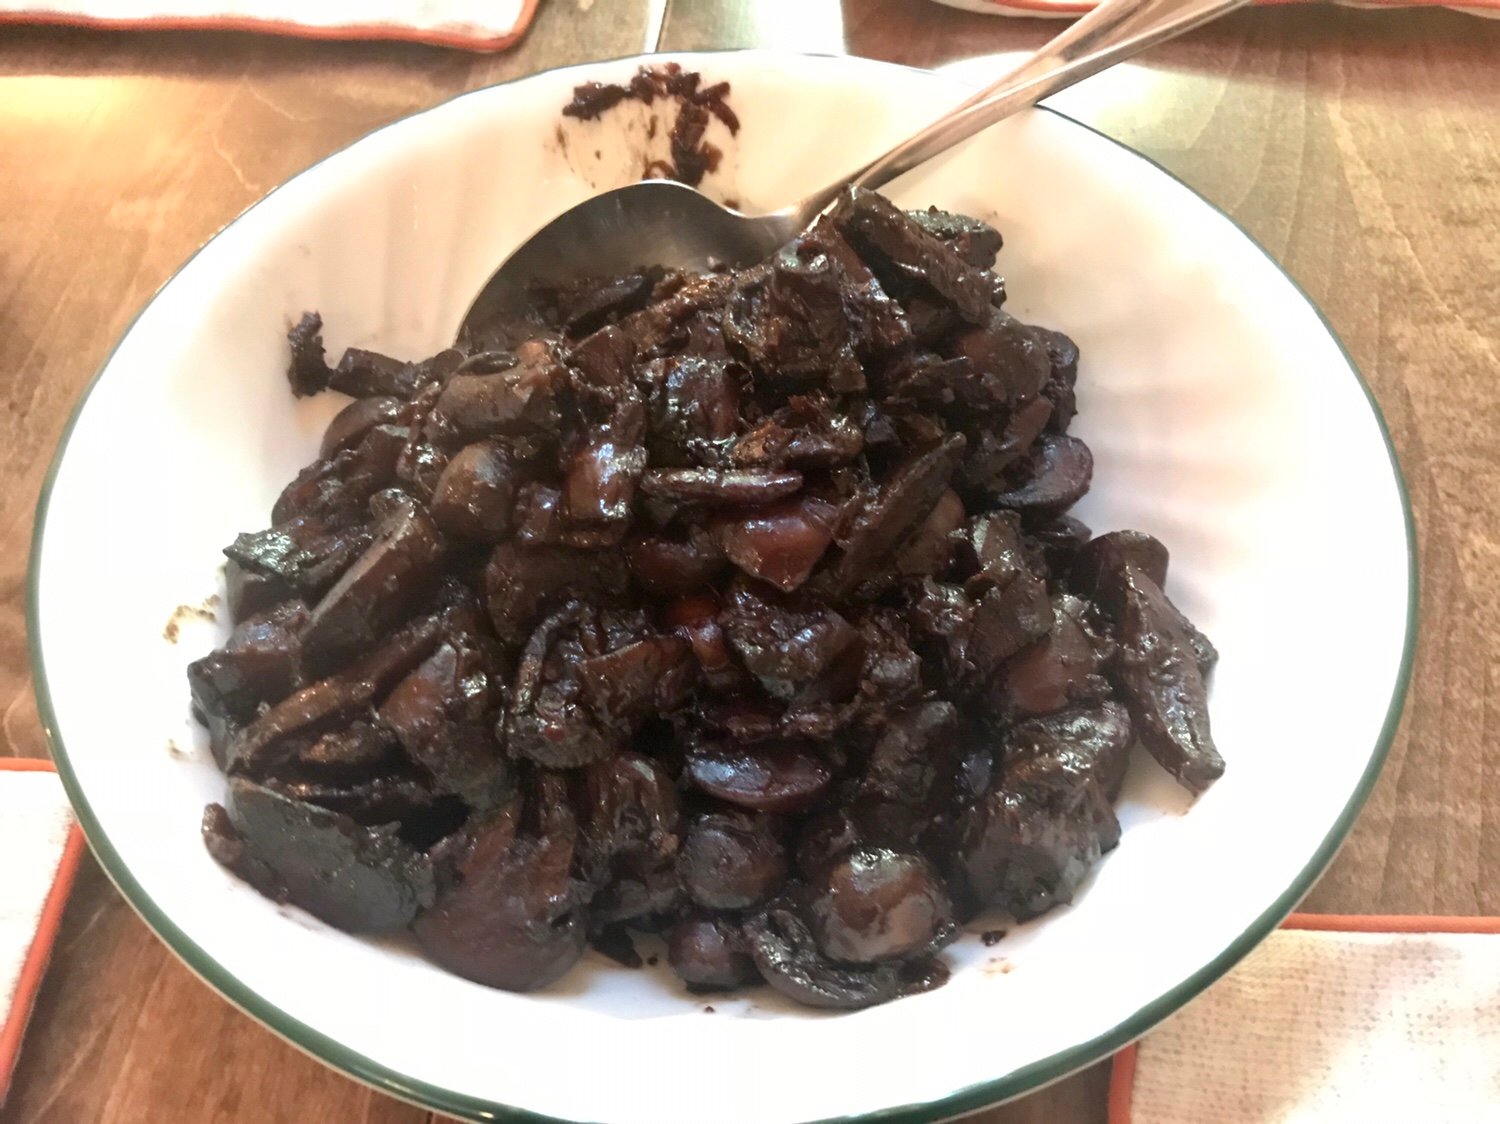
Now to take things over the top, add two slices of plain old Velveeta cheese slices. Based on the name of the recipe, you didn’t think that this was going to be healthy did you? Add salt and pepper if needed.  I also like to stir in a little Crystal hot sauce.

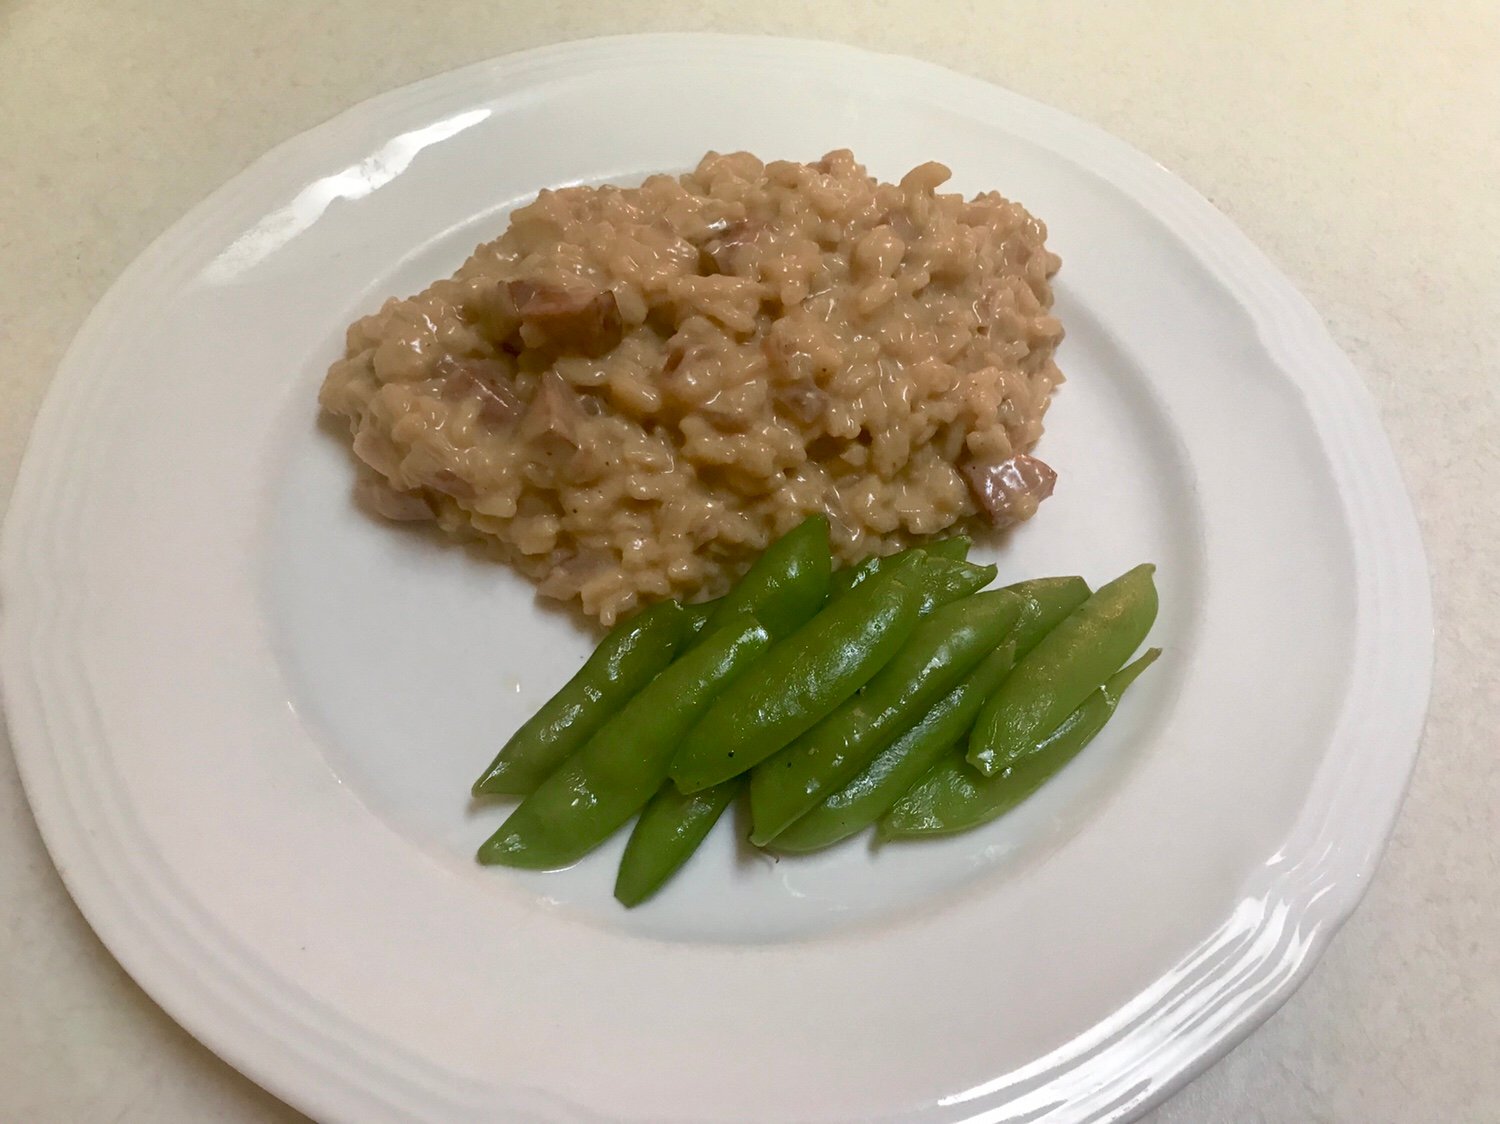
Serve with something green so that you don’t feel bad for going in for seconds.  The recipe should serve 6, but good luck! I’ve doubled it and taken it to a carry-in in a crock pot and never come home with leftovers.

If you are lucky enough to have leftovers, it is very good reheated the next day, but try this instead: spoon about 1/2 cup into a frying pan with a little olive oil and press down with the back of a spatula.

Cook on medium heat for about 3-5 minutes and carefully flip to cook the other side until brown and crispy (my second favorite cooking technique when it comes to cheese).

Cheesy Risotto (Mock Mac & Cheese)

  • 4 C chicken broth (or one 32 oz carton), heat in a sauce pan until just steaming
  • 1/2 C dry white wine or dry sherry
  • 1 1⁄2 t Coleman’s ground mustard
  • 1 C shredded cheddar cheese
  • 1⁄2 C FAGE 2% Greek yogurt
  • 2 slices Velveeta cheese
  • 6 oz kielbasa
  • 1 T canola oil
  • 1 medium red or sweet onion, diced
  • 2 cloves garlic, crushed
  • 1 1⁄2 C Arborio rice
  • salt and pepper to taste
Over medium/high heat, fry the kielbasa until crisp in oil.
To the hot oil and sausage, add onion and garlic. Sauté for 3-4 minutes or until soft.
Add Arborio rice and stir until slightly toasted, just 1-2 minutes should do it.
Add 2/3 cup chicken broth. Gently stir and adjust heat to just a simmer, not boiling. Stir gently and frequently (at least once every two minutes).
When to add more broth: Run the rubber spatula down the center of the pan, making a trough. If the risotto runs back together, it is not ready for more broth yet. If the risotto does not run back together and the trough remains, add another 2/3 cup broth.
Keep adding broth in 2/3 cup increments every time the trough is ready, until you have just a bit of broth left (Making sure you are stirring gently and frequently).
Taste the risotto. Is it done to your liking? It should be soft yet firm to the bite. If not, add the remaining broth until the risotto is the tenderness you desire. If it is done, add the white wine and remove from the heat.
Stir until white wine is absorbed and mostly evaporated. (If this is taking too long, you can reintroduce the pan to the heat momentarily).
Add ground mustard, shredded cheese and yogurt. Stir until melty and creamy.
Add two slices of Velveeta. Stir until fully incorporated. Salt and pepper to taste.

Recipe of the Week – Bourbon Glazed Salmon with Rice Pilot

While staying in Houghton, Michigan, we decided to try a new experience and chartered a fishing boat with Sand Point Charters in Lake Superior. More on that story later because, true to form, it turned into a much bigger adventure than we expected! We had a successful day on the water and ended up with some salmon and trout. Once we got to Michelle’s parents in Illinois we made dinner for them one night with our freshly caught salmon. Here is one of our favorite fish recipes.

Start off by making the bourbon glaze. Mince a large finger of ginger. I mentioned this a few weeks ago, but here’s how to do it.  Begin by cutting the peel off of the ginger and slicing it into 1/8 inch slices. Next stack the slices and cut into julienne strips. Finally mince as finely as you’re able. I like to do a larger amount when I’m home and put it into a mini ice-cube tray with some water. Once frozen, I keep it in a baggy in the freezer to use as needed!


Mix 5 tablespoons of brown sugar (we use Whey Low Gold, a sugar substitute), 5 tablespoons bourbon (I prefer Evan Williams), 3 tablespoons San-J Tamari Gluten Free Soy Sauce, 2 tablespoons minced ginger, 5 cloves of minced garlic, and the juice of one lime in a resealable bag. Add four  6-oz filets of salmon and let marinade for about 30 minutes in the fridge.
While your waiting, dice an onion and shallot finely.  Heat 1 tablespoon of olive oil in a saucepan and saute onions and shallot until soft. Add 2 tablespoons of butter and 1 cup of rice. Saute the rice until it starts to smell “toasty,” you may even hear some of the grains pop a little. You are adding flavor right now, so don’t skip this step! Add two cups of chicken broth (we prefer Kitchen Accomplice concentrated broths) and 1 tablespoon of dried parsley and bring to a boil. Cover, reduce heat and simmer for fifteen minutes or until all liquid is absorbed.

While the onions are sauteing, it’s time to heat the grill. Once the broth and rice come to a boil, put the fish on the grill over medium heat. Use either a piece of foil or a cedar plank to keep the fish from falling through the rack! The fish should cook on medium to low heat for about 10 minutes. Do not flip it unless the filets are really thick and are not cooking through.
Take the remaining marinade from the bag and place it in a small saucepan. Bring to a simmer and reduce the liquid to half and allow it to thicken. This will become an amazing glaze to spoon over the finished salmon (I really like it on the rice too).

I like to serve this meal with either sugar snap or snow peas for some additional color on the plate, but the sweet corn had just come in so that’s what we enjoyed on this night.

Bourbon Glazed Salmon

Mix all ingredients in a resealable plastic bag and let marinate for about 30 minutes in the refrigerator. Grill salmon over medium heat for about 10 minutes on foil. Turn only if the filets are thick and will not cook through otherwise. While the salmon is cooking, place the remaining marinade in a saucepan and simmer to reduce the liquid to half. Spoon glaze over the salmon at the table.

Rice Pilaf

  • 1 sweet onion, diced
  • 1 shallot, finely minced
  • 1 T olive oil
  • 2 T butter
  • 1 C Jasmine rice
  • 2 C chicken broth
  • 1 T dried parsley

Heat oil over medium heat and saute onion and shallot until soft, about 5 minutes. Add butter and melt. Add rice and cook until it begins to smell “nutty.” Add the broth and parsley and bring to a boil. Reduce heat to low, cover, and simmer for 15 minutes or until liquid is absorbed.

Recipe of the Week – CC's Drunken Mushrooms

Back in 2014 on our More Grand Vaca (which will be featured in a future blog post) our dear friends Michael and Bonita Hutchison invited us to spend the 4th of July with them in Park City, Utah.  As the picture below might indicate, it was quite a week!
10516886_10152262935350983_8601729714883733516_n
Bonita is quite the cook and in additional serving us the most amazing elk tenderloin we have ever eaten, she made delicious drunken mushrooms.  We’ve tried to replicate them several times and after much trial and error, I think we have finally come up with a version that is a little more calorie conscious but still rich and decadent.  These are best served with steak and friends, like our first follower, Bonita.
img_7423
In a large, heavy bottomed pan, melt 4 tablespoons of butter and 2 tablespoons of olive oil.  Once the butter stops foaming, add one thinly sliced sweet onion and 4 cloves of minced garlic.
img_7424
Saute over medium heat until just soft, about 8 minutes. Be careful not to burn the garlic. If you do, throw the whole thing out and start over!
img_7425
While the onions are cooking, clean one pound of mushrooms and cut them into halves or quarters if they are big. Do not rinse mushrooms in water to get the dirt off, they will absorb the water and leave you with a soggy mess once you start to cook them. When the onions are ready, remove half of the mixture to a bowl. Add the first pound of mushrooms to the pan and cook about 6 minutes.

They will almost immediately suck up every bit of oil and butter in the pan, but will release it again slowly as they begin to cook. Keep stirring them occasionally while you prep the second pound of mushrooms.

Once they become a beautiful brown color and have released most of their liquid (which will evaporate), remove them to a bowl.

Put the reserved onion mixture back in the pan along with the second pound of mushrooms and cook again for another 6-8 minutes.  Here you can see how much volume you lose as the mushrooms cook.  Both pounds are plain old white button mushrooms, but you could mix them up with baby bellas or another variety. A note about doing this in two batches: you may have a Dutch oven, stock pot, or something else that will hold all of the mushrooms at once and be tempted to do it all in one batch. STEP AWAY FROM THE STOVE!! Just because you can do them in one batch doesn’t mean you should. Crowding the pan will create more liquid than can evaporate and the mushrooms will not create the brown crust that adds so much flavor. Like Julia Child said, never crowd the pan.

Here is a shocking statement: I love cheap wine. We have a go to party wine that is inexpensive, tastes great, and doesn’t give either one of us a headache: Dark Horse Merlot. It is also perfect for cooking with. Someone said that you should never cook with wine that you wouldn’t drink and that is definitely true, but likewise, I’m not going to pour a $50 bottle of wine into a pot of mushrooms! At $7.99, this wine is affordable and adds great flavor. In other words, it gets me where I need to be! Also, we use Kitchen Accomplice‘s broth concentrates for cooking.  They are lower sodium than most broths and in the RV they save valuable space and weight.

Add the first batch of mushrooms back into the pan.  If you are in a hurry, add salt and pepper to taste at this point and serve them now.  They will be delicious, but the next step is what makes them worthy of company.

Pour an entire bottle of dry red wine and 2 cups of beef broth into the pan and bring to a boil. Do not add salt at this time.

Once they come to a boil, reduce heat and simmer covered for two hours.

After two hours, remove the lid and turn up the heat a little. Notice that about 1/3 of the liquid has evaporated at this point. Continue to simmer for another 45 minutes to an hour until all of the liquid has absorbed. The mushrooms will begin to brown again a little, which is ok, but don’t dry them out. Add salt and pepper to taste.
img_7436We serve they atop a medium rare rib eye steak, over a baked potato, or just as a side dish. If there are any leftovers, they are wonderful in an omlette with some raclette or fontina cheese.
img_7437
Don’t miss any of our recipes of the week, make sure that you subscribe to receive notifications each time a new post comes out!
We are always looking for new red wines, leave us a comment letting us know what your favorite bargain wine or splurge wine is.

CC’s Drunken Mushrooms

INGREDIENTS

  • 4 tablespoon butter
  • 2 tablespoon olive oil
  • 4 garlic cloves
  • 1 large onion sliced thinly
  • 2 pound button mushrooms cut in half or quarters if they are large
  • 2 cups beef broth
  • 1 bottle red drinking wine
  • Salt and pepper, to taste

INSTRUCTIONS

  1. In a large, heavy-bottomed pan, heat olive oil and butter over medium-high heat until butter is melted.
  2. Add in garlic and onions. Sauté until just soft, about 6-8 minutes.
  3. Remove ½ of the onion mixture to a bowl.
  4. Add 1 lb. of mushrooms and sauté until lightly browned, about 6 minutes.
  5. Remove mushrooms and onions to a plate (try to leave the liquid behind)
  6. Add reserved onion mixture and remaining mushrooms to pan and sauté again until browned.
  7. At this point the mushrooms could be done, salt and pepper to taste and serve or…
  8. Put first batch on mushrooms back in pot and add broth and wine. Bring to a boil, reduce heat to low and simmer covered for two hours.
  9. Uncover, turn the heat up a little and cook until all the liquid has been absorbed.  Salt and pepper to taste and serve.

Recipe of the Week – Jerk Chicken and Stuffed Mini Bell Pepper Poppers

Who doesn’t love stuffed pepper poppers? Well, probably anyone who doesn’t like too much heat or is trying to eat healthy since they are breaded and deep-fried. The only guilt that you will feel eating these stuffed peppers is how many of them you will end up eating, but don’t worry they are actually pretty healthy too. The grilled jerk chicken is just a bonus yummy!
IMG_2251
I know, it looks like a lot of ingredients, but lots of flavor takes a little work and it’s not really so much stuff. By the way, this recipe works best on the grill but it was pouring rain outside, so everything was done on the stove or in the oven and worked out just fine!
IMG_6442
Start out by making the world’s worst smoothy. Combine 2-3 green onions (white and green parts), 1 large shallot, 1 T brown sugar, 2 T fresh lime juice, 2 T olive oil, 1/2 t allspice, 4 cloves of garlic, and a large Serrano chili in a food processor (or in our case, the Ninja cup). Someone will notice that in the first picture, we did not use a serrano. The store didn’t have them so I subbed an Anaheim. Use the chili of your choice based on heat and flavor preferences (our favorite is poblano). Blend it until smooth, and remember, be careful of touching your eyes, nose, mouth, or anything else you love. (On a side note, be really careful cleaning up afterwards, those pepper oils can really mess up the next thing you make in the same bowl.)
IMG_4252
Pour the mixture into a bowl or baggie and add 6-8 chicken thighs, legs, drums, breasts, or what ever else you have lying around.  We’ve used different cuts but prefer thighs for this recipe.  Let it sit while you prep the peppers.
IMG_5175
In another bowl, combine 1/4 c finely chopped green onion, another finely diced shallot, 1 T lime juice, 2 T chopped cilantro, 4 oz (half a package) of reduced fat cream cheese, 1/2 C FAGE 2% Greek yogurt and mix well.  Scoop it all into a baggie and toss it back in the fridge for a minute.
IMG_9140
Take a bag of mini sweet peppers and cut in half and core them. Arrange onto a grill pan. Take the bag of filling and snip the corner of the bag off to create a piping bag. Pipe filling into each pepper. I missed taking a picture of this step, guess I was too hungry!


Heat your grill and start the chicken first.  The peppers will take almost as long so get them going right away.  I usually place them directly on the grate but if the peppers are small, you may want to put down a piece of foil or use a grill pan so they don’t fall through.  Turn the chicken and rearrange the peppers if your grill heat is uneven.  You want the chicken crispy on the edges and the bottoms of the peppers blistered but not burnt.  The filling will not get very melty if you use reduced fat cheese, so you have to peek underneath.
IMG_6525
Serve with some fresh lime wedges and some crusty bread.  Let us know how hot you like your jerk in the comments below!
Here’s the original recipe from Cooking Light magazine and here is the version with my modifications.

How to Make It

1. Preheat grill to medium-high heat. After preheating, reduce one side to low.
2. Combine topping ingredients (except chicken) in a mini food processor; process until smooth. Combine mixture and chicken in a medium bowl or large baggie; toss well.
3. Combine remaining green onions, remaining shallots, remaining juice, cheese, cilantro, and sour cream. Cut and core the bell peppers lengthwise; discard seeds. Put cheese mixture in a bag, cut off the tip, and pipe filling into peppers. Place peppers on grill rack coated with cooking spray over medium-high heat. Grill 7 minutes or until peppers are lightly charred.
4. Place chicken on grill rack coated with cooking spray over medium-high heat. Cover and grill 5 minutes on each side. Move chicken over low heat. Cover and grill 5 minutes on each side or until done.
 
 
★ 25 years guiding ★ 48 U.S. states ★ 10 countries ★ 3,000+ Camino miles