Our 2019 Camino Videos: It’s a Wrap! What’s next?

It has been wonderful to extend our 2019 Camino into the fall season as we wrap up the editing and posting of our Camino YouTube videos. In preparation for this wrap-up blog, I re-watched all of our Camino videos – what a treat, re-living the ups, downs, the culture, and the sheer joy of our shared experiences. Today I am going to tell you about my favorite videos from the trip and let you know what is coming next for us.

Of all the videos we created from our Camino, my number 1 favorite video is reflecting on our Camino Frances and entering Santiago. It’s a long video, but I love it because it’s raw, in the moment, emotion. We don’t have too many moments like this but I hit a low point right before entering Santiago.

I’d suffered serious anxiety that plagued me for the rest of our time in Europe. We thought it was just about my foot but later concluded it also had to do with eating gluten. I don’t normally eat gluten because I suffer severe digestive problems. However, over there I wasn’t having any of my typical problems so we didn’t know it was an issue. I was having a lot of inflammation issues which should have been a sign but I attributed it to the wine, the walking, and not enough water. I should have taken a break from gluten to see the difference, but alas, hindsight is a great teacher. Once the gluten was completely out of my system, about 10 days after we got home, the anxiety stopped too. Lessons learned.

My second favorite video was our walk from Astorga to Villafranca del Bierzo. I love this video because it’s classic, iconic, all you want from the Camino, and just all-around “this is the Camino” video.

At this point, we had not hit any lows, actually, we were on the biggest high of the entire Camino. We were on a high metaphorically and hit our highest evaluation point. We may look tired in our videos but we were re-living moments from our 2017 Camino, developing fantastic relationships, working extremely hard, capturing amazing views to memory, and having a ton of fun!

My next favorite video was on our Camino Portuguese. We had settled into a new rhythm of riding bikes vs. walking. We were embracing “holiday” time, less work and more play. We also experienced a festival that only happens once every four years.

If you want to know about the Festival of Trays, here’s a link: http://www.centerofportugal.com/events/trays-festival/. There was something wonderfully authentic about this festival and the village of Tomar. We highly recommend everyone visit Tomar, even when the festival is not happening.

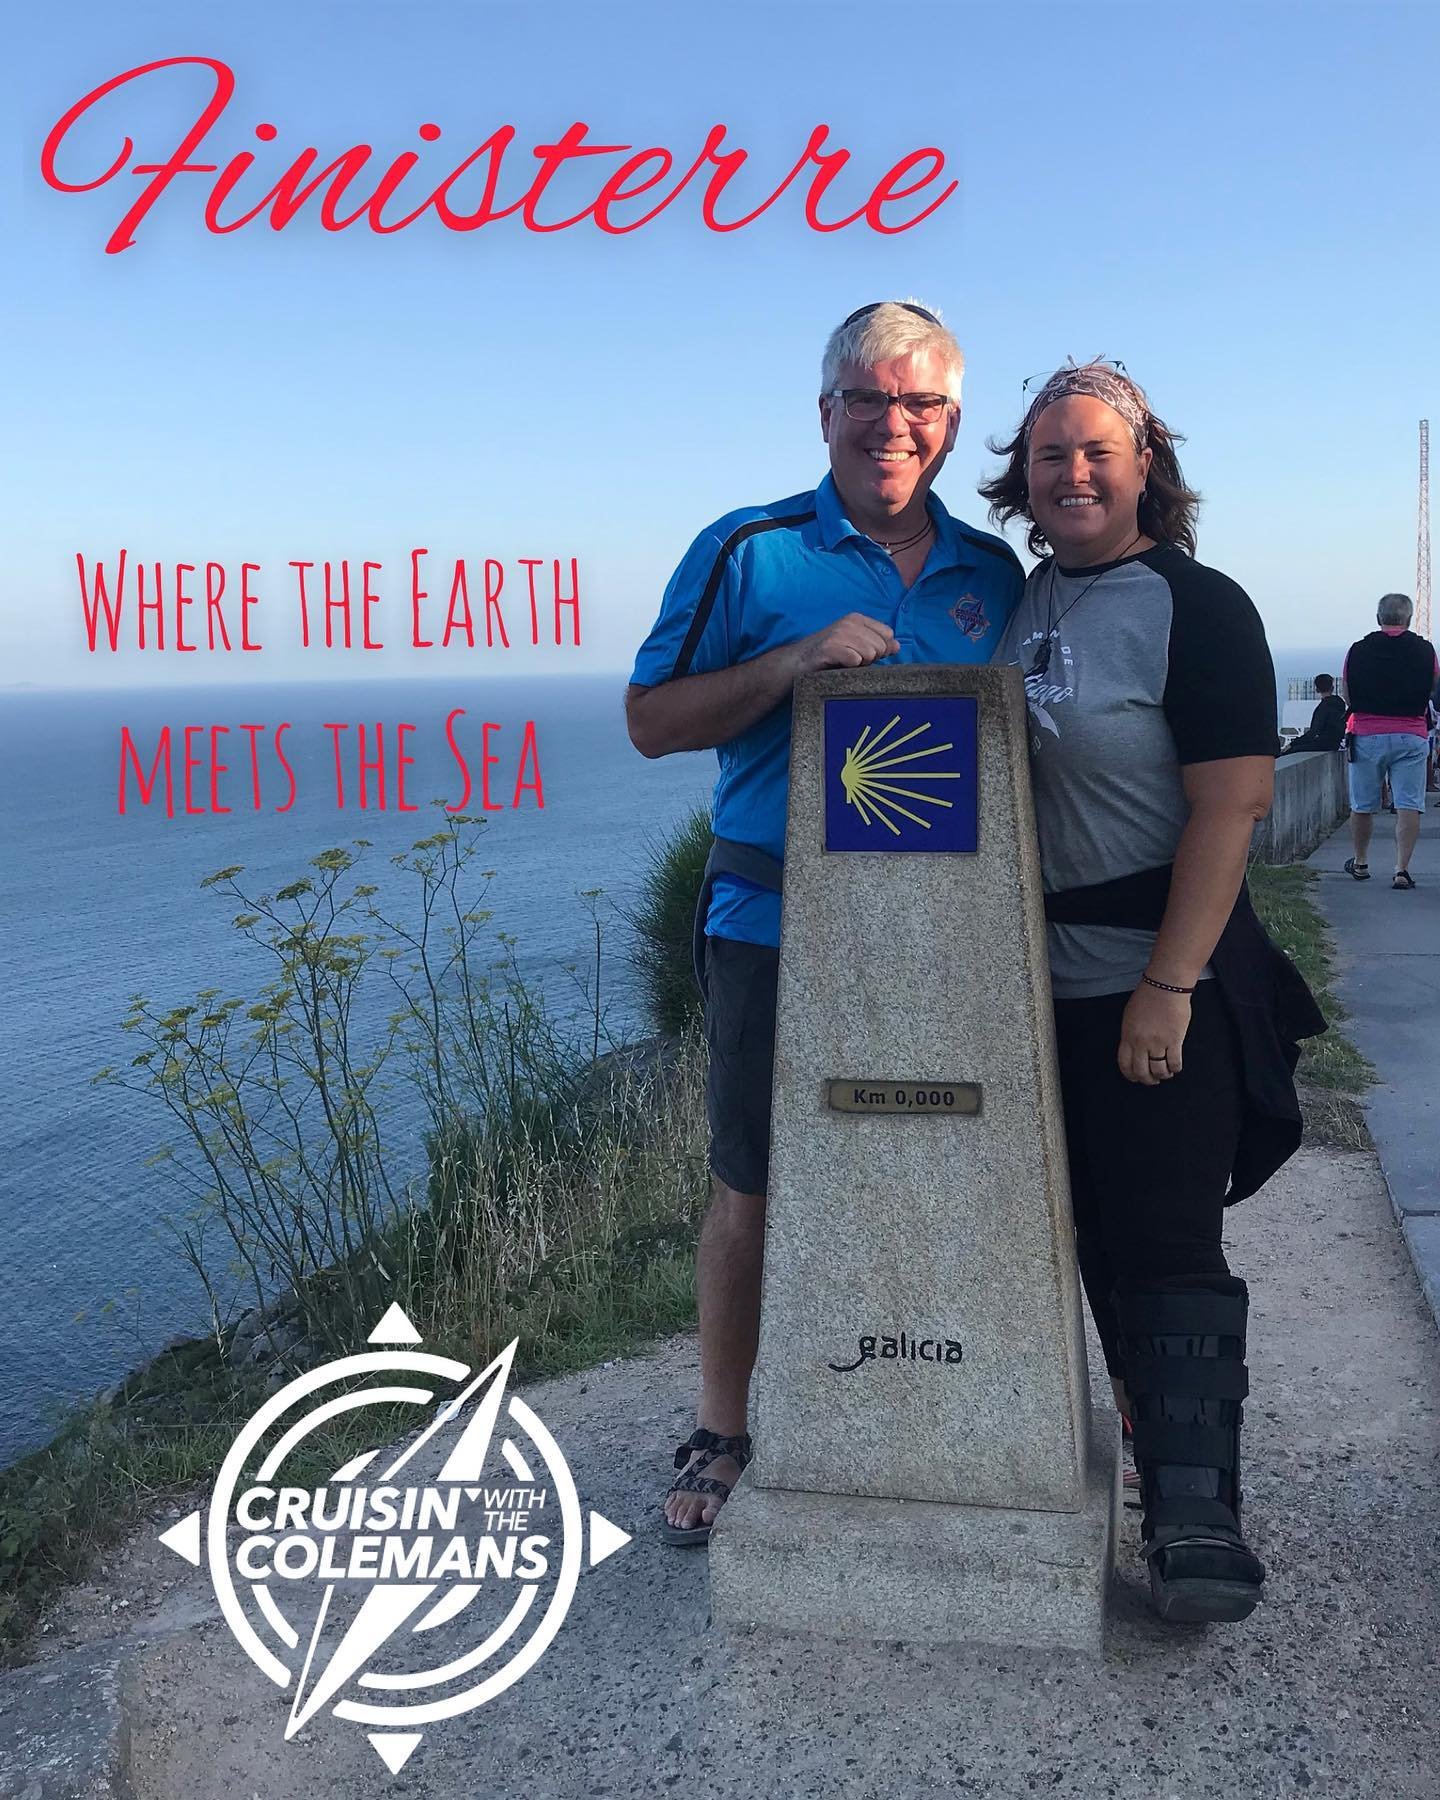
My final video in my top favorites is the video in Finisterre. The end of the Camino. We love this village! It has a bit of a bohemian vibe, a 2.5 kilometer wide beach, and a perfect way to end our Camino.

There is one more video coming out which will cover a little more Porto and our final 48 hours in Lisbon as we wrap up our tourist time and make our final purchases before heading back to the states. We are still processing our takeaways from our Camino 2019. We blogged about what we have learned thus far, you can find that blog by clicking here.

What is next for the Colemans?

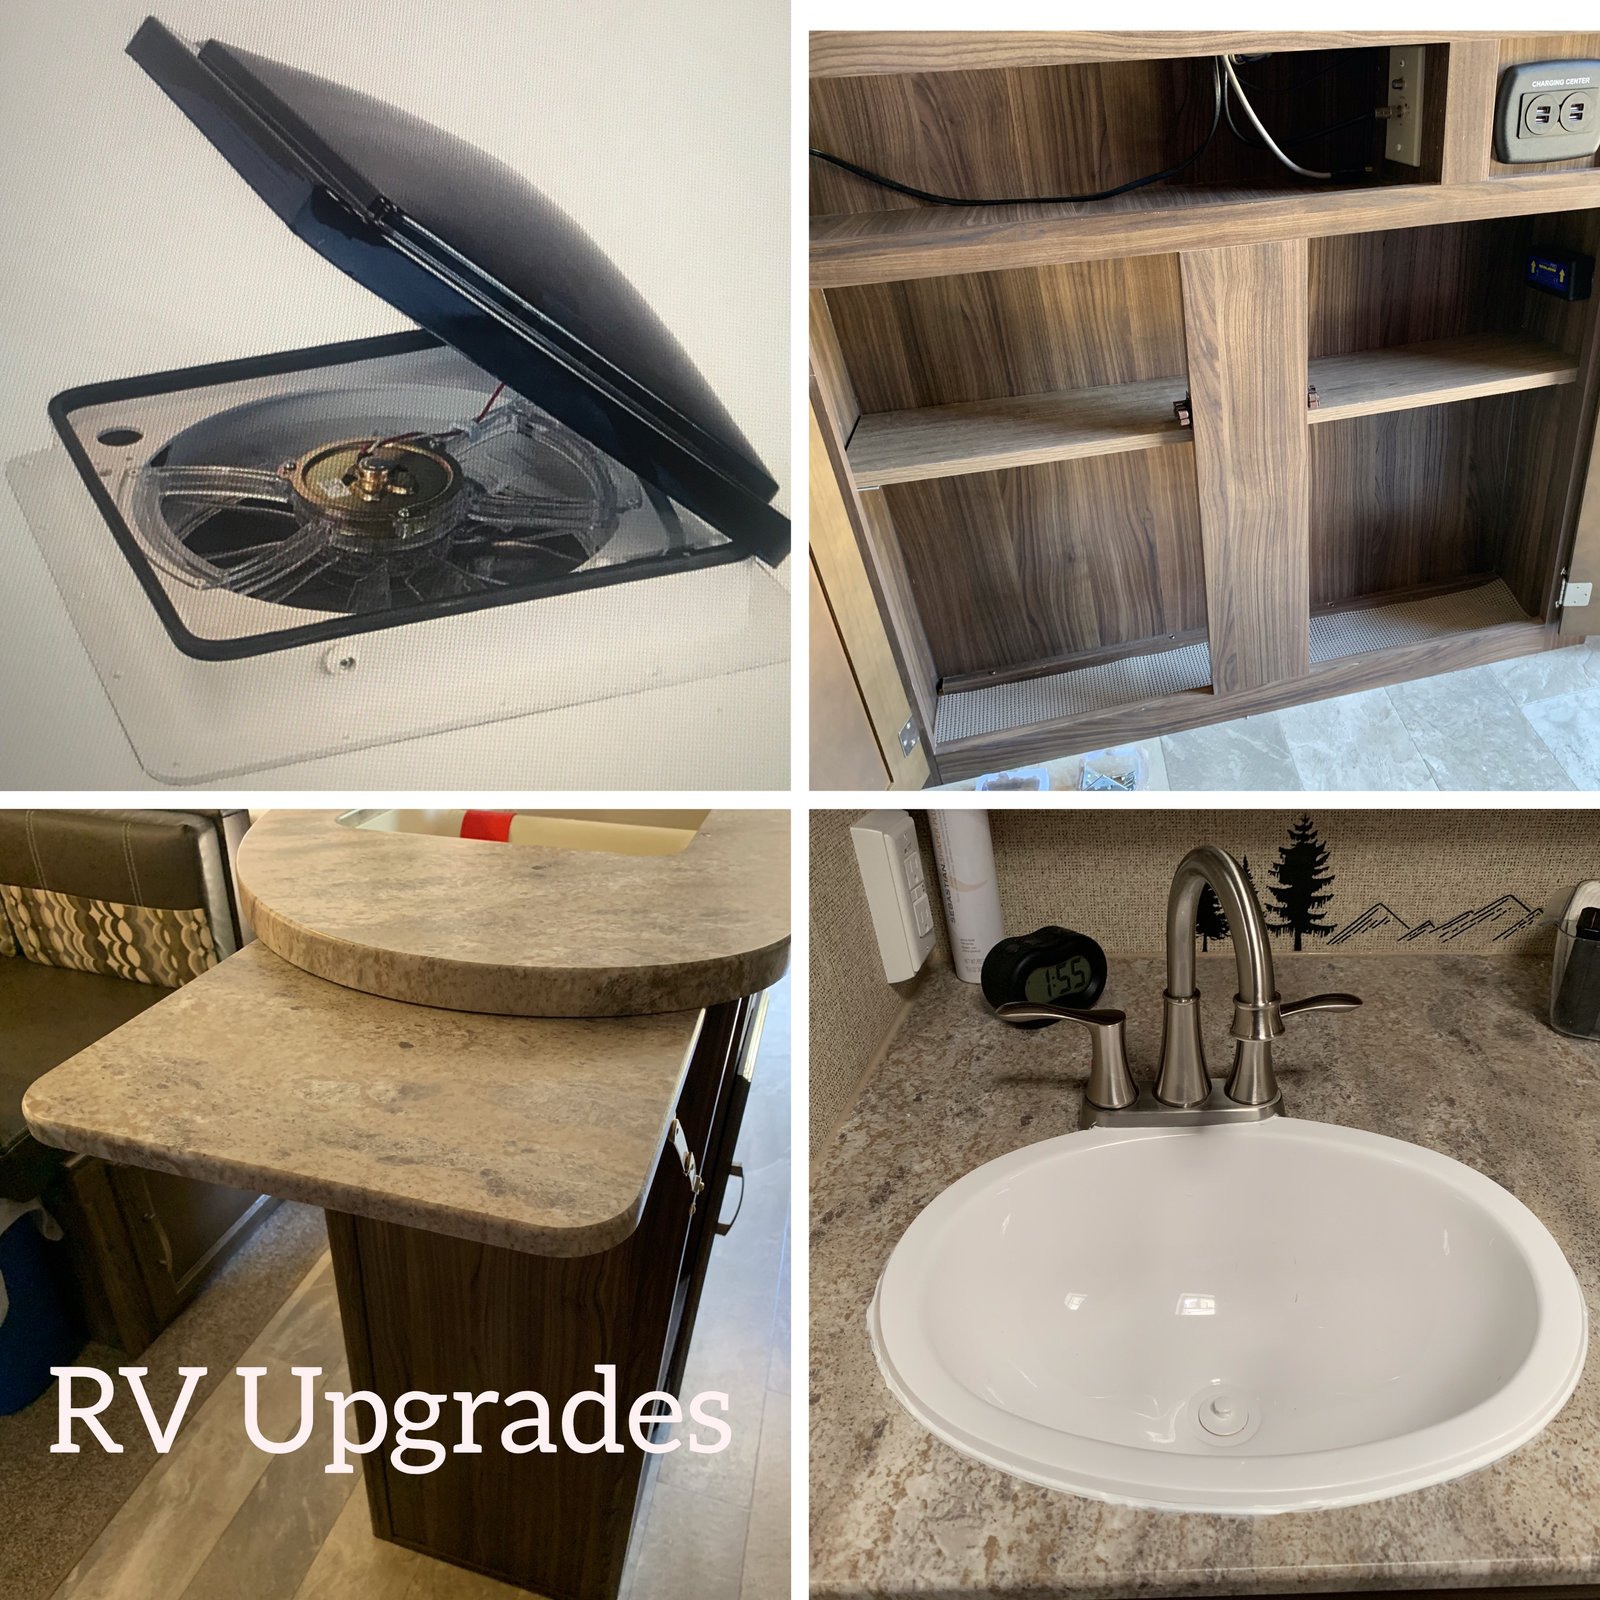
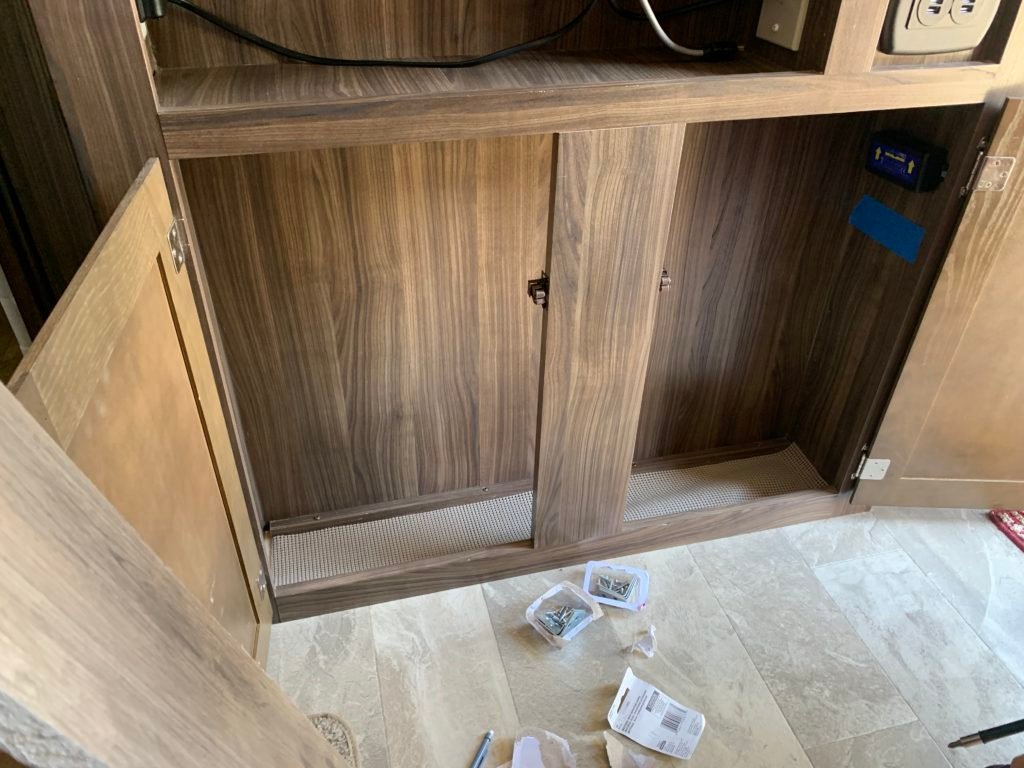
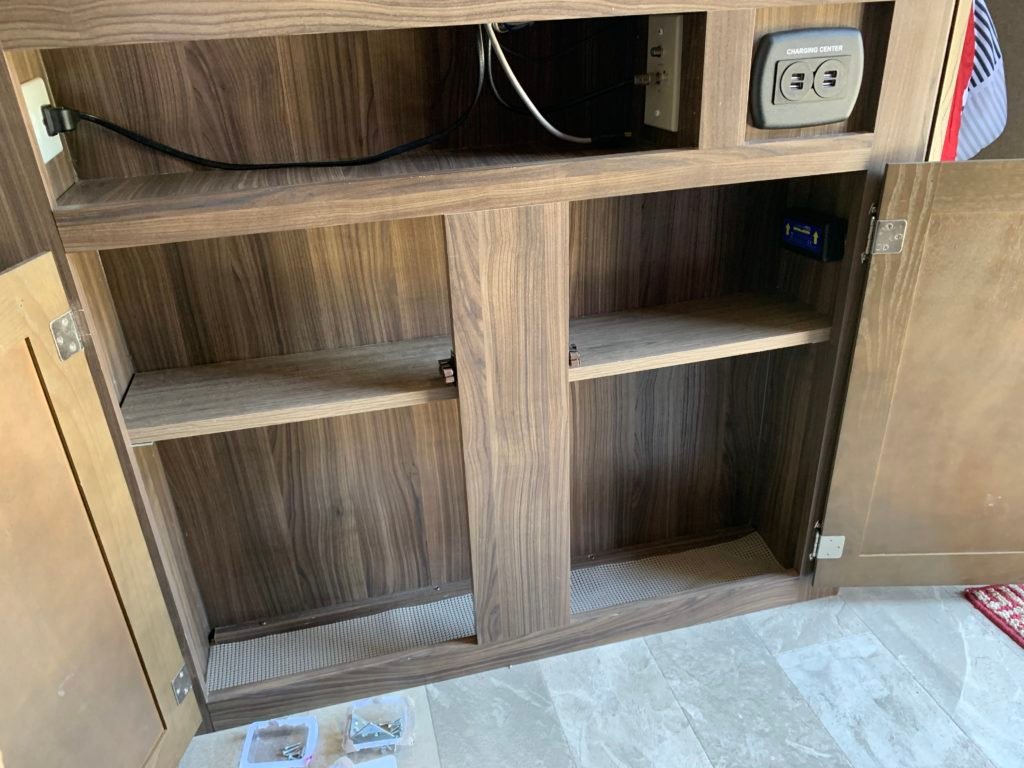
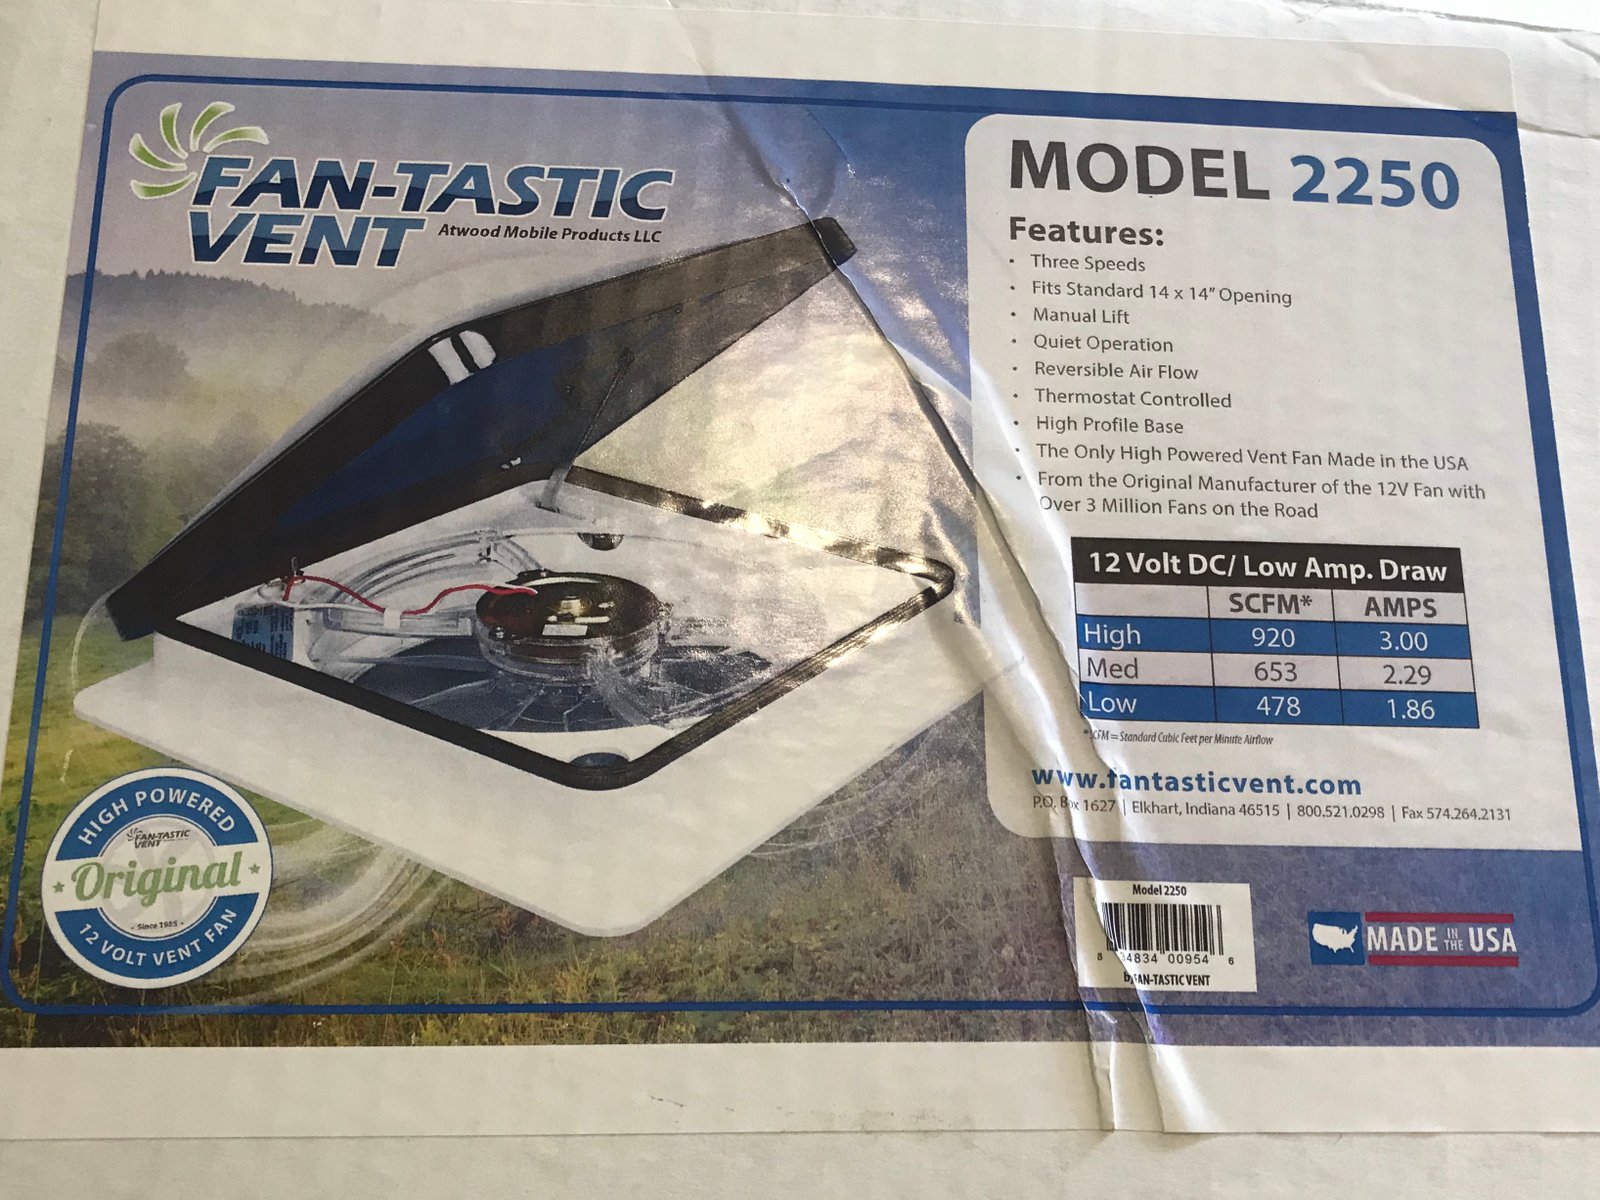
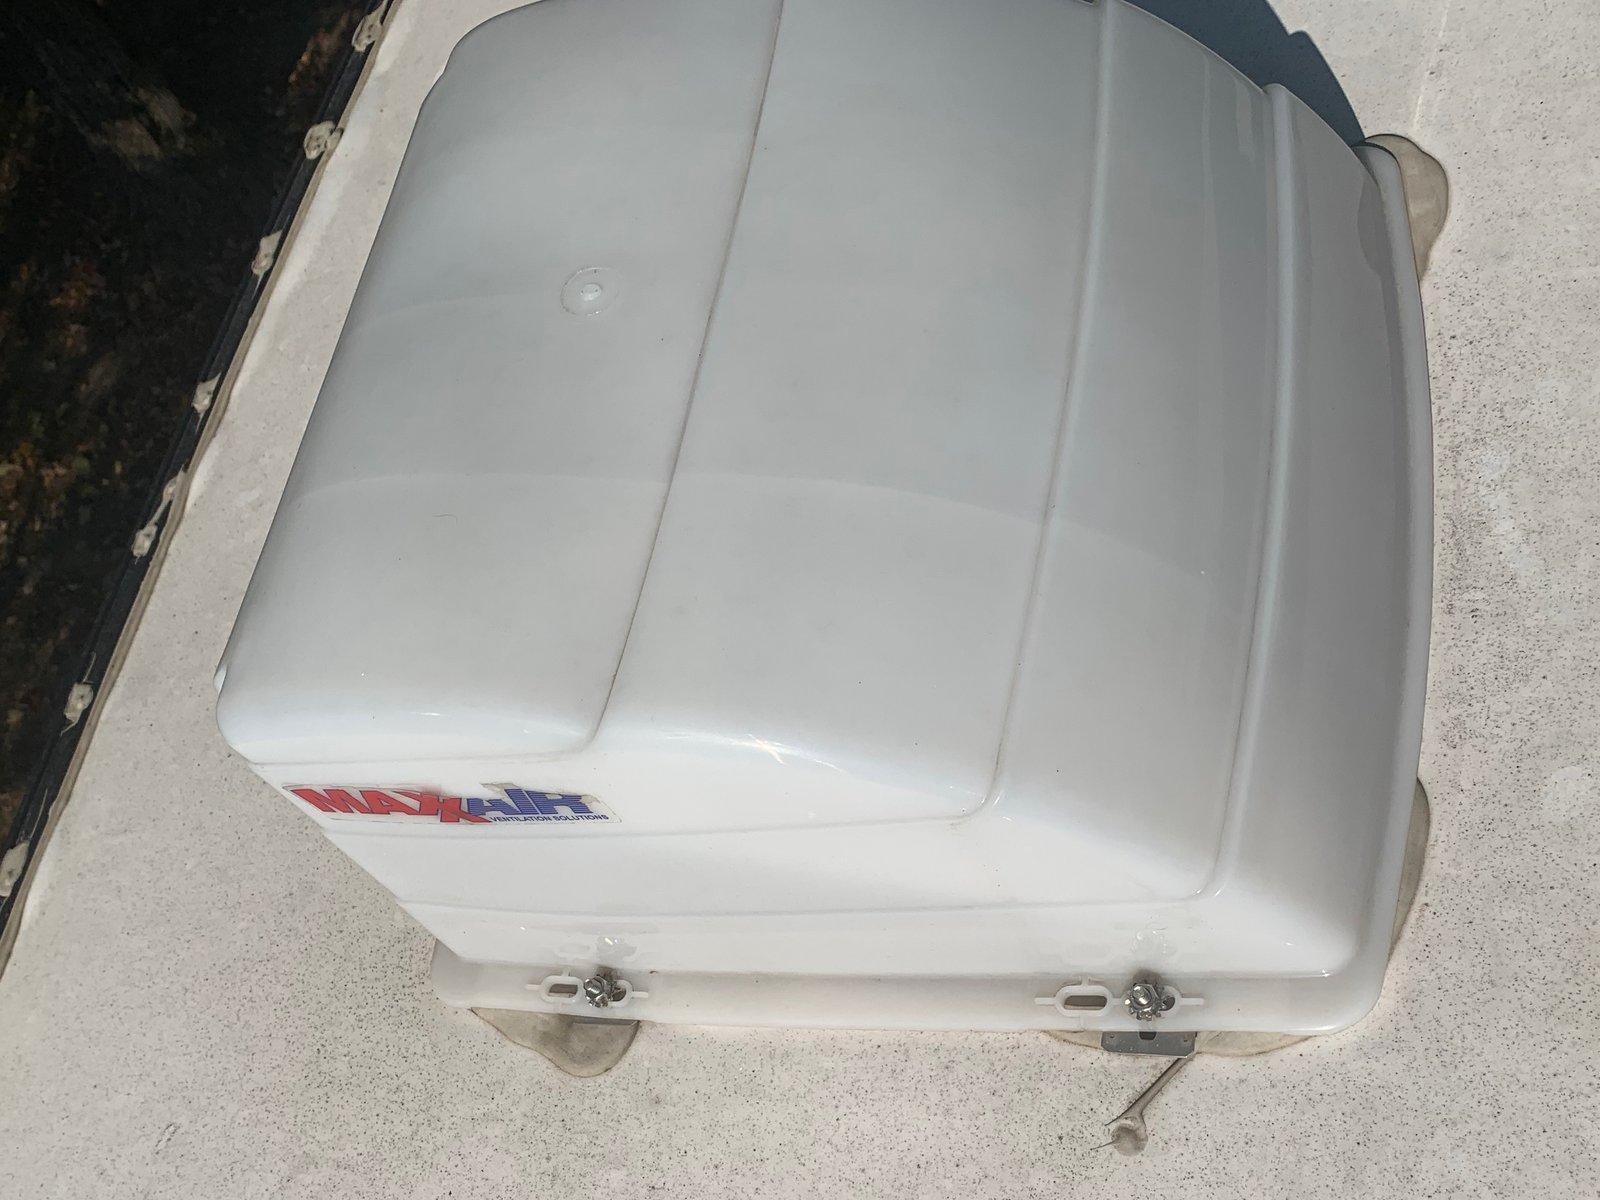
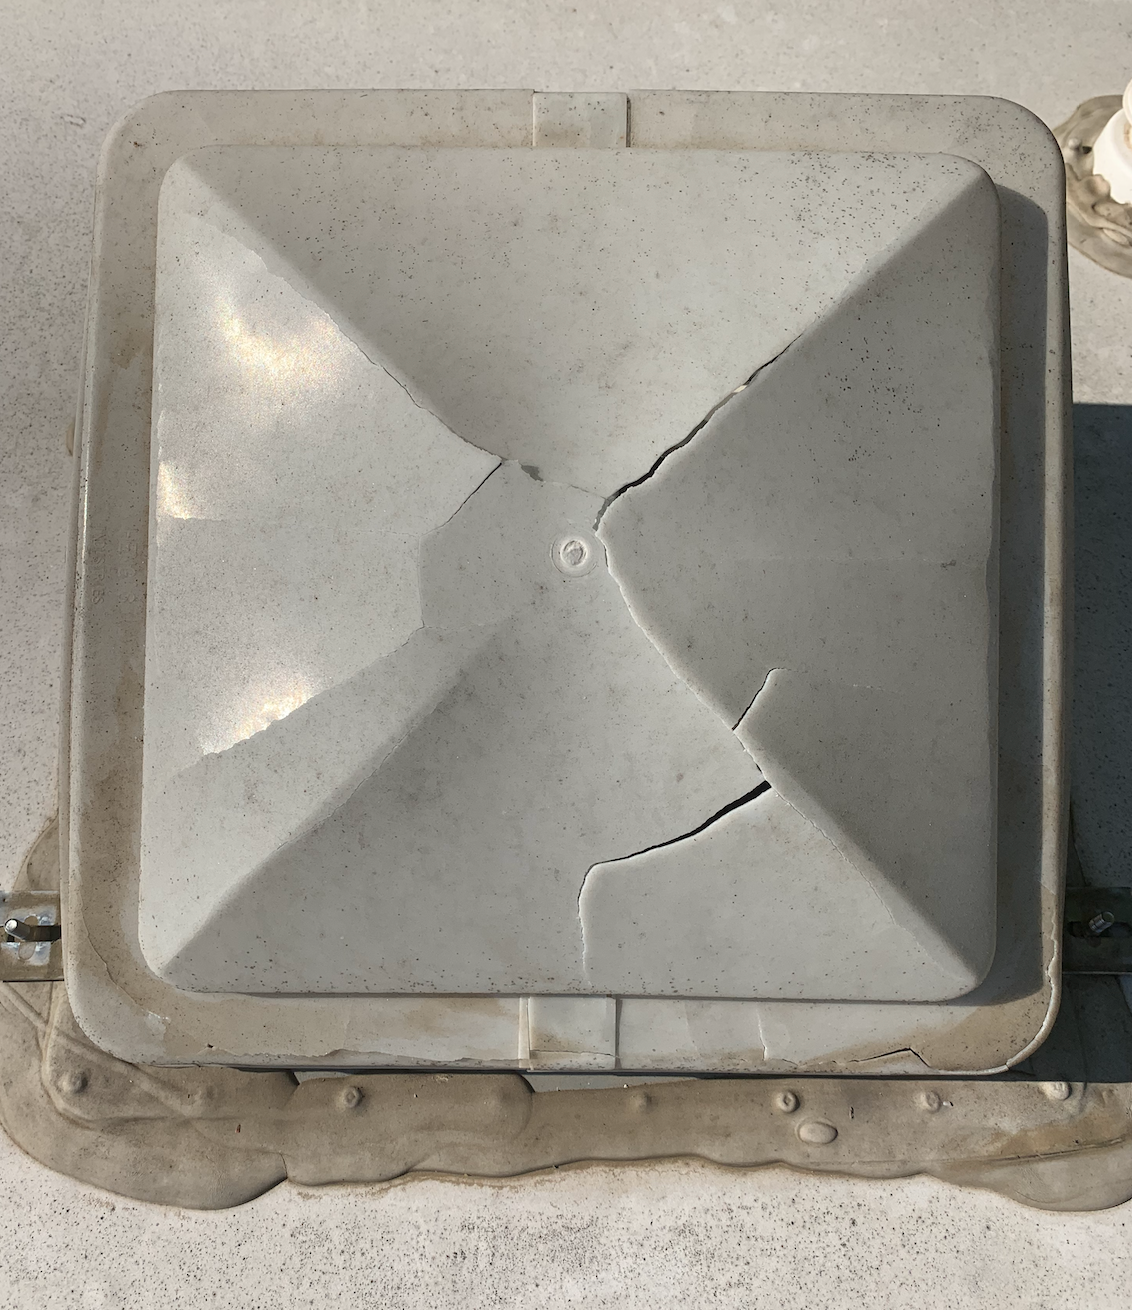
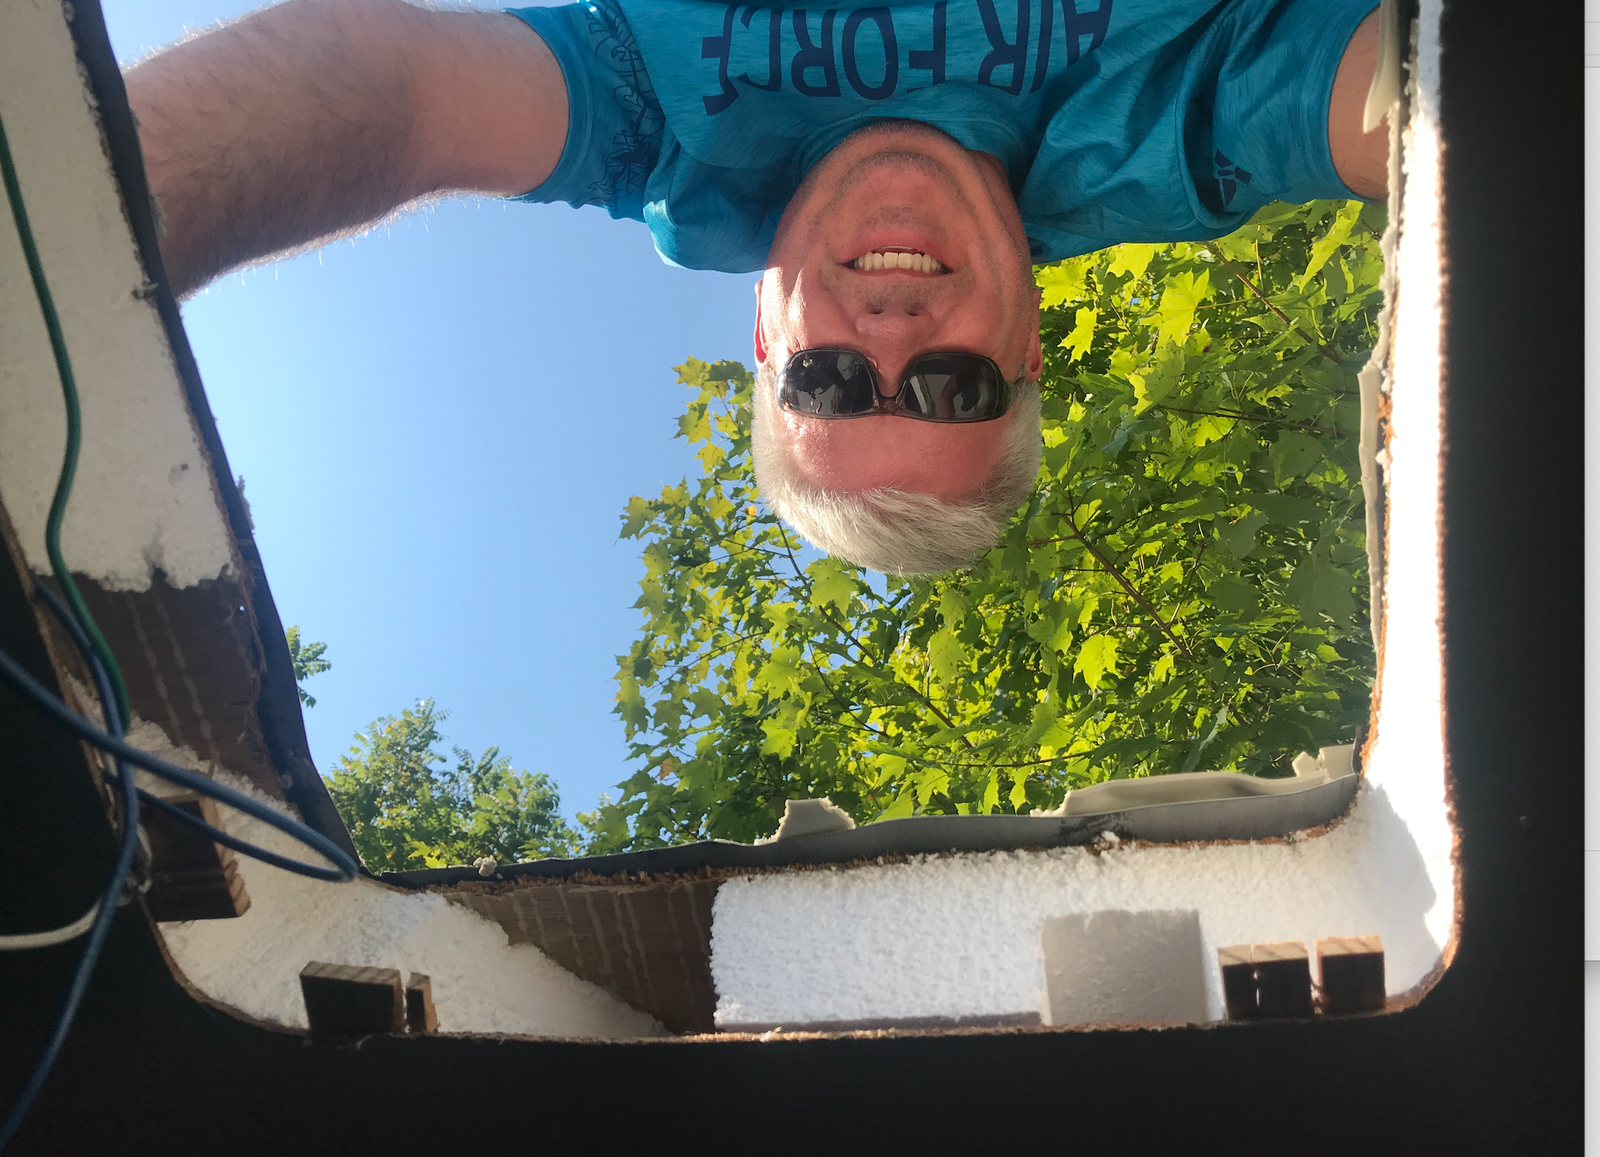
We are still discovering the medium we enjoy most to share our journey with all of you, blogging, YouTubing, or a combination called vlogging. We have a lot of videos to share as we have been making renovations to our travel trailer. We are going to attempt more vlogging which we interpret as a combination of video and blog and the subjects coming up will include RV’ing and hiking.

If there is something you have enjoyed from our videos and/or our blogs, please comment below and tell us about it. If there is something you want to hear more about, let us know that too. Blogging/vlogging is a journey we have been on for just over a year and we are still finessing and fine-tuning the direction our channel is taking but your feedback means a lot to us. What we love most of all is connecting with all of you – so don’t be shy!

Our Favorite Recipes from the Camino: Tarta de la Abuela Borracho (Drunken Grandma’s Cake) Gluten-Free!

UPDATE: Check out our new how-to video to make Tarta de la Abuela Borracho here: https://youtu.be/gbQQPMR_Nf4

While walking across Spain and Portugal during the summers of 2017 and 2019, we were offered Tarta de la Abuela many times. It was always the same basic recipe, but with small variations such as vanilla, caramel, or even banana custard. We also ran into several abuelas (and more often abuelos) who would enjoy a little nip almost any time of the day, so we thought why not incorporate it into this delicious cake.

A Tarta de la Abuela that we were served in Pontevedra.

This cake is really a breeze to make and here in the States is often called an icebox cake. They’re not very common anymore, but I don’t know why. Let’s try to bring them back! If you want to simplify the recipe, you could always use instant pudding but grandma would not approve, plus the custard is actually really easy to make.

Everything you need for a pan of delicious cake.

Start by warming four cups of milk in a saucepan along with a stick of cinnamon. Before it starts boiling, remove the pan from the heat. Cover and let it stand until slightly cooled. If it is too hot when added to eggs in the next step, they will cook (not good). Remove the cinnamon stick and put 1 c of milk into a bowl.

In a small bowl, mix four egg yolks, a quarter cup of corn starch, and one cup of sugar. It will be a thick paste.

Begin combining the milk little by little, stirring constantly, with the egg mixture. Return to stove and heat, stirring frequently until the mixture is thickened and somewhat reduced. Keep the heat low so that the custard does not burn to the bottom of the pan. This custard should be thick.

Once the custard has your desired texture, remove from heat and allow to cool slightly then add a half cup of Orujo Tostada. Orujo is a traditional liqueur made from distilled grapes after they have been pressed for winemaking. The result is Spanish white lightening. It is often flavored and served as a digestive after dinner. The most popular flavors are an herbal and a coffee flavor, but one store we visited had more than twenty flavors available! You probably won’t be able to get Orujo in the U.S. so substitute caramel vodka or even butterscotch schnapps.

To make the ganache layer, heat a half cup of cream and four tablespoons of butter in another saucepan until it starts to steam a little. Remove from heat and add one cup of chocolate chips. Stir until thoroughly melted and combined.

At assemble the cake, begin by soaking several cookies in the bowl of milk and transfer to a loaf pan. Don’t soak them too long or they will break apart.

Who doesn’t love to dip cookies in milk?

Cover the cookies with a layer of half of the custard. Put another layer of milk-soaked cookies. Top with half of the chocolate ganache. Repeat with cookies, the remainder of the custard, and the fourth layer of cookies.

And finally, add the last layer of chocolate custard. Cover with plastic wrap and refrigerate for at least 2 hours or overnight. By allowing the cake to sit, the cookies will absorb some of the liquid from the custard and become soft and cake-like. The photos in this post are of a half recipe so the layers are a little thinner.

The smaller the pan, the thicker the final layers will be.

Tarta de la Abuela Borracho (Drunken Grandma’s Cake)

  • 4 cups milk
  • 1 cinnamon stick
  • 2-3 packages of gluten free graham crackers (or shortbread style cookies)
  • 1 cup sugar
  • 1/4 cup cornstarch
  • 4 egg yolks
  • 1/2 cup caramel liqueur
  • 1 cup dark chocolate chips
  • 4 T butter
  • 1/2 cup cream or half and half

Warm the milk in a saucepan with the cinnamon. Before it starts boiling remove from the heat. Cover and let it stand until slightly cooled. If it is too hot when added to eggs, they will cook (not good).

Remove the cinnamon stick and put 1 c of milk into a bowl.

Mix the egg yolks, the corn starch and the sugar in a bowl. It will be a thick paste.

Start adding the milk little by little mixing constantly with the rest of the ingredients. Return to stove and heat, stirring frequently until the mixture is thickened and somewhat reduced. Keep the heat low so that the custard does not burn to the bottom of the pan. This custard should be thick.

Once the custard has your desired texture, remove from heat and allow to cool slightly then add the liqueur.

Heat cream and butter in another saucepan until it starts to steam a little. Remove from heat and add chocolate chips. Stir until thoroughly melted and combined.

To assemble the cake:

Begin by soaking several cookies in the bowl of milk and transfer to a loaf pan. Don’t soak them too long or they will break apart.

Cover the cookies with a layer of half of the custard.

Put another layer of milk-soaked cookies.

Top with half of chocolate ganache.

Repeat with cookies, remainder of the custard, and a four layer of cookies.

And finally, add the last layer of chocolate custard. Cover with cling film and refrigerate for at least 2 hours or overnight.

Just a Few More RV Upgrades

This is my absolute favorite blog subject! I love when we are able to tool around the rig, personalize it, and make upgrades. Honestly, I love anytime we can be in the rig during the school year but blogging about it is a huge bonus. For this blog, I am going to talk about upgrades we did in the bathroom, the kitchen island, and under the TV storage.

We created an RV tour video on our YouTube channel and I blogged about our upgrades in April 2019. You can find the blog by clicking here. But let’s talk about what we have done since April. The links are also at the end of this blog.

Easy Upgrade: Adding a Shelf = New Liquor Cabinet

This may not seem like much but who needs a shelf that is this tall? And why in the world wasn’t there a shelf? I could ponder those questions or we can fix the problem. We found the wood at Lowe’s and were thrilled when it matched so well (when does that happen?). Brian installed the shelf using L brackets on the sides and on the front middle. The L brackets are in the framing so it’s not going anywhere. This is going to be our liquor/soda cabinet on the bottom shelf and camera equipment on the top shelf. To protect the bottles when moving we have invested in bottle wraps as seen below.

Creative Way to Add Countertop Space

Every rig comes with counter covers for the sink. We never used them. I tried but they were always in my way when I needed in the sink. I have tried using one side but not the other, still didn’t work. The photos don’t show it but I use a roll-up sink draining board and it’s perfect for resting things while we are cooking and for dishes as they dry.

Since counter space is at a premium, we had to get creative. It took some time to make this commitment because it is relatively permanent but we decided to use the sink covers as collapsable pull-down counters. They are screwed into the island with a collapsible arm bracket. Result: They are absolutely amazing!!

Upgrading the Bathroom Sink & Faucet

Excuse the clutter in my photos, stuff was everywhere that weekend for some reason. Regardless, the bathroom sink was a hot mess before this upgrade! Water would go everywhere when I washed my face or brushed my teeth. The faucet was too far back to get your hands underneath. This took a bit of creativity to ensure we could use the existing water lines. Fortunately, Brian found flexible connection lines at Lowe’s. Underneath our bathroom sink is the outdoor kitchen, so access to the water lines was not an issue. He used the same faucet holes and that did mean it is a bit off-center, though not obvious enough for us to care and the faucet head swivels. Using his Dremel, Brian cut the hole for the new sink to be a bit larger and he cut a notch out the sink so it is flush with the faucet. The entire project took him less than 2 hours (as seen on the clock in the photos). Below are links to the sink and faucet and a close-up of the new sink and faucet installed.

Finally, a sink that is perfect for washing your face and brushing your teeth

Ventilation Magic: Upgrading the Bathroom Fan

I have heard about them, I have dreamt about them, and now we own one! Haha, the Fan-tastic Vent fan seems to be a staple for many RV’s. I didn’t know what a difference they made until we upgraded.

YES! This fan is amazing and super easy to install (so Brian tells me). We ordered the Fan-tastic Vent 2250 with a reverse thermostat. This is not the one with a remote or rain sensor but it will pull air in or out of the rig depending on your preference. I cannot believe how quiet this fan is; it has a lot of power and we have only used it on the low speed so far.

This project took about 2 hours. It made a huge mess with pieces of styrofoam insulation everywhere. We also needed to put more shims in between the styrofoam and the roof to hold the new screws in place. It is terrifying to see how little is holding up your roof, but that’s another subject, let’s just say it’s a few boards, some styrofoam, and a lot of air.

We were both surprised at how the original vent fan cover was brittle and shattered into pieces when Brian took out the fan (see pictures above). We had a Max-air cover over our vent so there was no damage to our rig, but besides UV rays there is no reason the cover should have been broken.

Speaking of covers, the Fan-tastic Vent needs a special vent cover, see the links below. We thought our Max-air cover would work but it’s too small. Next time we go out we will be installing the new vent cover that is shown below which is a very easy install. Besides wire cutters, wire nuts, and shims, all you need to make this upgrade happen is a couple of hours and what is shown below.

As I mentioned at the start of this blog, we have done a lot more RV upgrades, you can see that blog by clicking here. We also have an RV Tour (created before these upgrades) on our YouTube channel linked below.

What have you done to make your rig your own? Tell us about your upgrades or personalize tips – we love to hear them!

Until next time…

★ 25 years guiding ★ 48 U.S. states ★ 10 countries ★ 3,000+ Camino miles