When most people think about camping, they dream about roasting hotdogs and making s’mores over the campfire. When we go on our extended trips, that would get old really fast! We only eat hotdogs two or three times during our entire summer trip. Since I love to cook, I’m always trying to get creative without spending lots of time in the kitchen. Plus, in the 100º+ temperatures of Arizona, where we are right now, I don’t want to heat up the RV. Crockpots are great, because they do most of the work and I can leave it outside all day while we’re off playing. Of course, be aware of your surroundings, you don’t want to get the attention of the local wildlife and lose your dinner!

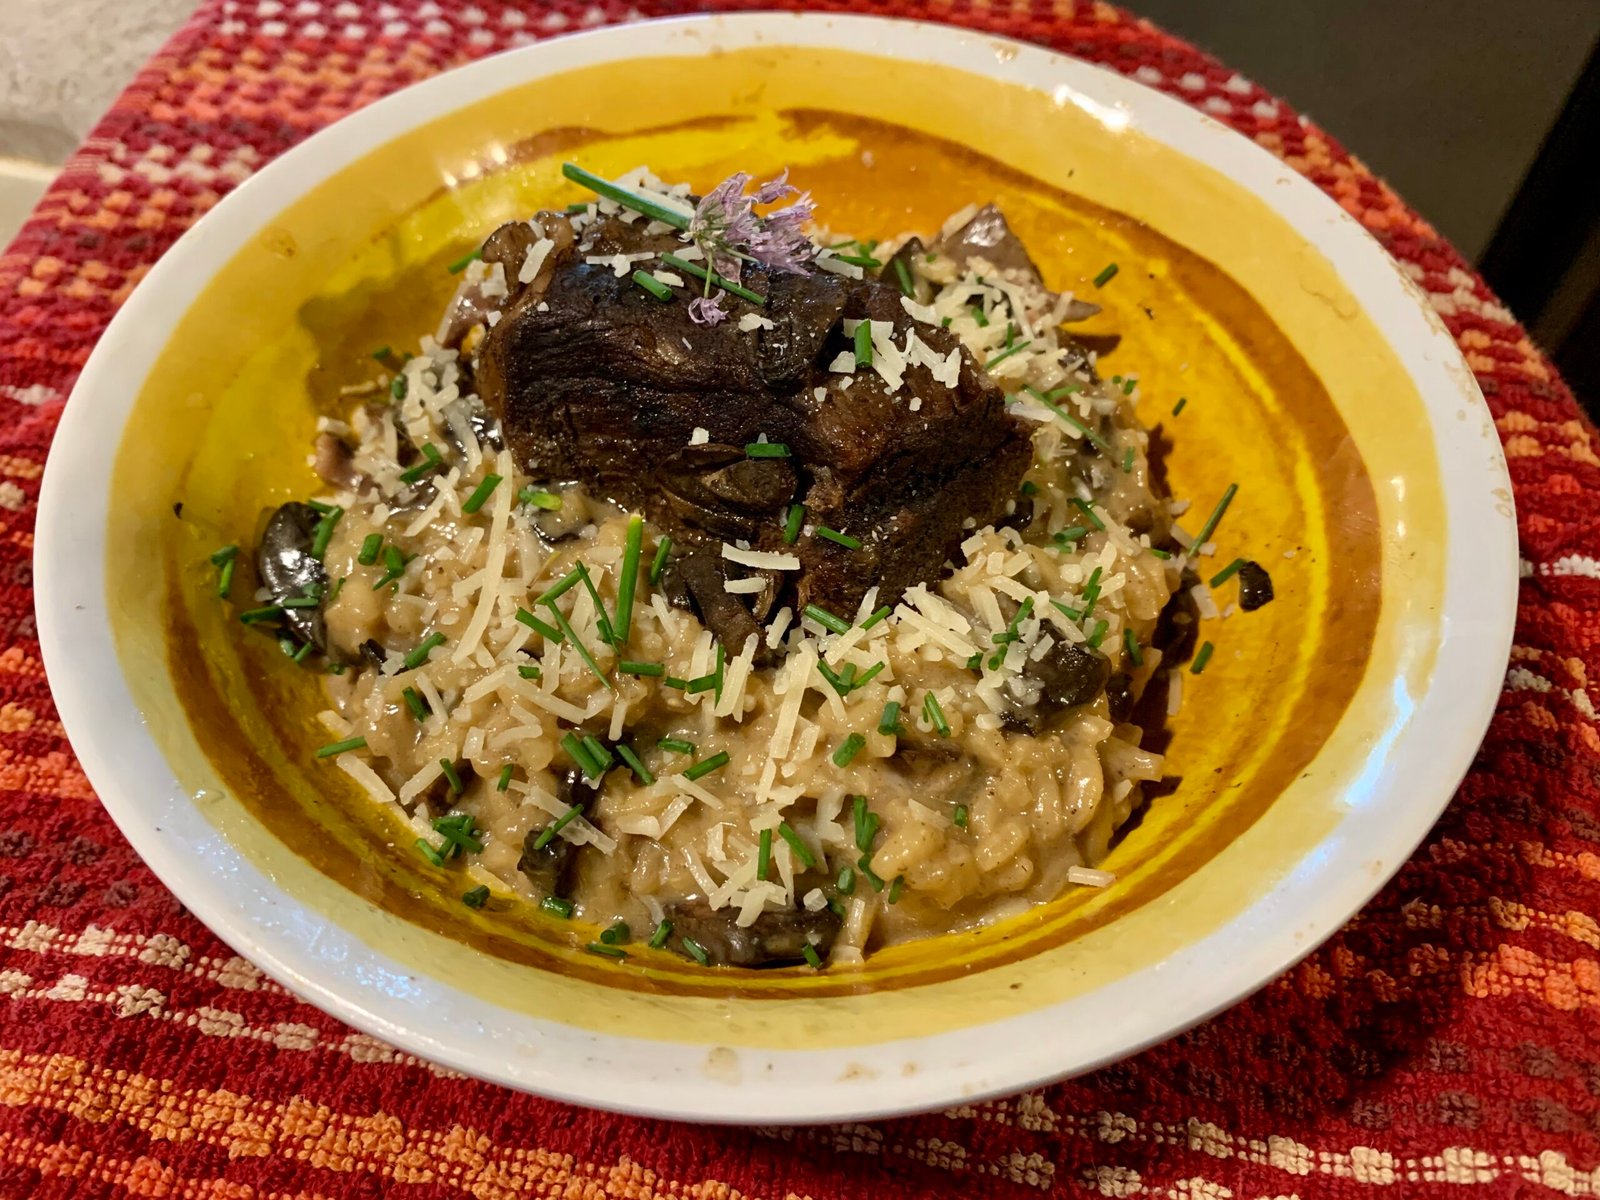
Easy Short Ribs with Mushroom Risotto
Serves 4-6
Ingredients:
For the crockpot:
- 2 pounds of short ribs
- ½ t salt
- ½ t pepper
- 1 T olive oil
- 1 C dry red wine (or water)
- 1 t garlic powder
- 1 t onion powder
- 1 T Worcestershire sauce
- 2 pounds sliced mushrooms
- 1 large sweet onion, sliced (optional)
- 4 C beef broth
For the risotto:
- 1 ½ C of arborio rice (the kind of rice matters, don’t use anything else!)
- 1 t olive oil
- 1 t minced garlic
- 6 C of cooking liquid (topped off with water if there is not enough)
- ½ C half and half
- 1 C parmesan cheese, plus more for finishing
- 2 T fresh chives
Instructions:
- Sprinkle the short ribs with salt and pepper. Heat oil in an iron skillet over medium high heat. Sear the short ribs for about 60 seconds on each side to get a nice crust on them. You might need to do this in batches. Place each piece of meat in the crock pot as they are finished. When all of the ribs are done, add wine or water to the pan and scrape up the browned bits. Pour this over the meat in the crockpot. You may skip this step if you’re lazy or don’t want to get another pan dirty. Just cover meat with salt and pepper and add wine or water directly to the crockpot.
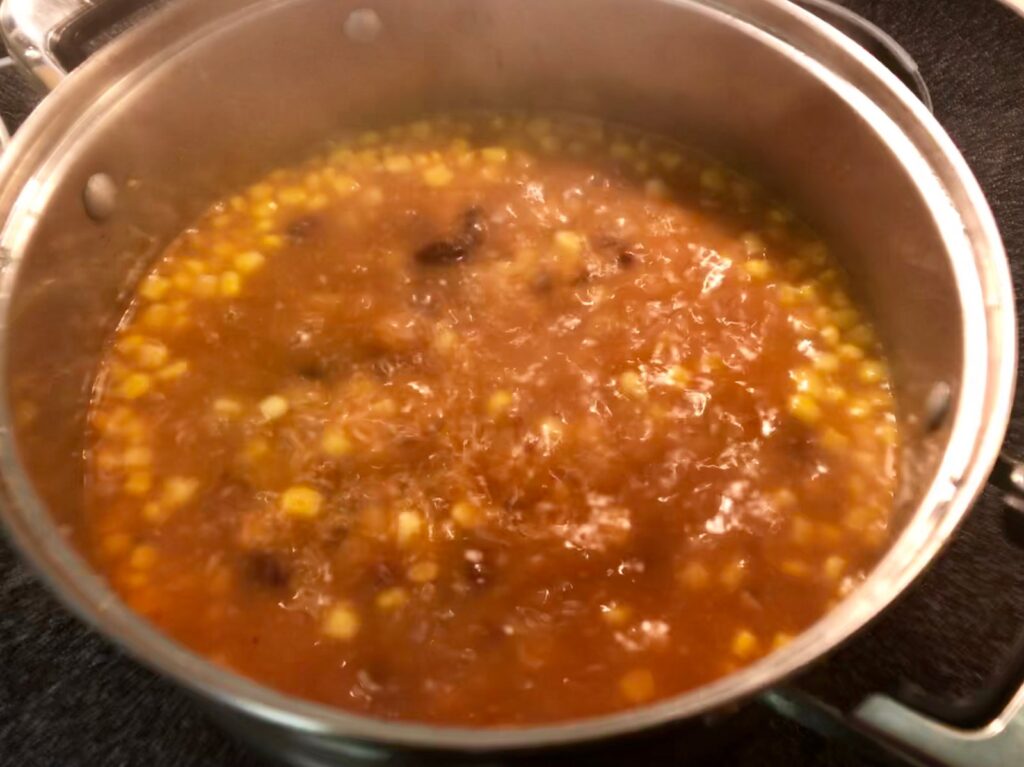
- In the crockpot, add garlic powder, onion powder and Worcestershire sauce to meat. Top with the mushrooms. You could also add some sliced onion if you like. Add broth to cover meat. You may need to top off with some additional water to make sure the meat is fully submerged (the mushrooms and onion do not need to be covered).
- Put the crockpot on low and forget about it for 6-8 hours.
At dinner time:
- About 45 minutes before dinner, heat a large saucepan over medium heat with the olive oil and add the garlic. As soon as you smell the garlic, add the rice. Toast the rice for a few minutes until you can start to smell it also.
- Meanwhile, remove the mushrooms and onions from the crockpot and put them in a bowl. Put the short ribs in another bowl. As you continue through the next steps, make sure to drain the liquid from both bowls back into the cooking liquid.
- Add one cup of the cooking liquid to the rice and stir with a rubber spatula. When the liquid is mostly absorbed, it is time to add another cup. Make sure you keep track of how much liquid is added. The liquid should be at a gentle simmer throughout this process, do not try to rush this step. Keep stirring frequently so that nothing sticks to the bottom.
- Using a fork or tongs, pull the short ribs apart into small bite-sized pieces, saving back one full piece for each person you are serving.
- Once you are down to adding the final cup of liquid (number 6) taste the rice to check for doneness. It should have a little “bite” to it (al dente). If you would like it softer, add more liquid ½ cup at a time until you get it where you want it. Adjust seasoning, if necessary.
- To finish the rice, add the half and half and cheese and simmer for just a few more minutes. At the same time, add the mushrooms and onions into the risotto. Make sure that any liquid is drained from them or they will make the risotto too wet at this point. Once everything is ready, gently stir in the torn short rib pieces.
- To serve, spoon the risotto onto a plate and top with one full piece of meat. Sprinkle with parmesan and chives. We love to serve this with sauteed sugar snap peas or asparagus.