Recipe of the Week – Sautéed Chicken with Garlicky Pasta

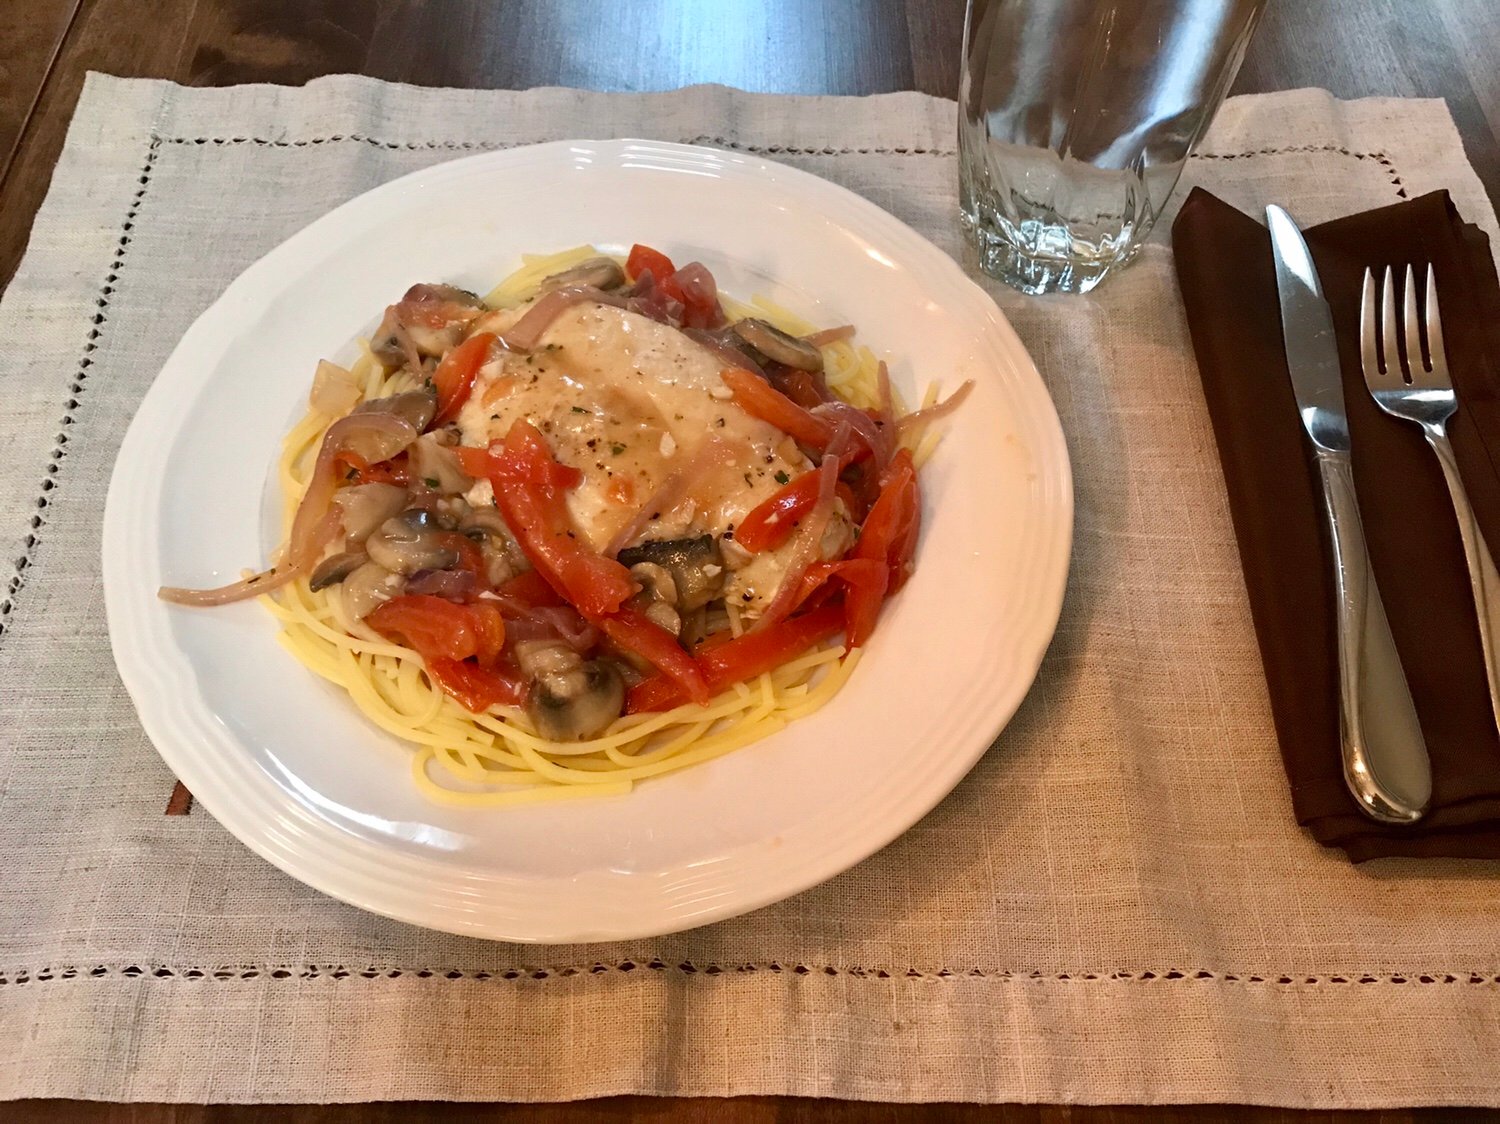
We love to entertain guests but there are only so may opportunities during the weekend with our busy schedules. That leaves weeknight entertaining, but who has time for a fancy dinner after work? Sautéed Chicken with Garlicky Pasta comes together quickly and is perfect for a “Sunday dinner” any night of the week. Serve with a green salad and invite some company for dinner on a weeknight!
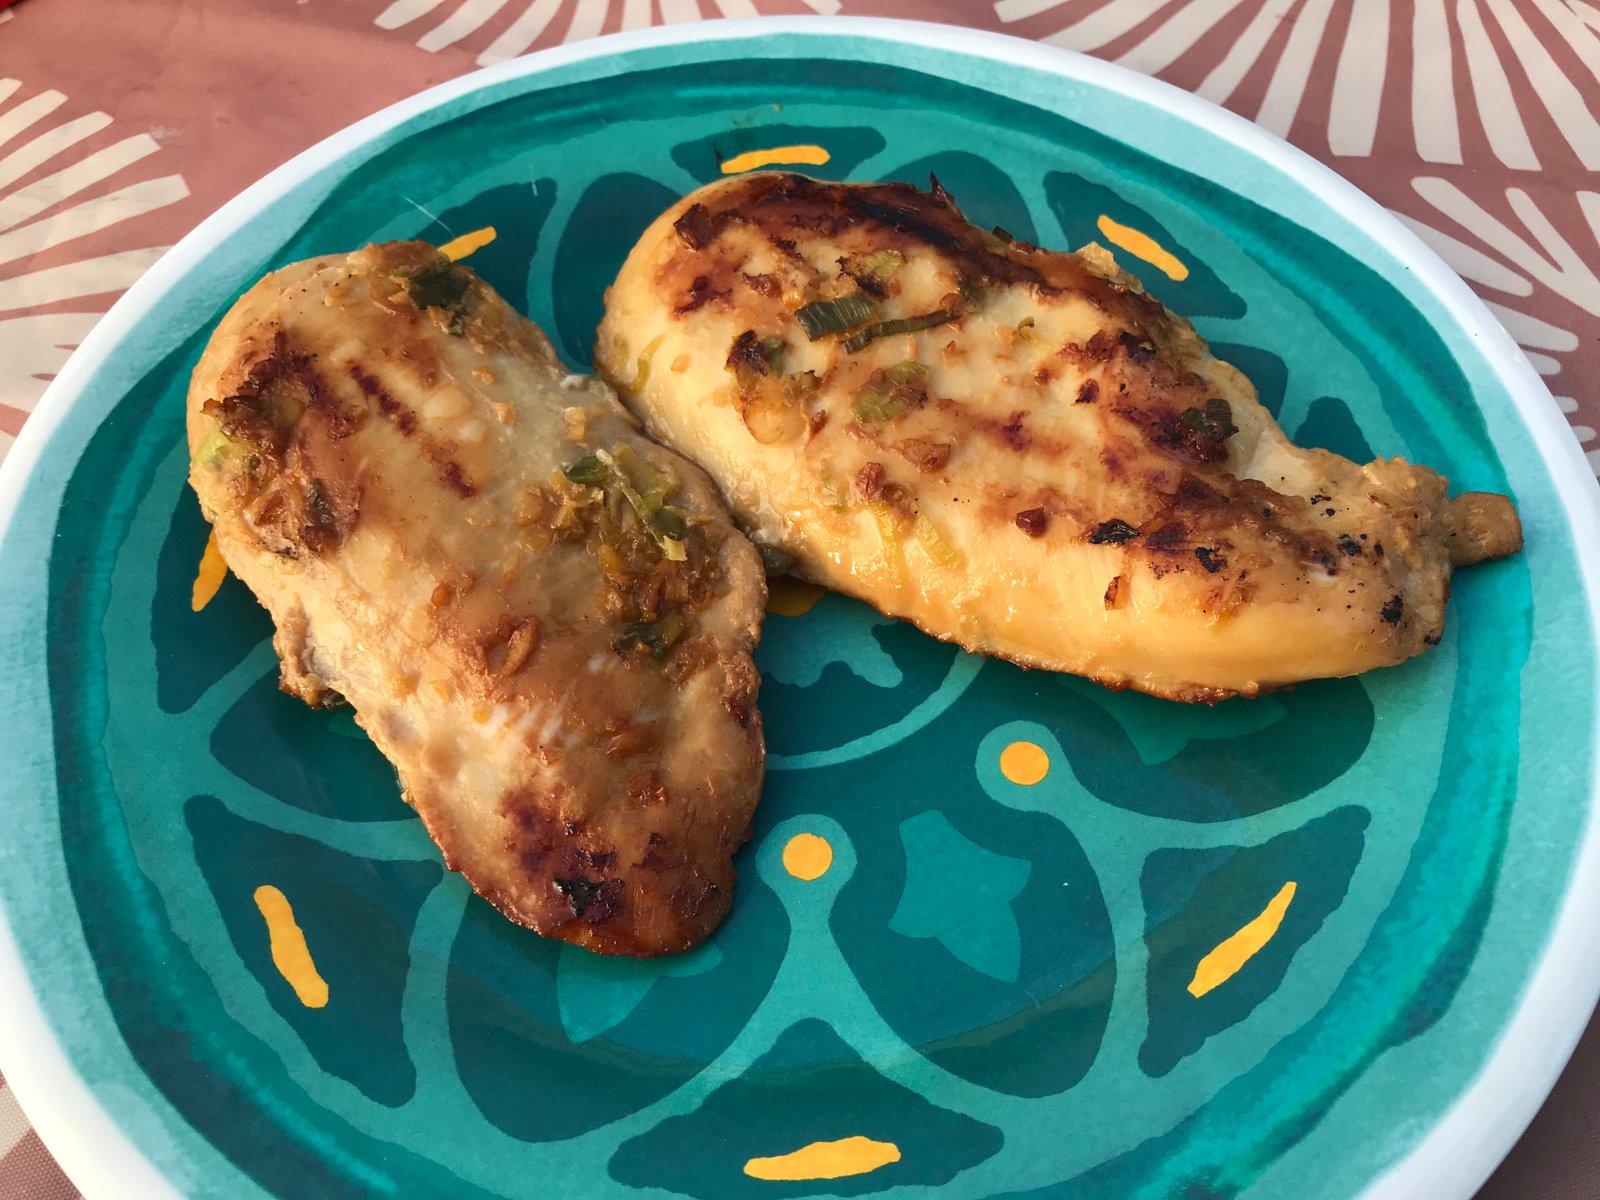
Start by heating some olive oil in a saucepan over medium high heat. Season four chicken cutlets with salt and pepper and cook for about 5 minutes per side.

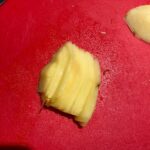
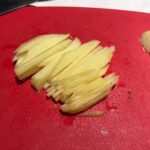
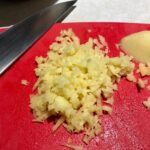
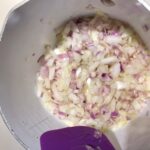
While the chicken is cooking slice half of a red onion, a small package of baby bella or white mushrooms, four cloves of garlic and about one tablespoon of fresh thyme. Take two or three tomatoes and core then slice them thinly. Dispose of the seeds and juice that result.

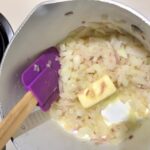
Remove the chicken and keep it warm (I usually put it on a plate and stick it in the microwave to get it out-of-the-way). Add a little more olive oil to the pan if necessary. Toss in the mushrooms and onion and saute until soft. Meanwhile start a pot of water to boil for the pasta. Cook two ounces of spaghetti per person according to package directions.

Add garlic, thyme, and tomatoes and cook until tomatoes are heated through.

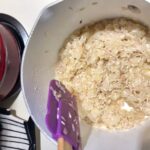
Pour two cups of chicken broth into the pan and scrape up any browned bits (this is called deglazing). Make a slurry by mixing one tablespoon of gluten-free flour with two tablespoons of water and add to the pan along with one teaspoon of Dijon mustard. Add the chicken and any juices on the plate back into pan and allow the sauce to thicken. Taste and adjust the seasoning if needed.

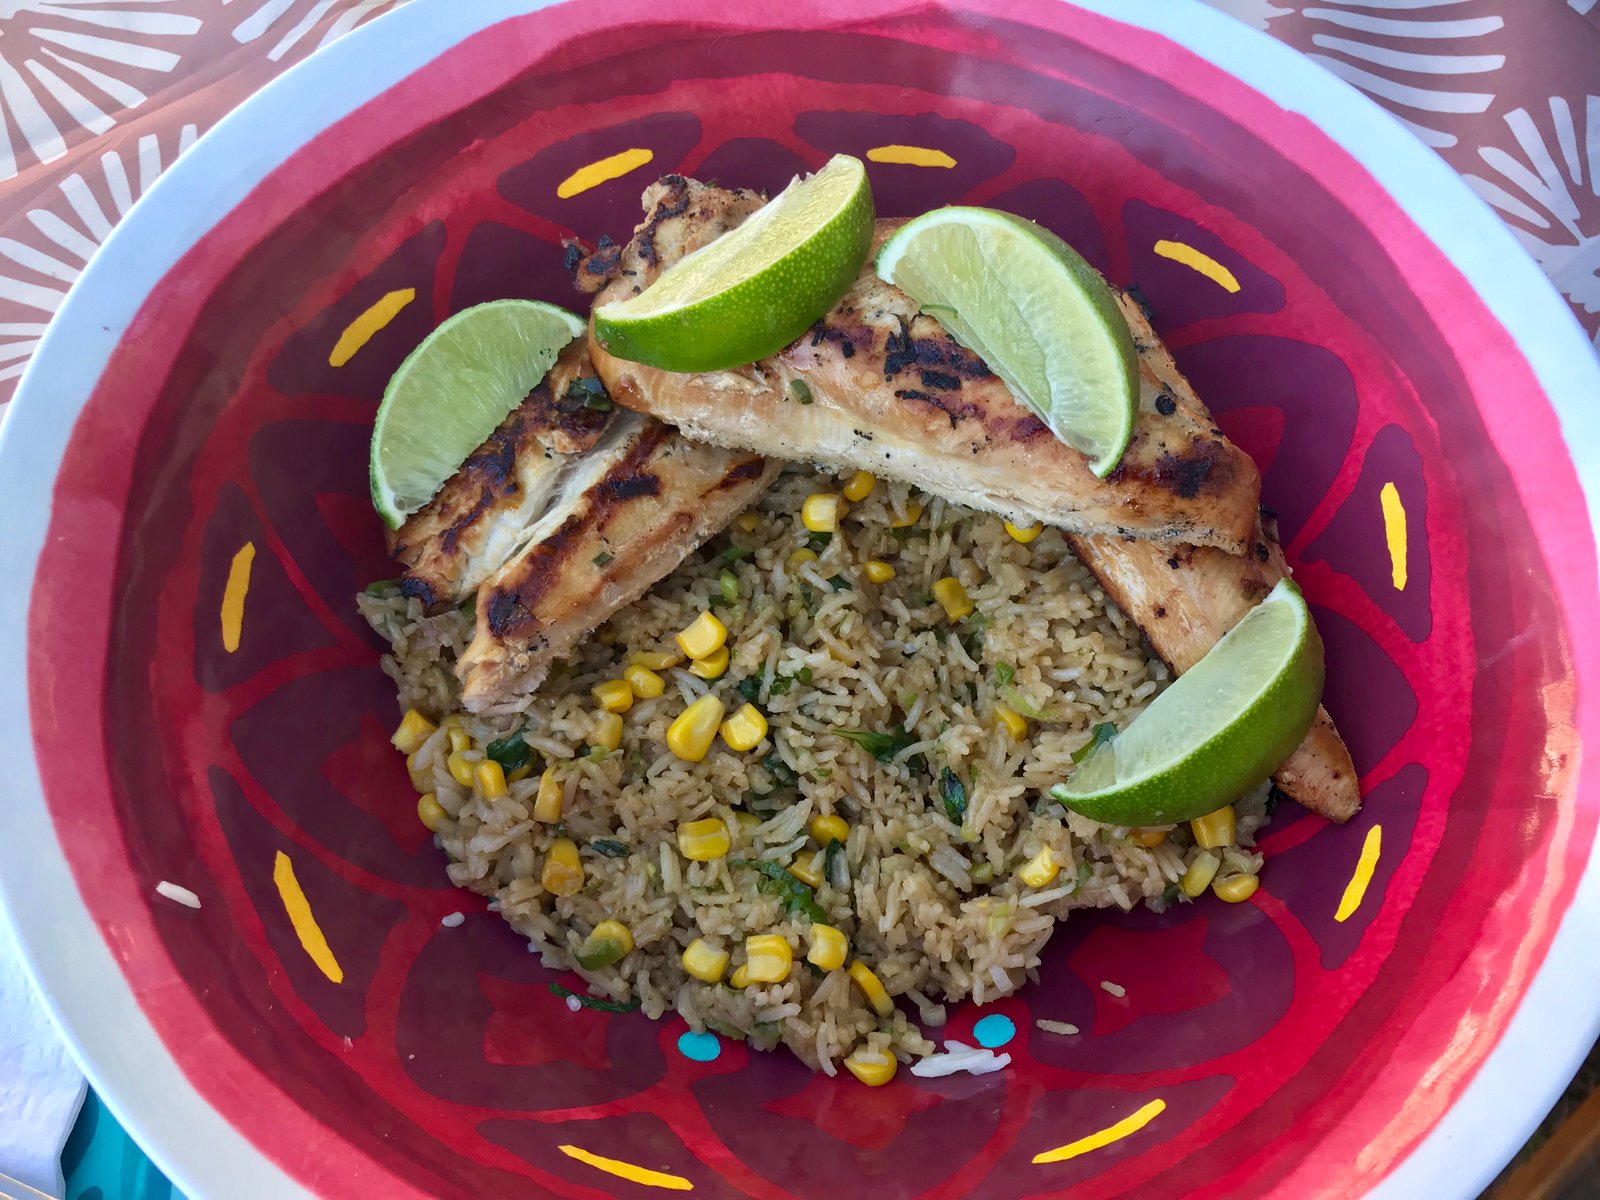
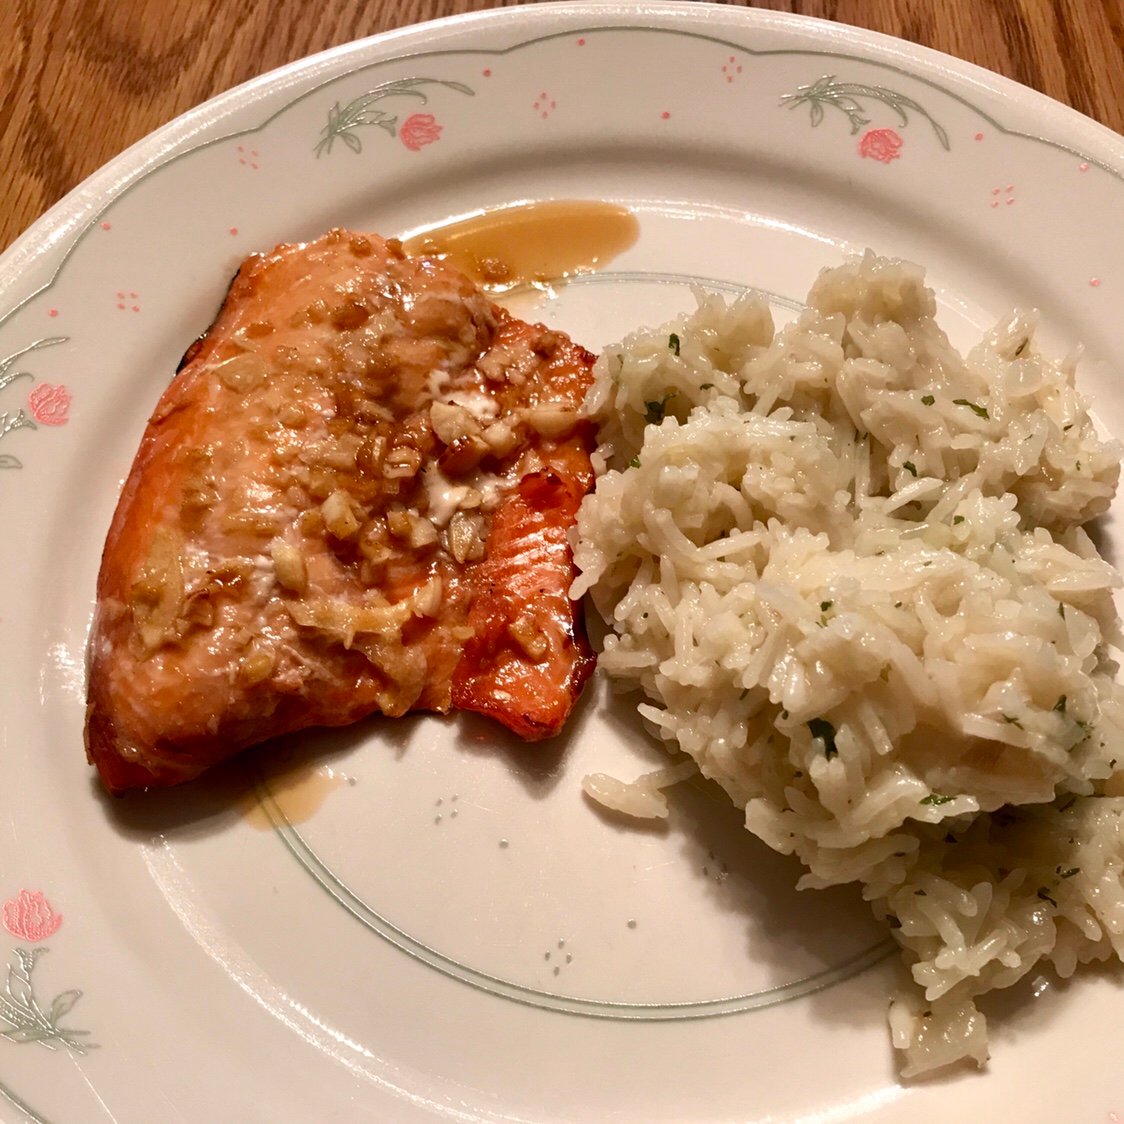
Portion out the spaghetti on plates and top with sauce and chicken. If you really want to get fancy, sprinkle some chopped parsley on top or a little parmesan cheese.

Sauteéd Chicken with Garlicky Pasta

  • 1 T olive oil, plus a little more
  • 4 chicken cutlets
  • 1/2 pound white or baby bella mushrooms, sliced
  • 1 small red onion, sliced
  • 2-3 tomatoes, cored and sliced
  • 4 cloves of garlic, minced
  • 1 T fresh thyme, chopped
  • 8 oz gluten-free spaghetti
  • 2 C chicken broth
  • 1 T gluten-free flour blend
  • 1 t Dijon mustard
  • 1/4 c fresh parsley, chopped (optional)
  • 4 T parmesan cheese (optional)

Season chicken with salt and pepper. Heat oil in a saucepan over medium high heat and saute chicken about 5 minutes on each side. Place chicken aside and keep warm.
Cook pasta according to package directions.
Add a little additional oil to pan and saute mushrooms and onion until soft. Add garlic, thyme, and tomatoes and heat through.
Deglaze the pan with chicken broth and add a slurry of flour mixed with 2 T of water. Stir in Dijon and allow sauce to thicken. Taste sauce and adjust seasonings if needed.
Top with parsley and parmesan, if desired.

Recipe of the Week – Strawberry Pretzel Salad

Summer picnics and winter carry-ins are some of my favorite events because I get to try a variety of interesting dishes and a smorgasbord of flavors and cuisines. A few weeks ago our condo association had its annual end of the summer picnic, and boy can these people cook… pasta salads, cookie bars, cakes, deviled eggs, and three different kinds of slaw. I had to get two plates just to try a taste of everything!
Michelle found this recipe in an old Methodist church cookbook used to make it with her grandma for special occasions or just a random visit home. It always pleases a crowd. There is nothing groundbreaking here, but this version is a little different from most like it with the addition of the crushed pineapple and juice. I’ve lightened it up a little bit with some adjustments to quantities and ingredients, and of course, our version is gluten-free.

Screen Shot 2018-09-24 at 10.04.53 PM.png
May Burch at First United Methodist Church, Sterling, IL

Preheat the oven to 350º and crush a bag of Snyder’s pretzel sticks in a food processor. You will probably need to do it in several small batches. These are our favorite GF pretzel because they have a great flavor and crunch. Melt 2 sticks of butter and pour over the pretzels in a 9×13 baking pan. Stir together until everything is coated and all of the butter is absorbed. Place into the oven for about 10 minutes. Remove from the oven and place directly in the freezer for a few minutes to cool it off.

While the pretzels are baking, cream together an 8 oz package of 1/3 fat Philadelphia Cream Cheese (also called Neufchatel Cheese) and 1 cup of Whey Low Type D Sugar Replacement (you could use regular sugar) until smooth and creamy. Fold in an entire regular size tub of Cool Whip Sugar Free being careful not to over work the air out.

Spoon the mixture over the pretzels and spread into an even layer. If the pretzels are still hot, they will melt the Cool Whip mixture.  Make sure to seal all of the edges of the pan so that the jello layer doesn’t soak through and make the pretzels soggy.

Drain a 14 ounce can of crushed pineapple and reserve 1 cup of liquid. Sprinkle the pineapple over the pan as evenly as you can.

Cut a large package of strawberries into 1/4 inch slices and arrange on top. I like to make it look pretty, but you could just dice them up and throw them on if you’re in a hurry. If strawberries are not in season, you could thaw a package of frozen ones, but rather than layer them like this, chop them and add directly to the jello in the next step along with the pineapple and juice. Place the pan in the fridge while you make the jello.

In 1 cup of boiling water, dissolve a large package of sugar-free strawberry Jello. Add the 1 cup of reserved pineapple juice and cool in the fridge for about 10 minutes to thicken slightly. Pour over the top, getting jello into all of the nooks and crannies. Let the whole thing chill until solid, about an hour and a half, before serving.

I’m not really sure if this is a salad or a dessert, but at either end of the buffet table it will be good and you probably won’t have any leftovers. Speaking of, this does not hold very well overnight. I would really encourage you to make it the day you plan to serve it. The total prep time including the time for the jello to set up is about 2 – 2 1/2 hours and you really can’t rush jello.
What’s your favorite Jello salad recipe? Share a link in the comments.

Strawberry Pretzel Salad

  • 1 bag of gluten-free pretzel sticks
  • 2 sticks (1 cup) of unsalted butter, melted
  • 8 oz 1/3 fat Neufchatel cream cheese
  • 1 cup Whey Low Sugar (or regular)
  • 1 regular tub of Sugar Free Cool Whip, thawed
  • 1 cup crushed pineapple
  • 20 oz package of fresh strawberries, cut into 1/4 inch slices
  • 1 cup boiling water
  • 1 cup pineapple juice (reserved from the crushed pineapple)
  • 6 oz box of Sugar Free Strawberry Jello (that’s the big box)

Preheat the oven to 350º.
Crush the pretzels in a food processor and mix in a 9×13 pan with melted butter. Bake for 10 minutes. Cool in the freezer.
Cream the cream cheese and sugar with a mixer until smooth. Fold in the Cool Whip and spread over the pretzel crust. Make sure to seal all of the edges so the jello can’t leak through later.
Top the cream cheese layer with the pineapple and then arrange the strawberries on top.
In boiling water, dissolve the jello and mix in the juice. Chill slightly, but do not over thicken. Pour over the strawberry layer and chill in the refrigerator until set completely, 1 to 1 1/2 hours.

Recipe of the Week – Cheesy Risotto

Today’s blog post starts with a picture of Pepe in front of the fireplace because he’s adorable and it brings us to our favorite fall thing… comfort food! Jessica Vu, swing dancer extraordinaire, teacher, and lovely friend, also happens to be an amazing cook! Her blog Purple Leopard Recipes has some wonderful gluten-free cooking and this Cheesy Risotto will make your never want for mac and cheese again.  While we were traveling through Wisconsin this summer, the cheese and sausages made me think of this recipe so I made some adjustments in honor of the Cheese State. I hope that Jessica approves!

Dice 6 oz of kielbasa, a red or sweet onion, and two cloves of garlic.

In a large pot, saute the sausage in 1 tablespoon of canola oil over medium high heat until it begins to get crispy. Don’t worry about the brown bits in the bottom of the pot, but don’t let them burn.

Add the onions and garlic and cook until soft.

Add one and a half cups of Arborio rice. Arborio is a short grained rice that is perfect for risotto because of its high starch content.  It has a creamy texture and yet remains firm when cooked for longer periods. Do not make risotto with other types of rice, you WILL be disappointed.
Risotto is notorious for home cooks because it needs to be watched non-stop. Now is the time to focus.  Toast the rice in the until some grains begin to pop. You will need 4 cups of chicken broth for the remainder of the cooking process. Put it in a sauce pan and warm it to the point of steaming, but not simmering. This will speed up the cooking process over using room temperature broth. Add broth 2/3 of a cup at a time, stirring frequently with a rubber spatula.
img_7376
Let the rice simmer until the liquid is absorbed. Run the rubber spatula down the center of the pan. If the rice runs back together, it is not time for more liquid.
[wpvideo YnXEOHaW ]
When the rice and broth stays in place, add another 2/3 cup of broth.
[wpvideo mbOujDAe]
Continue this process until you are down to the last 2/3 cup of broth. Rice will absorb moisture from the air. This means that some times you may need more broth than others depending on the relative humidity in your environment, the age of the rice, and other factors. Taste the rice to see if it is done. There should be a little bite and firmness to it, but you may want to add the last of the broth and cook longer. Our rice is kept in an airtight container and I pretty much always use all of the broth.
Remove the pan from the heat and add 1/2 cup of dry white wine or dry sherry.  You can leave this step out, but it does add some nice flavor. Stir until absorbed.
Next add 1 1/2 teaspoons of Coleman’s ground mustard (hello, of course it’s Coleman’s), 1/2 cup of FAGE 2% Greek Yogurt, and 1 cup of shredded cheddar cheese. Stir until everything is well incorporated, creamy, and melty (one of my favorite cooking techniques)!

Now to take things over the top, add two slices of plain old Velveeta cheese slices. Based on the name of the recipe, you didn’t think that this was going to be healthy did you? Add salt and pepper if needed.  I also like to stir in a little Crystal hot sauce.

Serve with something green so that you don’t feel bad for going in for seconds.  The recipe should serve 6, but good luck! I’ve doubled it and taken it to a carry-in in a crock pot and never come home with leftovers.

If you are lucky enough to have leftovers, it is very good reheated the next day, but try this instead: spoon about 1/2 cup into a frying pan with a little olive oil and press down with the back of a spatula.

Cook on medium heat for about 3-5 minutes and carefully flip to cook the other side until brown and crispy (my second favorite cooking technique when it comes to cheese).

Cheesy Risotto (Mock Mac & Cheese)

  • 4 C chicken broth (or one 32 oz carton), heat in a sauce pan until just steaming
  • 1/2 C dry white wine or dry sherry
  • 1 1⁄2 t Coleman’s ground mustard
  • 1 C shredded cheddar cheese
  • 1⁄2 C FAGE 2% Greek yogurt
  • 2 slices Velveeta cheese
  • 6 oz kielbasa
  • 1 T canola oil
  • 1 medium red or sweet onion, diced
  • 2 cloves garlic, crushed
  • 1 1⁄2 C Arborio rice
  • salt and pepper to taste
Over medium/high heat, fry the kielbasa until crisp in oil.
To the hot oil and sausage, add onion and garlic. Sauté for 3-4 minutes or until soft.
Add Arborio rice and stir until slightly toasted, just 1-2 minutes should do it.
Add 2/3 cup chicken broth. Gently stir and adjust heat to just a simmer, not boiling. Stir gently and frequently (at least once every two minutes).
When to add more broth: Run the rubber spatula down the center of the pan, making a trough. If the risotto runs back together, it is not ready for more broth yet. If the risotto does not run back together and the trough remains, add another 2/3 cup broth.
Keep adding broth in 2/3 cup increments every time the trough is ready, until you have just a bit of broth left (Making sure you are stirring gently and frequently).
Taste the risotto. Is it done to your liking? It should be soft yet firm to the bite. If not, add the remaining broth until the risotto is the tenderness you desire. If it is done, add the white wine and remove from the heat.
Stir until white wine is absorbed and mostly evaporated. (If this is taking too long, you can reintroduce the pan to the heat momentarily).
Add ground mustard, shredded cheese and yogurt. Stir until melty and creamy.
Add two slices of Velveeta. Stir until fully incorporated. Salt and pepper to taste.

Recipe of the Week – Bourbon Glazed Salmon with Rice Pilot

While staying in Houghton, Michigan, we decided to try a new experience and chartered a fishing boat with Sand Point Charters in Lake Superior. More on that story later because, true to form, it turned into a much bigger adventure than we expected! We had a successful day on the water and ended up with some salmon and trout. Once we got to Michelle’s parents in Illinois we made dinner for them one night with our freshly caught salmon. Here is one of our favorite fish recipes.

Start off by making the bourbon glaze. Mince a large finger of ginger. I mentioned this a few weeks ago, but here’s how to do it.  Begin by cutting the peel off of the ginger and slicing it into 1/8 inch slices. Next stack the slices and cut into julienne strips. Finally mince as finely as you’re able. I like to do a larger amount when I’m home and put it into a mini ice-cube tray with some water. Once frozen, I keep it in a baggy in the freezer to use as needed!


Mix 5 tablespoons of brown sugar (we use Whey Low Gold, a sugar substitute), 5 tablespoons bourbon (I prefer Evan Williams), 3 tablespoons San-J Tamari Gluten Free Soy Sauce, 2 tablespoons minced ginger, 5 cloves of minced garlic, and the juice of one lime in a resealable bag. Add four  6-oz filets of salmon and let marinade for about 30 minutes in the fridge.
While your waiting, dice an onion and shallot finely.  Heat 1 tablespoon of olive oil in a saucepan and saute onions and shallot until soft. Add 2 tablespoons of butter and 1 cup of rice. Saute the rice until it starts to smell “toasty,” you may even hear some of the grains pop a little. You are adding flavor right now, so don’t skip this step! Add two cups of chicken broth (we prefer Kitchen Accomplice concentrated broths) and 1 tablespoon of dried parsley and bring to a boil. Cover, reduce heat and simmer for fifteen minutes or until all liquid is absorbed.

While the onions are sauteing, it’s time to heat the grill. Once the broth and rice come to a boil, put the fish on the grill over medium heat. Use either a piece of foil or a cedar plank to keep the fish from falling through the rack! The fish should cook on medium to low heat for about 10 minutes. Do not flip it unless the filets are really thick and are not cooking through.
Take the remaining marinade from the bag and place it in a small saucepan. Bring to a simmer and reduce the liquid to half and allow it to thicken. This will become an amazing glaze to spoon over the finished salmon (I really like it on the rice too).

I like to serve this meal with either sugar snap or snow peas for some additional color on the plate, but the sweet corn had just come in so that’s what we enjoyed on this night.

Bourbon Glazed Salmon

Mix all ingredients in a resealable plastic bag and let marinate for about 30 minutes in the refrigerator. Grill salmon over medium heat for about 10 minutes on foil. Turn only if the filets are thick and will not cook through otherwise. While the salmon is cooking, place the remaining marinade in a saucepan and simmer to reduce the liquid to half. Spoon glaze over the salmon at the table.

Rice Pilaf

  • 1 sweet onion, diced
  • 1 shallot, finely minced
  • 1 T olive oil
  • 2 T butter
  • 1 C Jasmine rice
  • 2 C chicken broth
  • 1 T dried parsley

Heat oil over medium heat and saute onion and shallot until soft, about 5 minutes. Add butter and melt. Add rice and cook until it begins to smell “nutty.” Add the broth and parsley and bring to a boil. Reduce heat to low, cover, and simmer for 15 minutes or until liquid is absorbed.

Recipe of the Week – CC's Drunken Mushrooms

Back in 2014 on our More Grand Vaca (which will be featured in a future blog post) our dear friends Michael and Bonita Hutchison invited us to spend the 4th of July with them in Park City, Utah.  As the picture below might indicate, it was quite a week!
10516886_10152262935350983_8601729714883733516_n
Bonita is quite the cook and in additional serving us the most amazing elk tenderloin we have ever eaten, she made delicious drunken mushrooms.  We’ve tried to replicate them several times and after much trial and error, I think we have finally come up with a version that is a little more calorie conscious but still rich and decadent.  These are best served with steak and friends, like our first follower, Bonita.
img_7423
In a large, heavy bottomed pan, melt 4 tablespoons of butter and 2 tablespoons of olive oil.  Once the butter stops foaming, add one thinly sliced sweet onion and 4 cloves of minced garlic.
img_7424
Saute over medium heat until just soft, about 8 minutes. Be careful not to burn the garlic. If you do, throw the whole thing out and start over!
img_7425
While the onions are cooking, clean one pound of mushrooms and cut them into halves or quarters if they are big. Do not rinse mushrooms in water to get the dirt off, they will absorb the water and leave you with a soggy mess once you start to cook them. When the onions are ready, remove half of the mixture to a bowl. Add the first pound of mushrooms to the pan and cook about 6 minutes.

They will almost immediately suck up every bit of oil and butter in the pan, but will release it again slowly as they begin to cook. Keep stirring them occasionally while you prep the second pound of mushrooms.

Once they become a beautiful brown color and have released most of their liquid (which will evaporate), remove them to a bowl.

Put the reserved onion mixture back in the pan along with the second pound of mushrooms and cook again for another 6-8 minutes.  Here you can see how much volume you lose as the mushrooms cook.  Both pounds are plain old white button mushrooms, but you could mix them up with baby bellas or another variety. A note about doing this in two batches: you may have a Dutch oven, stock pot, or something else that will hold all of the mushrooms at once and be tempted to do it all in one batch. STEP AWAY FROM THE STOVE!! Just because you can do them in one batch doesn’t mean you should. Crowding the pan will create more liquid than can evaporate and the mushrooms will not create the brown crust that adds so much flavor. Like Julia Child said, never crowd the pan.

Here is a shocking statement: I love cheap wine. We have a go to party wine that is inexpensive, tastes great, and doesn’t give either one of us a headache: Dark Horse Merlot. It is also perfect for cooking with. Someone said that you should never cook with wine that you wouldn’t drink and that is definitely true, but likewise, I’m not going to pour a $50 bottle of wine into a pot of mushrooms! At $7.99, this wine is affordable and adds great flavor. In other words, it gets me where I need to be! Also, we use Kitchen Accomplice‘s broth concentrates for cooking.  They are lower sodium than most broths and in the RV they save valuable space and weight.

Add the first batch of mushrooms back into the pan.  If you are in a hurry, add salt and pepper to taste at this point and serve them now.  They will be delicious, but the next step is what makes them worthy of company.

Pour an entire bottle of dry red wine and 2 cups of beef broth into the pan and bring to a boil. Do not add salt at this time.

Once they come to a boil, reduce heat and simmer covered for two hours.

After two hours, remove the lid and turn up the heat a little. Notice that about 1/3 of the liquid has evaporated at this point. Continue to simmer for another 45 minutes to an hour until all of the liquid has absorbed. The mushrooms will begin to brown again a little, which is ok, but don’t dry them out. Add salt and pepper to taste.
img_7436
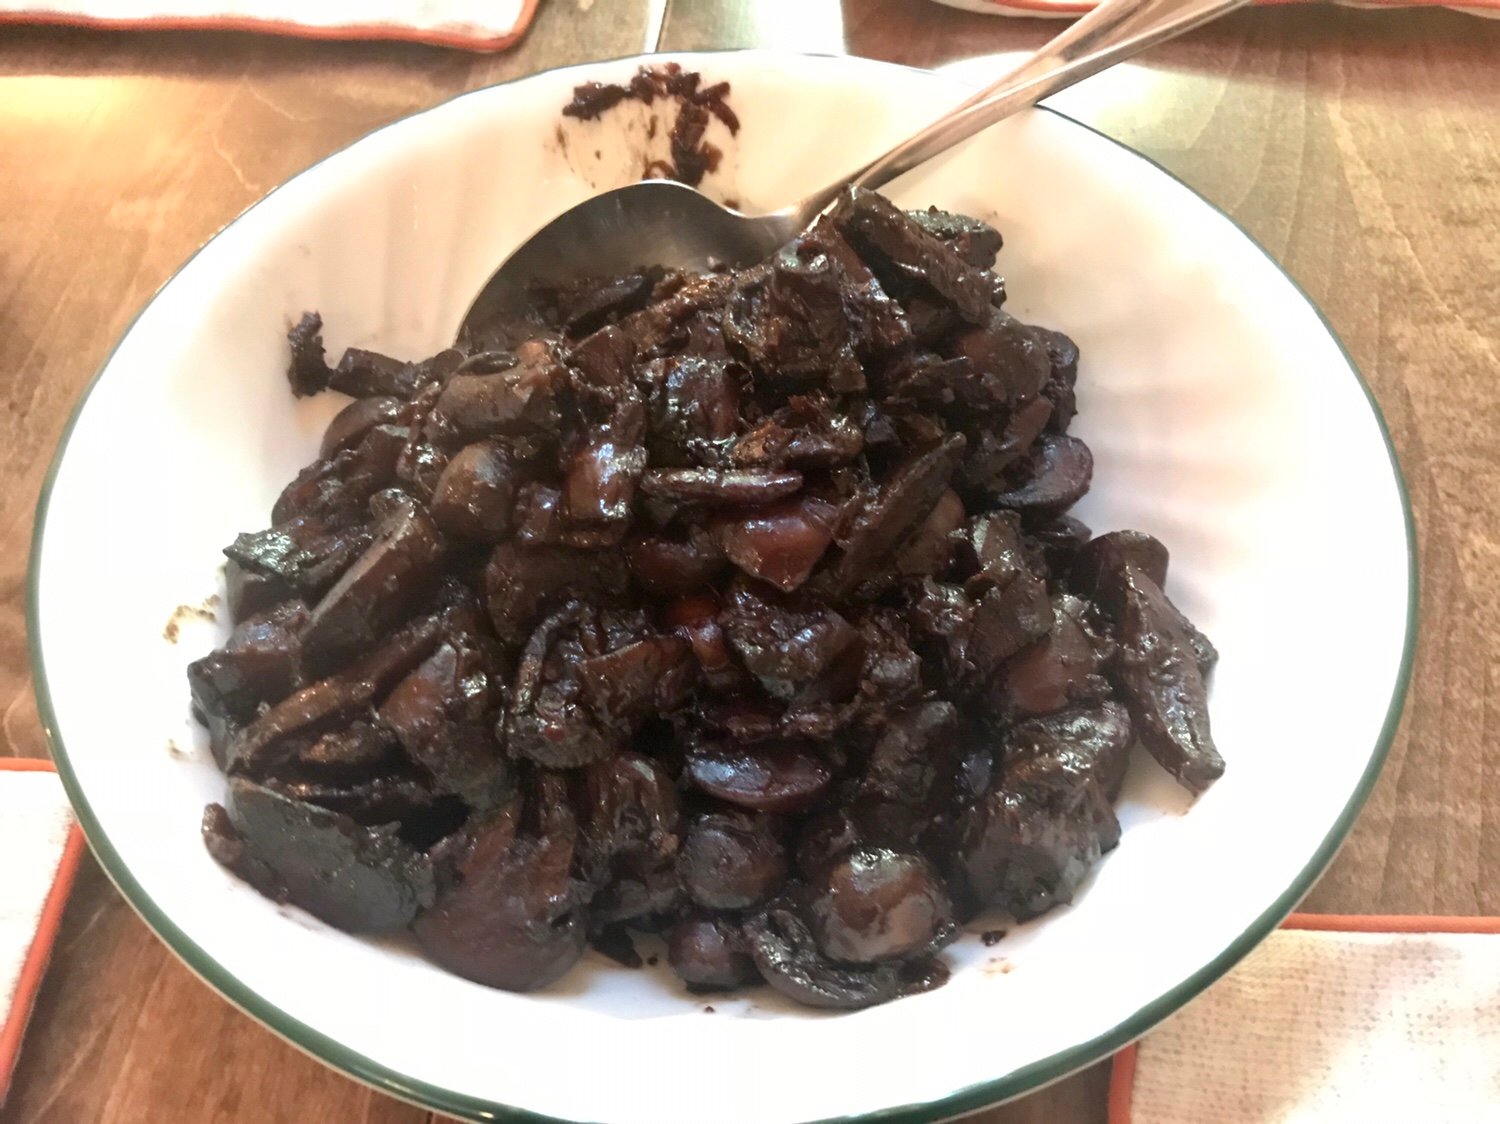
We serve they atop a medium rare rib eye steak, over a baked potato, or just as a side dish. If there are any leftovers, they are wonderful in an omlette with some raclette or fontina cheese.
img_7437
Don’t miss any of our recipes of the week, make sure that you subscribe to receive notifications each time a new post comes out!
We are always looking for new red wines, leave us a comment letting us know what your favorite bargain wine or splurge wine is.

CC’s Drunken Mushrooms

INGREDIENTS

  • 4 tablespoon butter
  • 2 tablespoon olive oil
  • 4 garlic cloves
  • 1 large onion sliced thinly
  • 2 pound button mushrooms cut in half or quarters if they are large
  • 2 cups beef broth
  • 1 bottle red drinking wine
  • Salt and pepper, to taste

INSTRUCTIONS

  1. In a large, heavy-bottomed pan, heat olive oil and butter over medium-high heat until butter is melted.
  2. Add in garlic and onions. Sauté until just soft, about 6-8 minutes.
  3. Remove ½ of the onion mixture to a bowl.
  4. Add 1 lb. of mushrooms and sauté until lightly browned, about 6 minutes.
  5. Remove mushrooms and onions to a plate (try to leave the liquid behind)
  6. Add reserved onion mixture and remaining mushrooms to pan and sauté again until browned.
  7. At this point the mushrooms could be done, salt and pepper to taste and serve or…
  8. Put first batch on mushrooms back in pot and add broth and wine. Bring to a boil, reduce heat to low and simmer covered for two hours.
  9. Uncover, turn the heat up a little and cook until all the liquid has been absorbed.  Salt and pepper to taste and serve.

Recipe of the Week – Savory Bacon Cheddar Biscuits

Some mornings we eat a quick breakfast so that we can get out on the trail, the water, or off to whatever adventure awaits, but other days we like to move a little slower and cook a good breakfast.  This biscuit recipe is on the side of King Arthur Gluten Free All-Purpose Baking Mix and with a few minor modifications, it has become one of our all-time favorite breakfasts!
Preheat the oven to 400º.
IMG_0863
Combine 2 ¼ c King Arthur Flour Gluten Free All-Purpose Baking Mix, 1 c thick shredded Sargento sharp cheddar cheese, ½ c Hormel bacon pieces, ¼ c sliced green onions, and ½ t garlic powder. I also love to use about 2 T minced garlic chives in place of the green onions when I have them.  In a pinch, 1 T dried chives will work.
IMG_8119
Pour 1 c half and half over the top and break 2 large eggs into the bowl.  Mix everything together until a soft dough forms.  Unlike traditional biscuits, don’t worry about over mixing, the more you mix, the better the flour will absorb the liquid.
IMG_1172
Spoon heaps of dough onto a baking sheet sprayed with cooking spray to make 6-8 biscuits.  Pat each biscuit down until it’s about 1 inch thick.  If they are too thick, they do not bake as well in the center.
IMG_6272
Bake in the oven for 15-18 minutes until golden brown and let cool 10 minutes.  Serve warm with butter.  When baking any gluten free item, the cook time is often longer than flour counterparts.  You cannot always rely on the visual appearance because they may not brown as you would expect, and the center will seem too wet if you use a toothpick to test it. This is why the cooling time is really important with any gluten free baked goods.  This setting time allows the biscuit to get crunchy on the outside and lets the starches set in the center giving a texture more like a traditional flour biscuit.
IMG_3897
We love these the next day with a scrambled egg in the middle as a sandwich.
Here is the original recipe from King Arthur and our modifications are in the recipe below.

Savory Biscuits

Preheat oven to 400º
Combine all ingredients in a mixing bowl and mix into a soft dough.
Spoon dough onto a baking sheet sprayed with cooking spray.  Pat dough into rounds about an inch thick.
Bake 15-18 minutes until golden brown and let cool 10 minutes before serving.

Recipe of the Week – Honey Ginger Scallion Chicken

Ready for another tasty and easy marinade and basting sauce?  Our original recipe for Honey Ginger Scallion Chicken is another great marinade that you can throw together in a few minutes and is sure to please everyone at the campsite.
To prepare the marinade, chop 4 green onions, 2 cloves of garlic, and 1 T of fresh ginger.  If you’ve never worked with ginger, don’t worry. Look for it in the produce department, often near the garlic and shallots.  Ginger comes in “hands” because the large pieces often have several smaller “fingers.” If you’re like us, you don’t need that much at one time, but you can break off a finger to get as much or little as you need (think like breaking a bunch of bananas in half to buy just a few). I cut off the edges and thin skin to end up with a small piece about the size of 2 dice.  Cut thin slices, cut again into julienne, and finally mince. In the picture, the ginger is in the center.
IMG_3985
Combine with 1 T honey, 2 T soy sauce (or our favorite, San-J Gluten Free Tamari), a few dashes of Crystal hot sauce and mix well.  You could marinate for 2 hours to overnight, but I wanted to try something different this night.
IMG_8061
We picked up a grilling mat after hearing lots of people talking about how much they liked them. On this evening, after getting a good fire going, we flipped over the grill, and added the mat.  Place the chicken on the mat and pour some of the sauce over.  Once the chicken is done on the bottom, flip and add some more of the basting sauce. Flip once more just to make sure that everything is cooked through.
IMG_3176
We served this with some store-bought coleslaw, but any deli salad would be a great addition.  Let us know in the comments what your favorite deli salad is.
IMG_6046

Honey Ginger Scallion Chicken

  • 4 green onions
  • 1 T minced ginger (about 2 inches of a ginger finger)
  • 2 cloves minced garlic
  • 1 T honey
  • 2 T soy sauce
  • Dash hot sauce to taste

This makes enough sauce for 4-6 chicken breasts.
Combine all ingredients in a bowl.
On a hot grill, place chicken on a grill mat and baste with the sauce, turning and basting again as each side cooks.

Recipe of the Week – Asian Marinated Chicken with Corn and Basil Faux Fried Rice

When we’re camping, we love meat marinades.  Before we leave town, we can weigh out several meals and prep various marinades then throw them into plastic storage bags and toss them into the freezer.  While we’re out on the road, lay the prepped bag out in the fridge the night before and it’s ready to cook the next evening.
This Asian marinated chicken works great with the corn and basil fried rice, but it is also good with slaw, a salad, or any other sides that might be convenient at the campground.
IMG_1263
To prepare the chicken, place 1/3 c sliced green onions, 2 t minced garlic in a plastic bag with 3 T of soy sauce (we use San-J Tamari since it’s gluten free) and 2 T of mirin. Wait, you didn’t bring mirin to the campground with you?!  Mirin is a sweet rice wine common in Asian cooking but a good substitution would be any sweet or semi-sweet white wine that you like.  I used Chateau St. Michelle Riesling.  To the bag, add 4-6 oz of chicken for each person you are serving. The recipe calls for thighs, but we used boneless skinless breasts this time. Let the meat marinate for at least 2 hours in the refrigerator or overnight.  If you’re not going to cook it within 24 hours, put it in the freezer.
IMG_7014
When it’s time to cook, get your grill preheated while you prep the fried rice.  Rinse 1 cook of basmati rice in a sieve.  This will help remove some of the starches and will produce a less sticky rice in the end. Place the rice in a pan with 2 c of cold water, bring to a boil, reduce heat and cover for 15 minutes.  Remove from heat, fluff with a fork and leave the lid off to cool a little.  Precooked rice in a bag from the grocery is a great alternative to cooking in the RV and getting things hot inside.
IMG_2883
In a large skillet over medium heat, add 1 T oil. Add 2 T thinly sliced green onions and sauté for about 30 seconds, being careful not to burn.  Add ¾ c of frozen corn (or 2 smallish ears if using fresh) and let cook for another minute or two to thaw out the corn.  Finally add the rice and 1-2 T of soy sauce.  Let sauté for an additional 5 minutes stirring occasionally. You want the bottom and edges of the rice to get a little crispy. At the last minute, stir in ¼ c of basil cut into a chiffonade.  To cut the chiffonade, stack the basil leaves with the largest leaves on the bottom. Roll them into a little cigar and then slice into thin ribbons.
IMG_5602
IMG_9957
Cook the chicken on the grill, discarding any marinade left in the bag.
IMG_8808
To serve, divide the rice among four plates, top with chicken and zest a lime over the chicken. Cut the zested lime into slices and serve on the side.
IMG_7519
Find the original recipe from Cooking Light, September 2012, here.

Asian Marinated Chicken with Basil Faux Fried Rice

Chicken:

  • 1/3 c sliced green onion
  • 2 t minced garlic
  • 3 T soy sauce
  • 2 T mirin (or sweet white wine)
  • 4 4-6 oz chicken breast pieces or chicken thighs

Rice:

  • 1 c basmati rice, rinsed
  • 1 T olive oil
  • 2 T sliced green onion
  • ¾ cup frozen corn (or 2 small ears, kernels removed)
  • 1-2 T soy sauce
  • ¼ c basil cut into chiffonade

Place all chicken ingredients into a plastic bag and let marinate 2 hours or overnight.
Prepare rice by adding 2 cups of cold water in a sauce pan.  Bring to a boil, reduce heat and cover, cooking for 15 minutes.
Heat a skillet or wok with oil.  Add green onion and sauté for 30 seconds.  Add corn and cook another 2-3 minutes.  Finally add rice and soy sauce, cooking for an additional 5 minutes, allowing bottom and edges to get crispy.
Cook chicken on a medium high grill until done.  Discard the bag with marinade.
Divide rice between four plates and top with chicken.  Grate lime zest over chicken.  Cut the lime into wedge and serve on the side.

Recipe of the Week – Easy Chicken and Potato "Kabobs"

I love to cook, that is not a surprise to anyone who knows me (Brian).  I don’t love to spend a lot of time cooking usually (though I do believe that making a wonderful, intricate recipe can also be very cathartic in the right time and place).  This recipe from the Baking Beauties at Faithfully Gluten Free is simply my all time favorite marinade.  I call it dump marinade because it has a little bit of everything in, you can dump in any protein you want, and it will come out amazing.  Kabobs are a challenge to me.  It is difficult to get everything done together without burning the more delicate items, hence the second dump of this recipe, where I just throw it all on the grill and forget the skewer!
First the marinade: Put into a gallon resealable bag put 1/4 t dried rosemary (I didn’t carry rosemary in the RV this time so substituted dried oregano and it worked just fine), 1/2 t each of dried parsley, garlic powder, and black pepper, 1 t stone ground mustard, 1 T each balsamic vinegar, soy sauce, and Worcestershire sauce, and 2 T olive oil.  WOW that’s a lot of ingredients!  Now throw in about a pound of your favorite protein.  We love this with chicken thighs (in the pictures) but beef works well too (or country style pork ribs, chops, or an old tire, seriously this marinade tastes that good!).  A note on gluten free: soy sauce is one of those items with hidden gluten in it, always make sure to check labels of sauces and condiments to ensure they are safe if you or someone you are cooking for can’t have gluten.IMG_5847
Let the meat marinade for at least two hours.  I put the meat in the marinade the night before but we ended up eating out the next day so I just threw the whole thing in the freezer.  A week later, I took the bag out one evening and cooked it up the next day, it was still perfect!
Even the smallest potatoes take forever to cook on a grill.  Here’s a great tip stolen from the Baking Beauties: cook them in the microwave first!  I put them in and hit the potato button, they always come out a little under done, but then the time on the grill with the other raw veggies, and they are perfect! (Too many explantation points in this post, but I really love this recipe!)
We always add onions and mushrooms at minimum when we cook this meal but bell pepper, asparagus, zucchini, and summer squash are also great additions.  Cut your veggies into largish bite sized pieces.  The less dense the vegetables are, the bigger the pieces should be so they hold up.  Here’s another tip for the mushrooms: if you cut it in half and find lots of dark fins (especially common in portobello), scoop them out with a spoon or knife because they are bitter and turn mushy when cooked.
IMG_1062
If you are assembling kabobs, layer meat, potatoes, and veggies (obviously not the asparagus, but if you get one on a skewer, please put a picture in the comments, haha) onto a wooden or metal skewers. Don’t forget that wooden skewers should always be soaked in water for 30 minutes first to keep them from catching on fire.  I like the metal ones because they help to cook the food from the inside a little too.
I don’t like to take the time to thread skewers most of the time, so I toss all the veggies together, drizzle with some oil and salt and pepper and toss ’em on the grill.
IMG_0845
If you use foil, poke a few holes so the juices run out – you want crispy browned edges, not a soggy mess.

Once the veggies get going, put the meat on the grill and cook to your desired degree of doneness.
IMG_3977
YUM!! BTW, thats a little bit of ranch dip on the side. It’s amazing on the potatoes!
IMG_0456

Easy Chicken (or Steak) “Kabobs”

For the marinade:

  • 1/4 t dried rosemary (or other dried herb such as oregano or basil)
  • 1/2 t dried parsley
  • 1/2 t garlic powder
  • 1/2 t ground pepper
  • 1 t stone ground or dijon mustard
  • 1 T balsamic vinegar
  • 1 T soy sauce or tamari sauce
  • 1 T Worcestershire sauce
  • 2 T olive oil

For the grill:

  • 1 lb chicken thighs or marinating beef
  • 1 lb of small potatoes (red or Yukon)
  • Optional bell peppers, onion, mushrooms, etc.

Mix all of the marinade ingredients into a resealable plastic bag and smoosh them around to make sure everything is mixed. Add the meat and refrigerate for at least 2 hours or overnight.
Soak wooden skewers in water to keep them from catching on fire.
Cook the potatoes in the microwave until almost completely done. Cut other veggies into similar sized pieces.
Thread all of the ingredients onto skewers and discard used marinade or…
Place veggies in a bowl and drizzle with oil, salt, and pepper. DO NOT put used marinade onto the veggies, as tempting as they may be. No one wants a side of salmonella with their dinner!
Place kabobs onto a medium high grill and turn every few minutes until done or…
Place veggies on grill and toss occasionally to keep searing fresh sides without burning. Place meat along side and turn after about 3-5 minutes.
Serve immediately with a cold beer and enjoy!

Bonus Recipe – Michigan Cherry Chocolate Gluten Free Cookies

Anyone who has been to Traverse City knows that you can’t leave town without some cherries. We made a stop at the Cherry Republic and picked up some of their dark chocolate covered cherries and we felt inspired so here is the most amazing cookie we have ever tasted!

Cherry Chocolate Chip Cookies

  • 1 C plus 2 T King Arthur Gluten Free baking mix
  • 1/2 C butter, softened
  • 6 T Whey Low sugar substitute
  • 6 T Whey Low Gold brown sugar substitute
  • 1 egg
  • 1/2 t salt
  • 1/2 t baking soda
  • 1 t Kraken dark spiced rum (because I didn’t bring vanilla)
  • 1 cup of Cherry Republic dark chocolate covered cherries, cut into halves

Preheat oven to 375°
Cream together butter and sugars then beat in the egg, salt, baking soda, and rum until creamy.
Add the flour and cherries and blend until incorporated.
Spoon onto a cookie sheet and bake for 10 minutes or lightly golden. The recipe should make 24 cookies.
Try not to eat the entire tray because these take chocolate chip cookies to a whole new level!

★ 25 years guiding ★ 48 U.S. states ★ 10 countries ★ 3,000+ Camino miles