You may not know this about me but I love food. I mean that I REALLY love food. Any time we travel, I spend a decent amount of time looking for local specialties and the best places to eat. That does not mean that we spend a lot of money on food. Yes, sometimes we will go to a fancy restaurant and drop a couple of Benjamins for a really nice dinner but some of our favorite and most memorable meals have been at dives that don’t know who Zagat is. With that in mind, my first Monday morning post that isn’t a recipe of the week is going to cover my favorite subject… FOOD!
Some of the most frequently asked questions we hear about the Camino deal with food. Do you have to carry your food? What’s the food like? How expensive is food? What if I have dietary concerns? What if I’m a picky eater? I hope to answer all of those questions here and assure you that you will not starve while walking on the Camino de Santiago, no matter how picky or restrictive your diet is.
First off, Michelle and I both try to live a relatively healthy lifestyle. We like to eat fresh, non-processed food as much as possible. We try to avoid excess sugar, but we will eat an occasional dessert and we both share a love of wine and cocktails. Michelle must eat gluten-free because of her Hashimoto’s disease (an autoimmune thyroid disease).
Going into the Camino, we knew that we were not going to be worried about counting calories. While walking 13 plus miles per day in the extreme heat that we were going to be burning plenty of them. One day I did do my best guess at tracking calories because I was curious and came up with over 3000. That said, we came back from Spain at nearly the same weight that we left home. The challenge was adjusting to not eating as much food as we had been used to while on the Camino and we each gained
Upon arriving in Madrid after a long overnight flight, we were both starving. Once we navigated the Madrid subway and made our way to the Atocha train station it was time to find some food. We had done a little research ahead of time and new that there was a counter service fast food place that had gluten-free breakfast items. After a little searching, Michelle had a chocolate croissant and egg and cheese sandwich and I had a taste of my first bocadillo (not gluten-free). Our first meal was a success

Finding food on the Camino is rarely a problem. Most days pilgrims pass through several villages and there is almost always at least one bar or cafe, and usually, several options are within feet of the marked path. Many albergues offer a pilgrim’s meal at dinner time for a small additional charge (€5-10). Before talking about dinner though, let discuss meals in Spain and how that fits into the pilgrim’s schedule.

Breakfast in Spain is usually the smallest meal of the day and rarely consists of much more than toast (tostada) with butter and jam, pastries, and cafe con leche (espresso with steamed milk). Michelle sometimes was able to get rice cakes but often had to make do with a little fruit or an egg. Among the pilgrims we know, this is called “first breakfast” and you’ve probably already guessed that means “second breakfast” can’t be far behind. First breakfast was


Once we got through the Pyrenees, Spain was getting record high temperatures and in order to beat the heat, we were often leaving our albergue before 6 am. As a result, we needed to purchase breakfast the night before since most places to eat didn’t open until 6:30 or 7:00 a.m. Our breakfast of choice became a snickers bar and Monster as we walked in the dark. Not the best choice, but it helped in a pinch and we have a few ideas to help us when we are back on the Camino this June 2019.
After walking 5-8 km, most mornings we would come to our first village of the day and usually would run into a group of pilgrims sitting outside a bar or cafe eating second breakfast. Choices of food would range from tortilla and bocadillo to a more traditional “American” breakfast of fried eggs and bacon. We often spent less than €10 for second breakfast with two Coke Zero.


Lunch in Spain can be tricky for Americans. Lunch is typically the largest meal of the day and is often eaten at home but for pilgrims, everything closes down around 2 p.m. and doesn’t reopen until after 5 p.m. for siesta. If you arrive at your final destination for the day during that time, you will often not be able to find food because EVERYTHING is closed. We would typically get a similar meal to our second breakfast or if we were lucky, some tapas. Often by this time of the day, we would enjoy some amazing Spanish wine or beer if we were within the last 5k of our walk. The price here was often about the same as second breakfast, around €10 including wine.

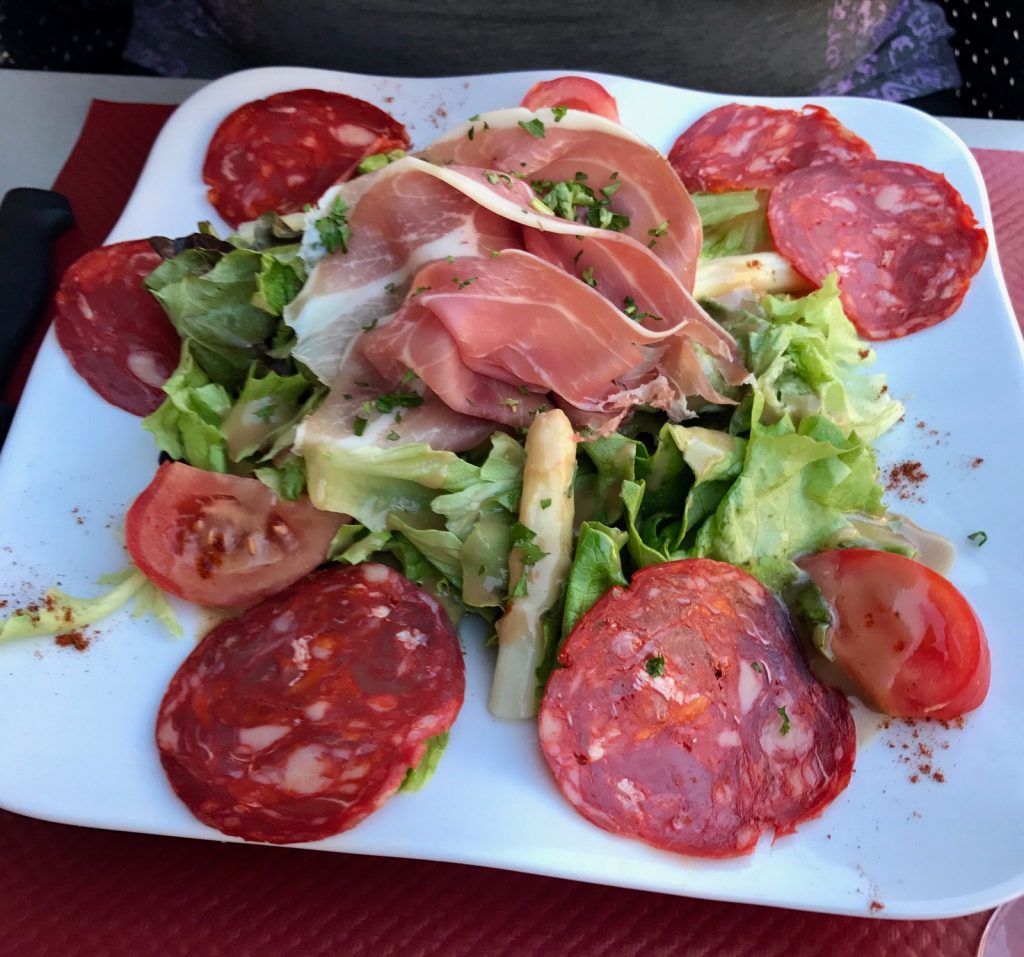
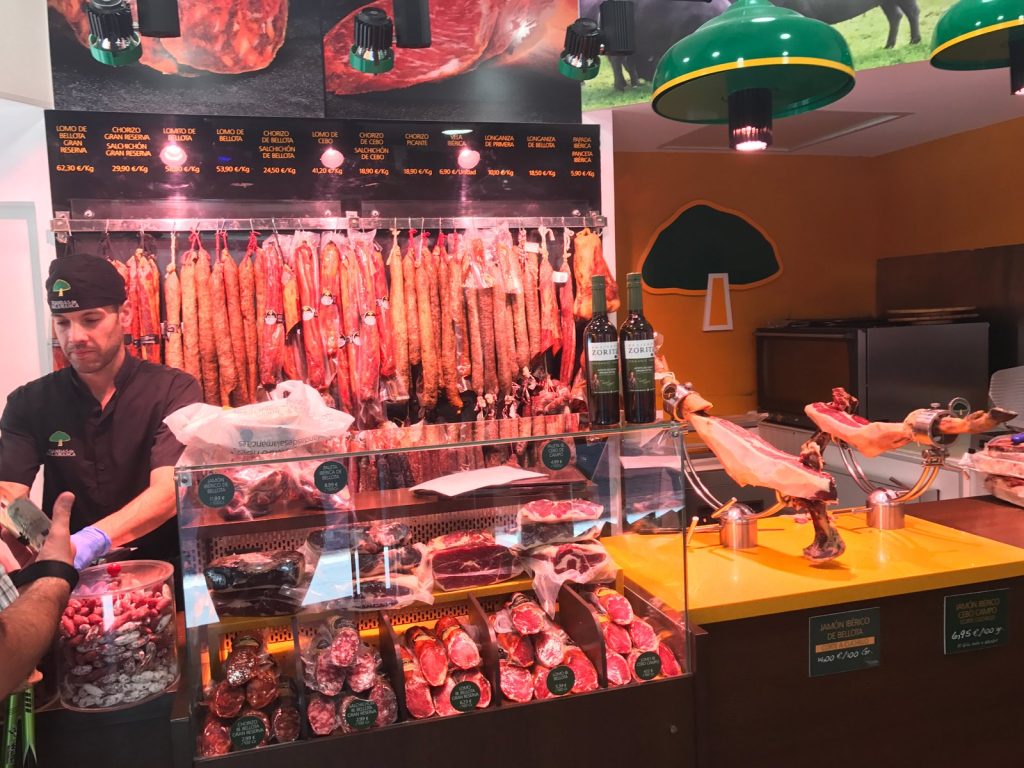
Hundreds of options are available when it comes to tapas 
Many tapas are regional and a specialty of the house 


Don’t be put off by food sitting out on the counter, it is fresh and safe to eat 

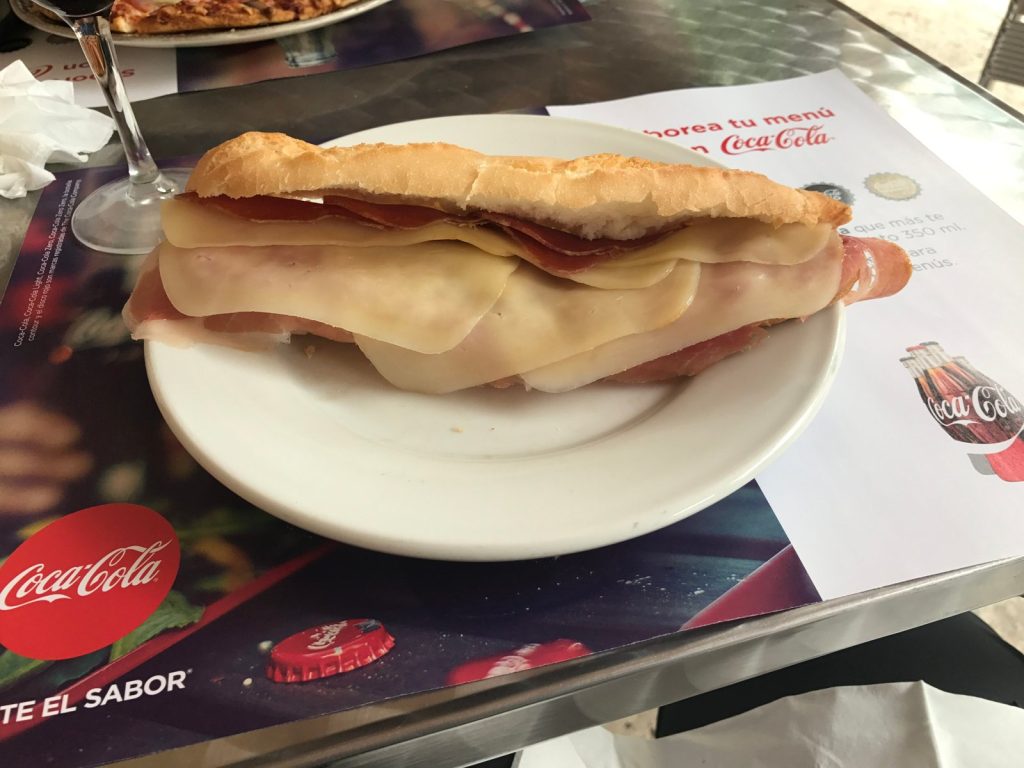
One of the few times we found a gluten-free bocadillo! 

Patatas bravas (center) are fried potatoes drizzled with aioli and a spicy red bravas sauce 
Gluten-free pizza was a rare treat 

Once we were done for the day, it was time to check into our albergue, hand wash our laundry, shower, and take a little nap. We were usually pretty hungry at this point and would often get a snack. Our go-to became a bottle of wine and Doritos for €5-8. So our not-so-processed lifestyle had gone out the window, but when you’re hungry you’ll eat anything!

Dinner in Spain is often not served until 8 pm or later, long after most pilgrims have crashed into bed. Luckily, along the Camino, most villages work hard to serve the needs of pilgrims and dinner is available after 5 pm. When an albergue offers a communal meal it is usually at a set time and if you miss it, there’s no food for you. Fortunately, there is never a shortage of bars and restaurants to serve every food need for the average pilgrim. We ate a wide variety of regional and local specialties from ranging from €8 to much higher. The most economical dinner option is the pilgrim’s meal or menú del día. This dinner was usually three courses and included wine or bottled water (learn to ask for “agua del grifo” or tap water). The first course could be soup, salad, or even pasta. The second course was usually some kind of meat with fried potatoes. The final course would consist of dessert. I was always sure to ask for “especialidad de la casa” or the house special. I was able to try such unusual dishes as tuna ragu, garlic soup, home-made cheeses, and even chicken curry. We did spend a little more on dinner many nights with our total usually coming in at about €20-30 for two bringing our food total for the day to under €60 per day for two people. If you want to know more about our Camino budget, check out Michelle’s post here.
A first course, ensalada mixta 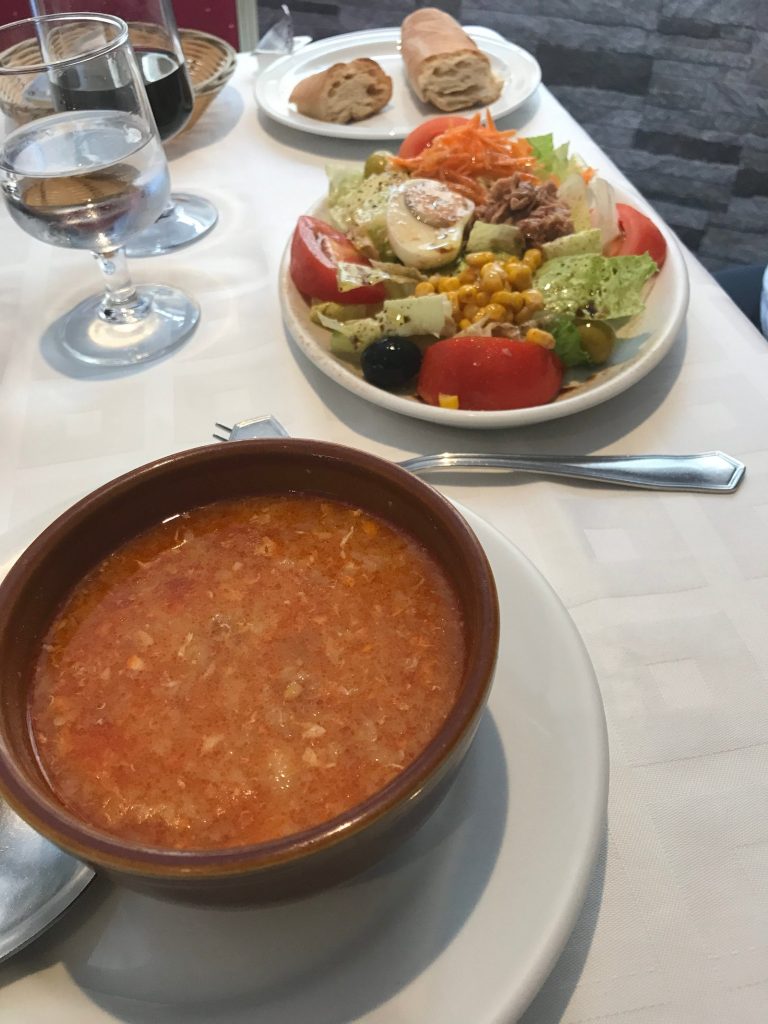
First course of garlic soup and mixed salad 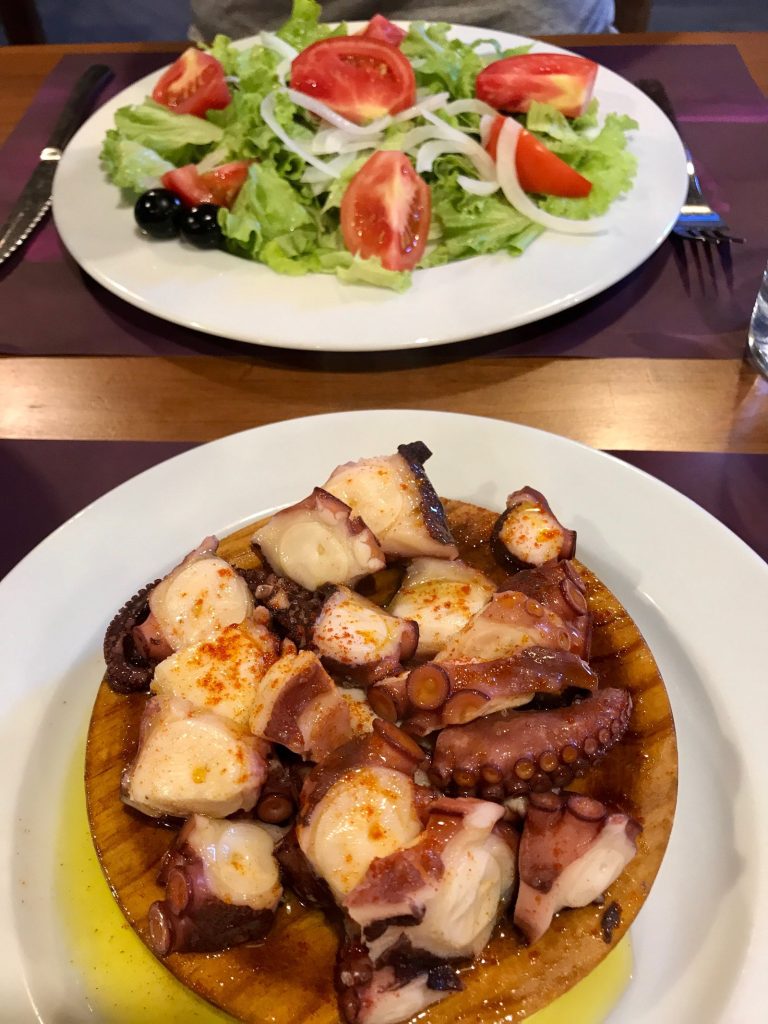
First course of Pulpo (octopus) and mixed salad 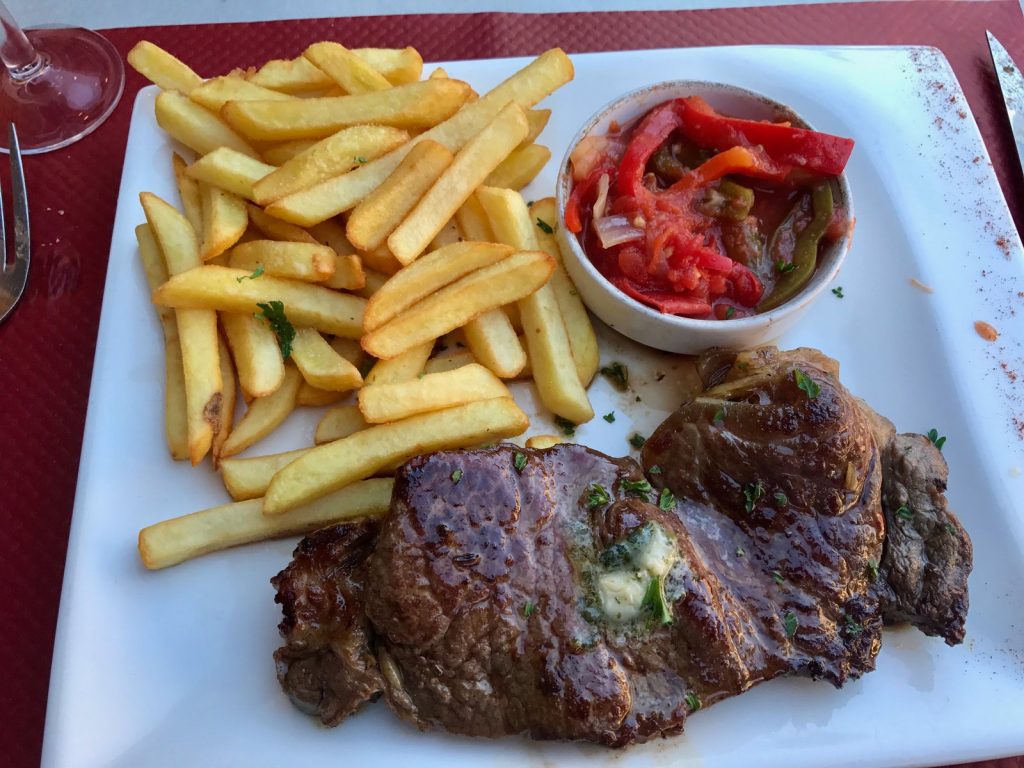
Second course of bisteca (steak) 
Second courses in a “fancy” restaurant- goat shank and hamburger (minus the bun) 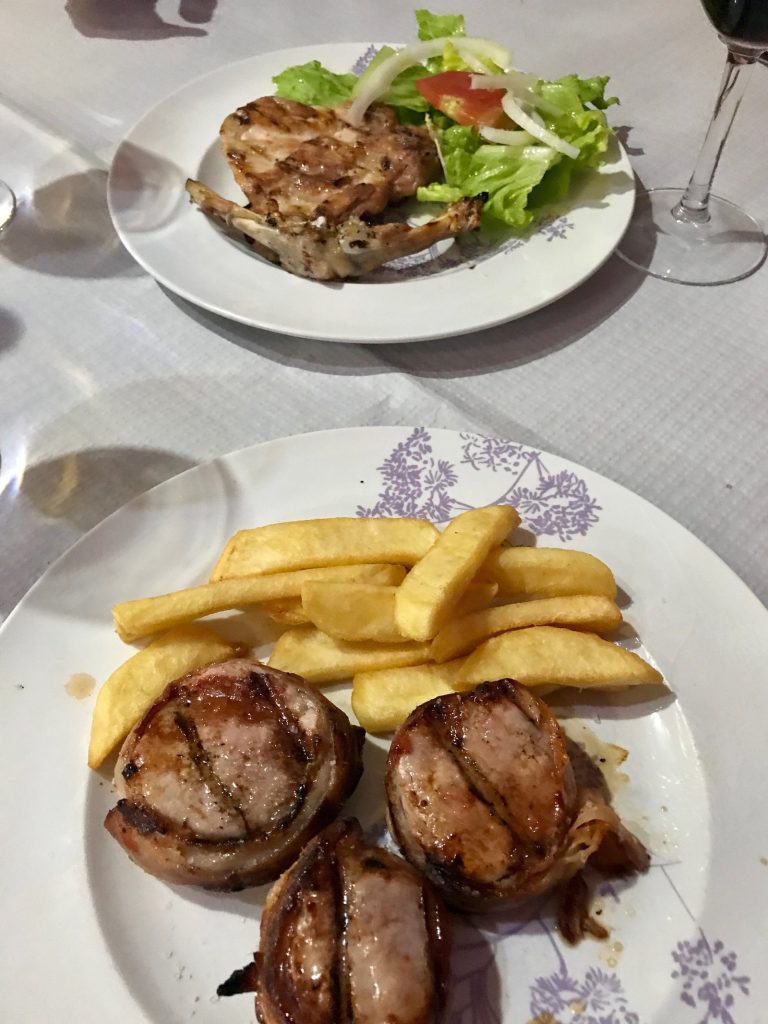
Second course – pork medallions and roasted chicken 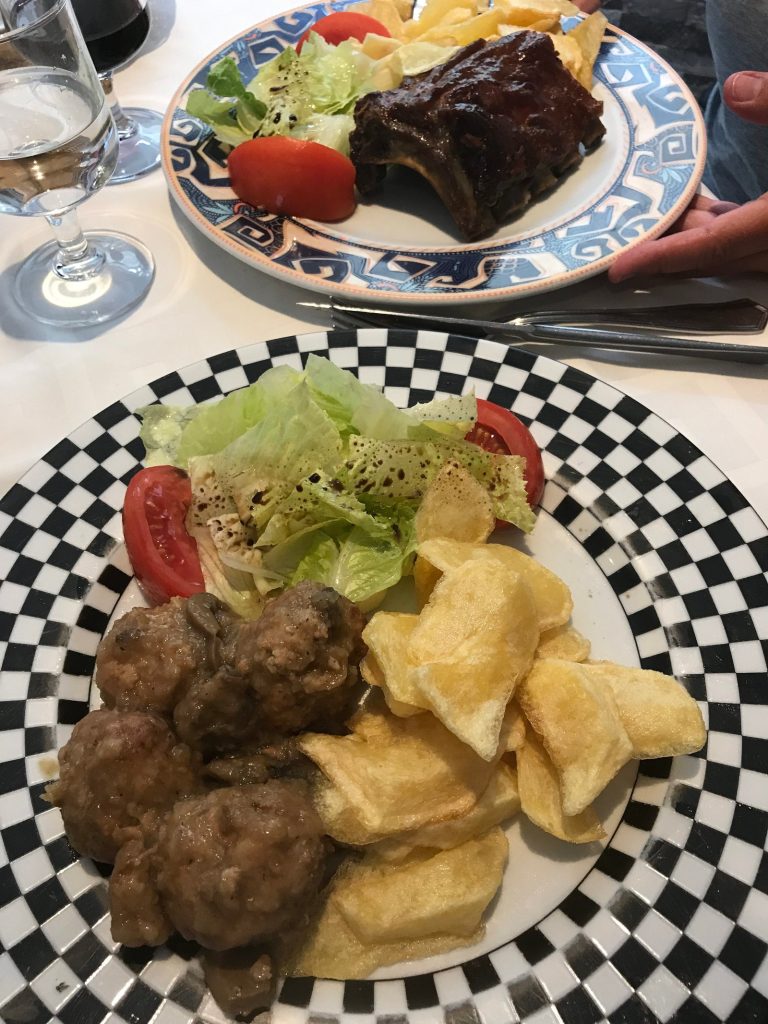
Second course of Swedish meatballs and BBQ ribs 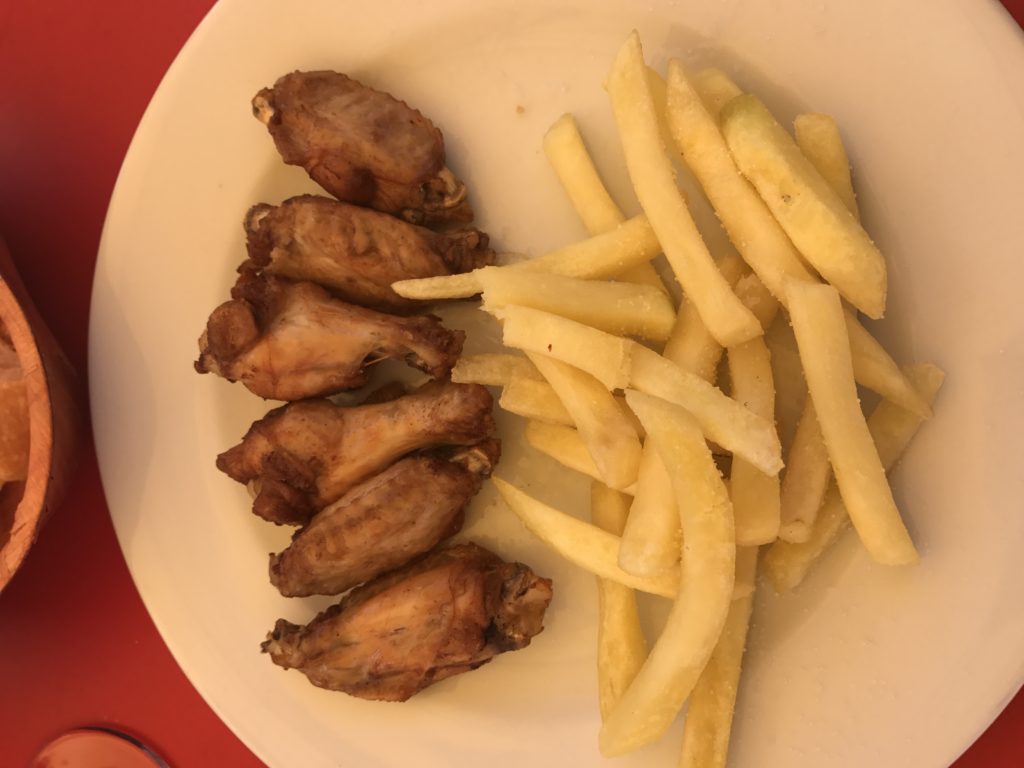
Second course of chicken wings 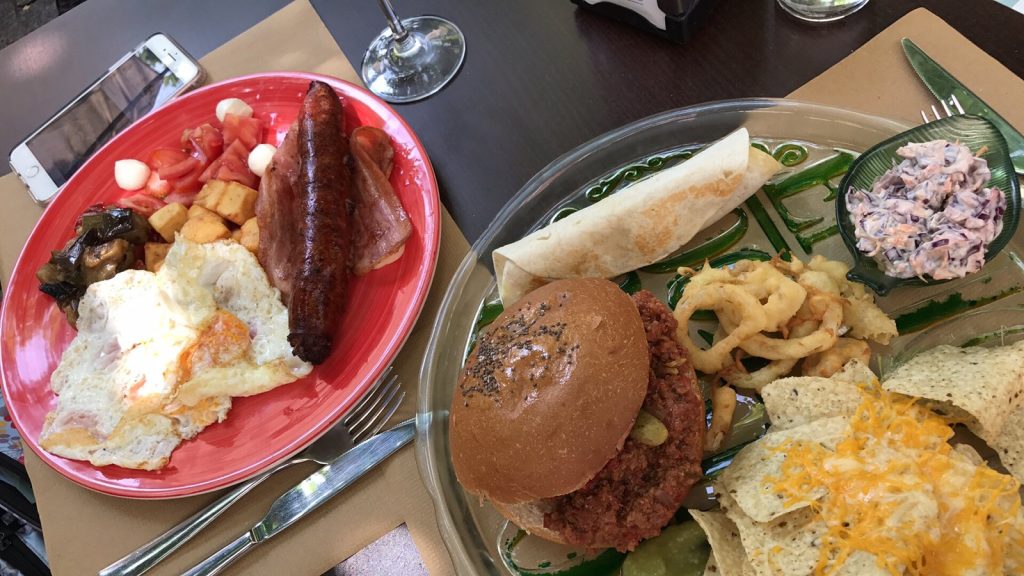
An odd meal – Michelle’s fried eggs and chorizo and my fried chicken sandwich with tortilla chips (not something we would see outside of a Mexican restaurant usually) 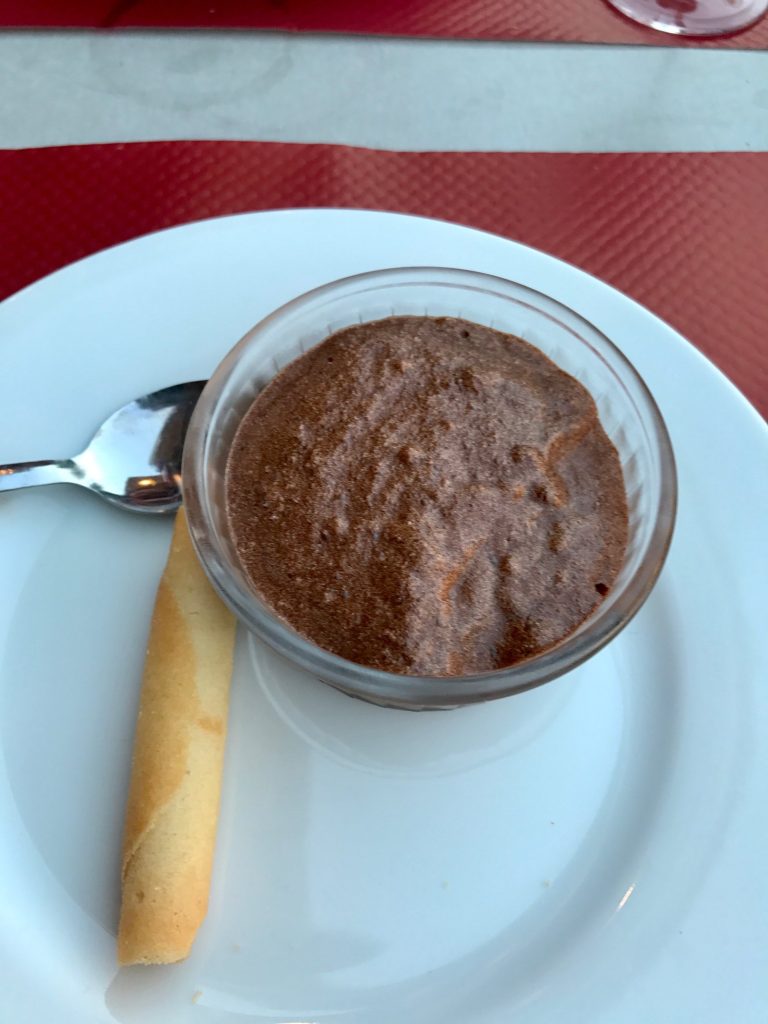
Pot de creme dessert course 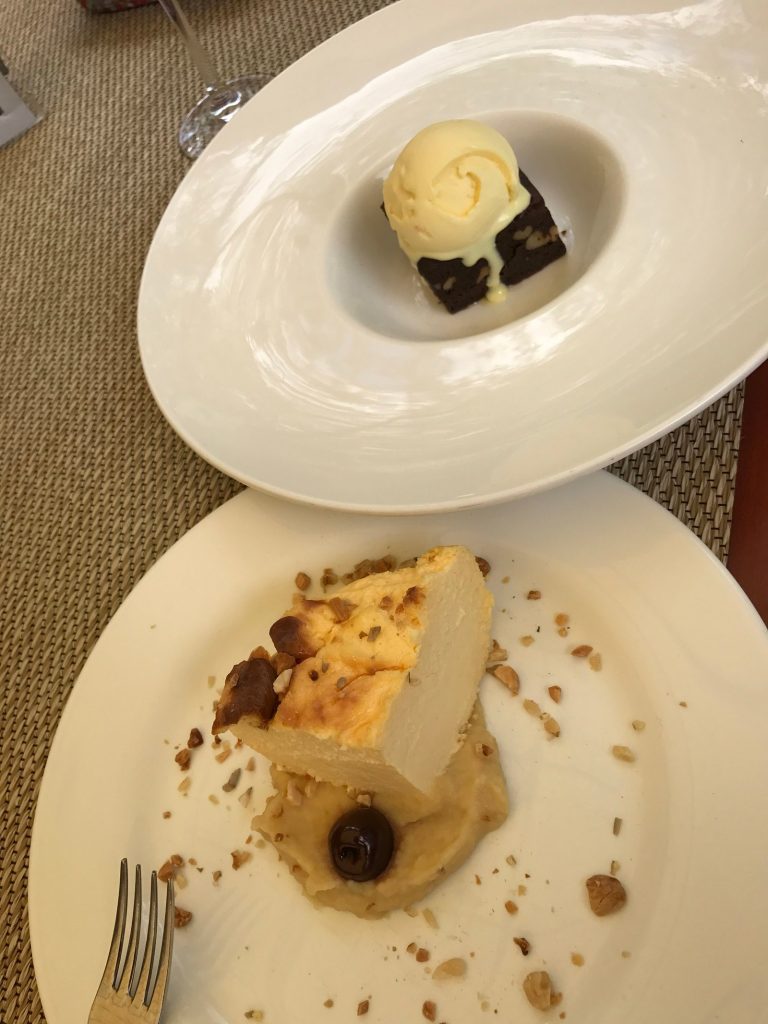
Dessert course of brownie and ice cream and apple custard 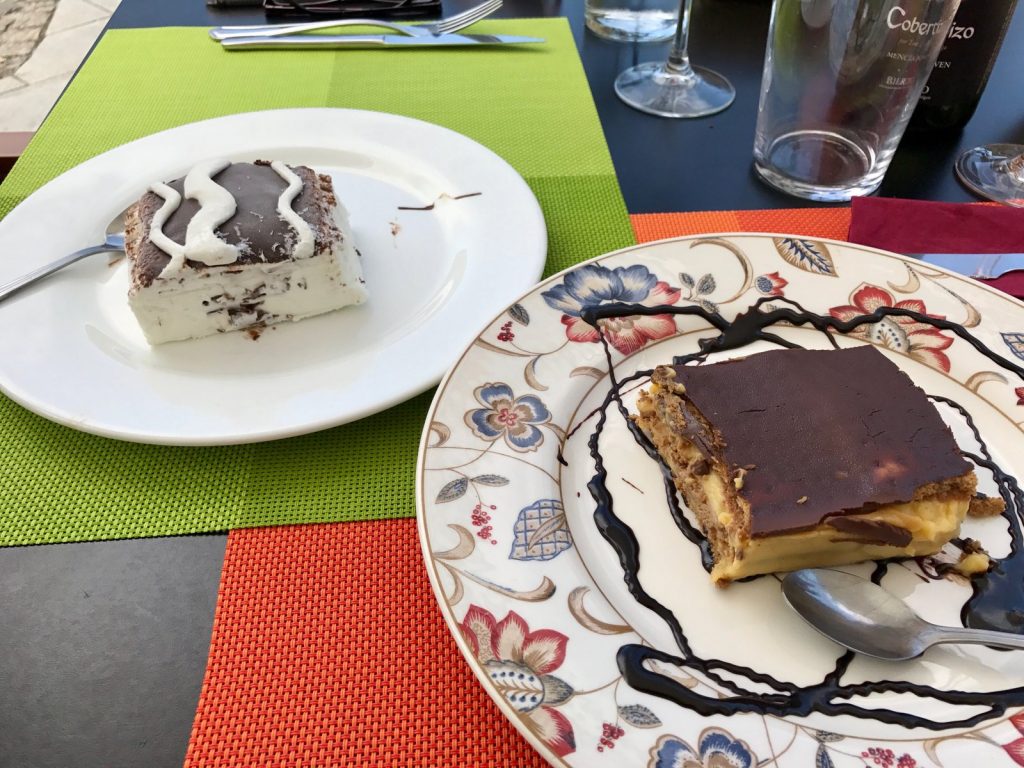
Dessert course – Ice cream cake and a layered cake 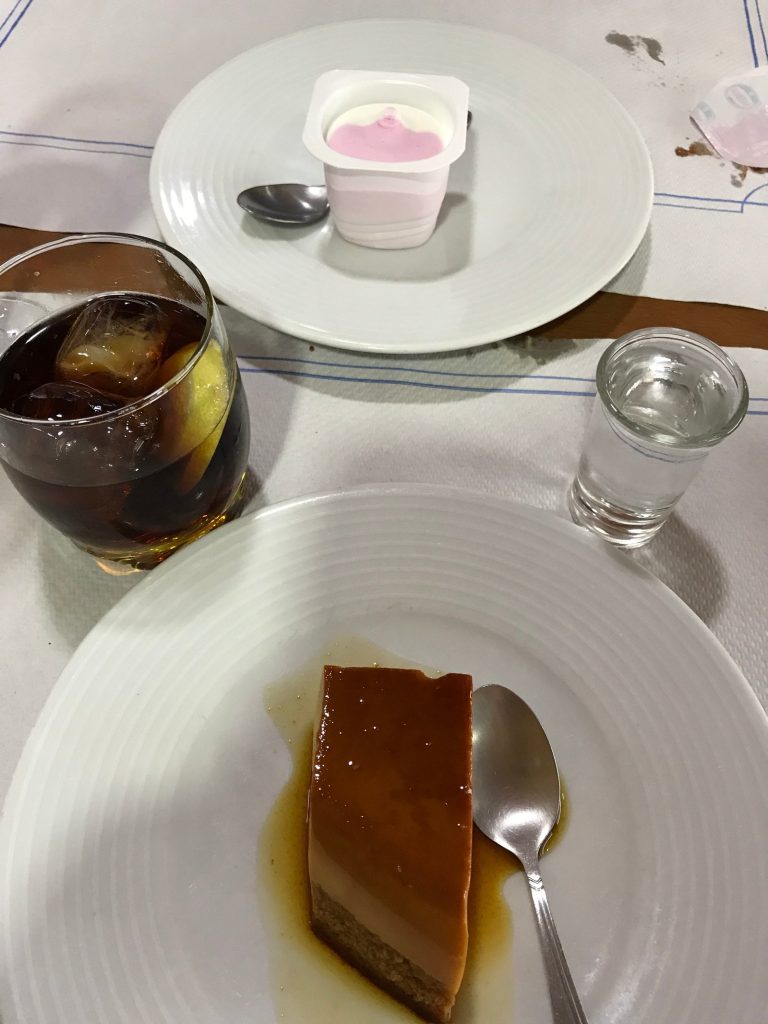
Dessert course of flan and ice cream 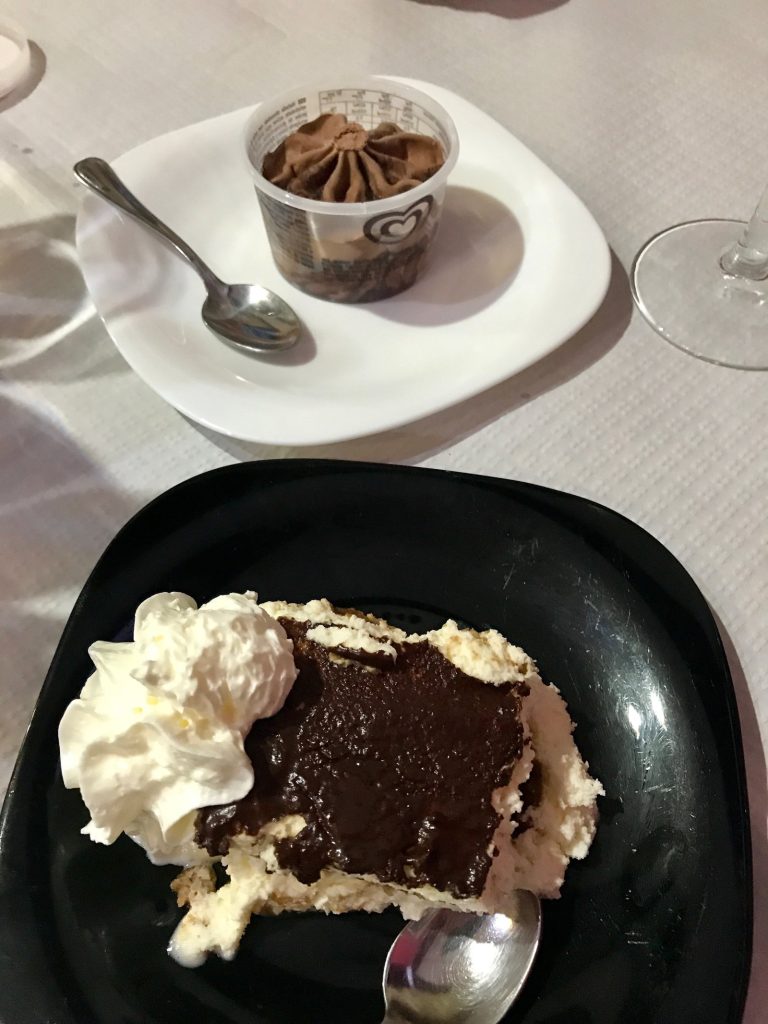
Dessert course – helado (ice cream) and house special that was similar to tiramisu 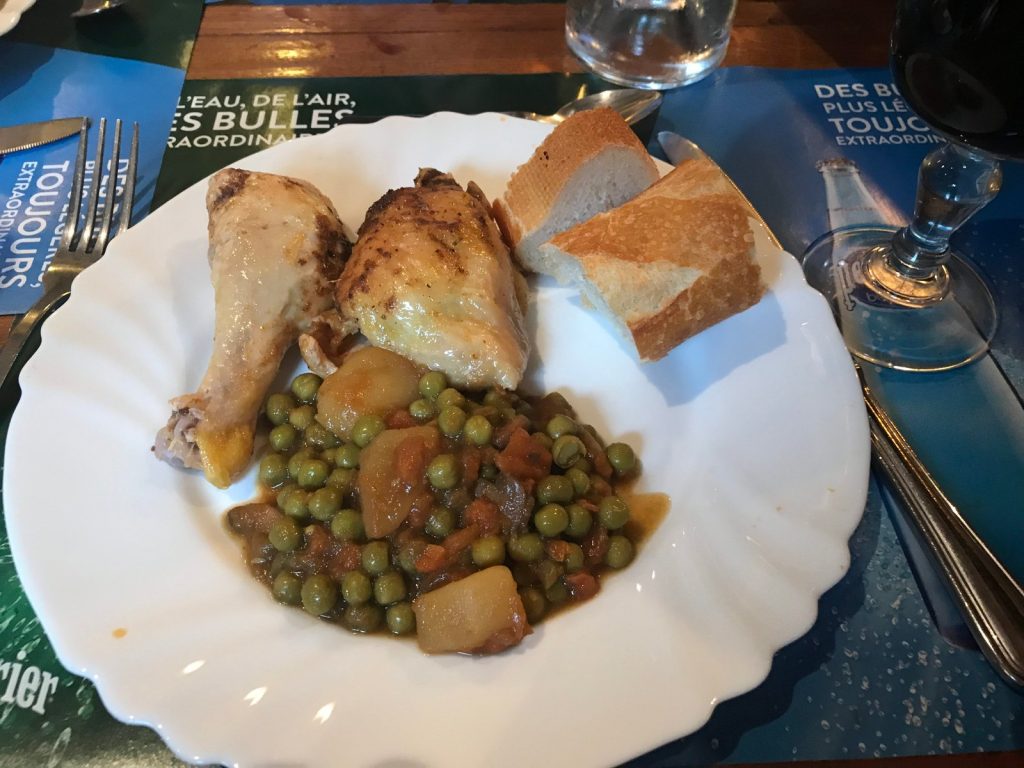
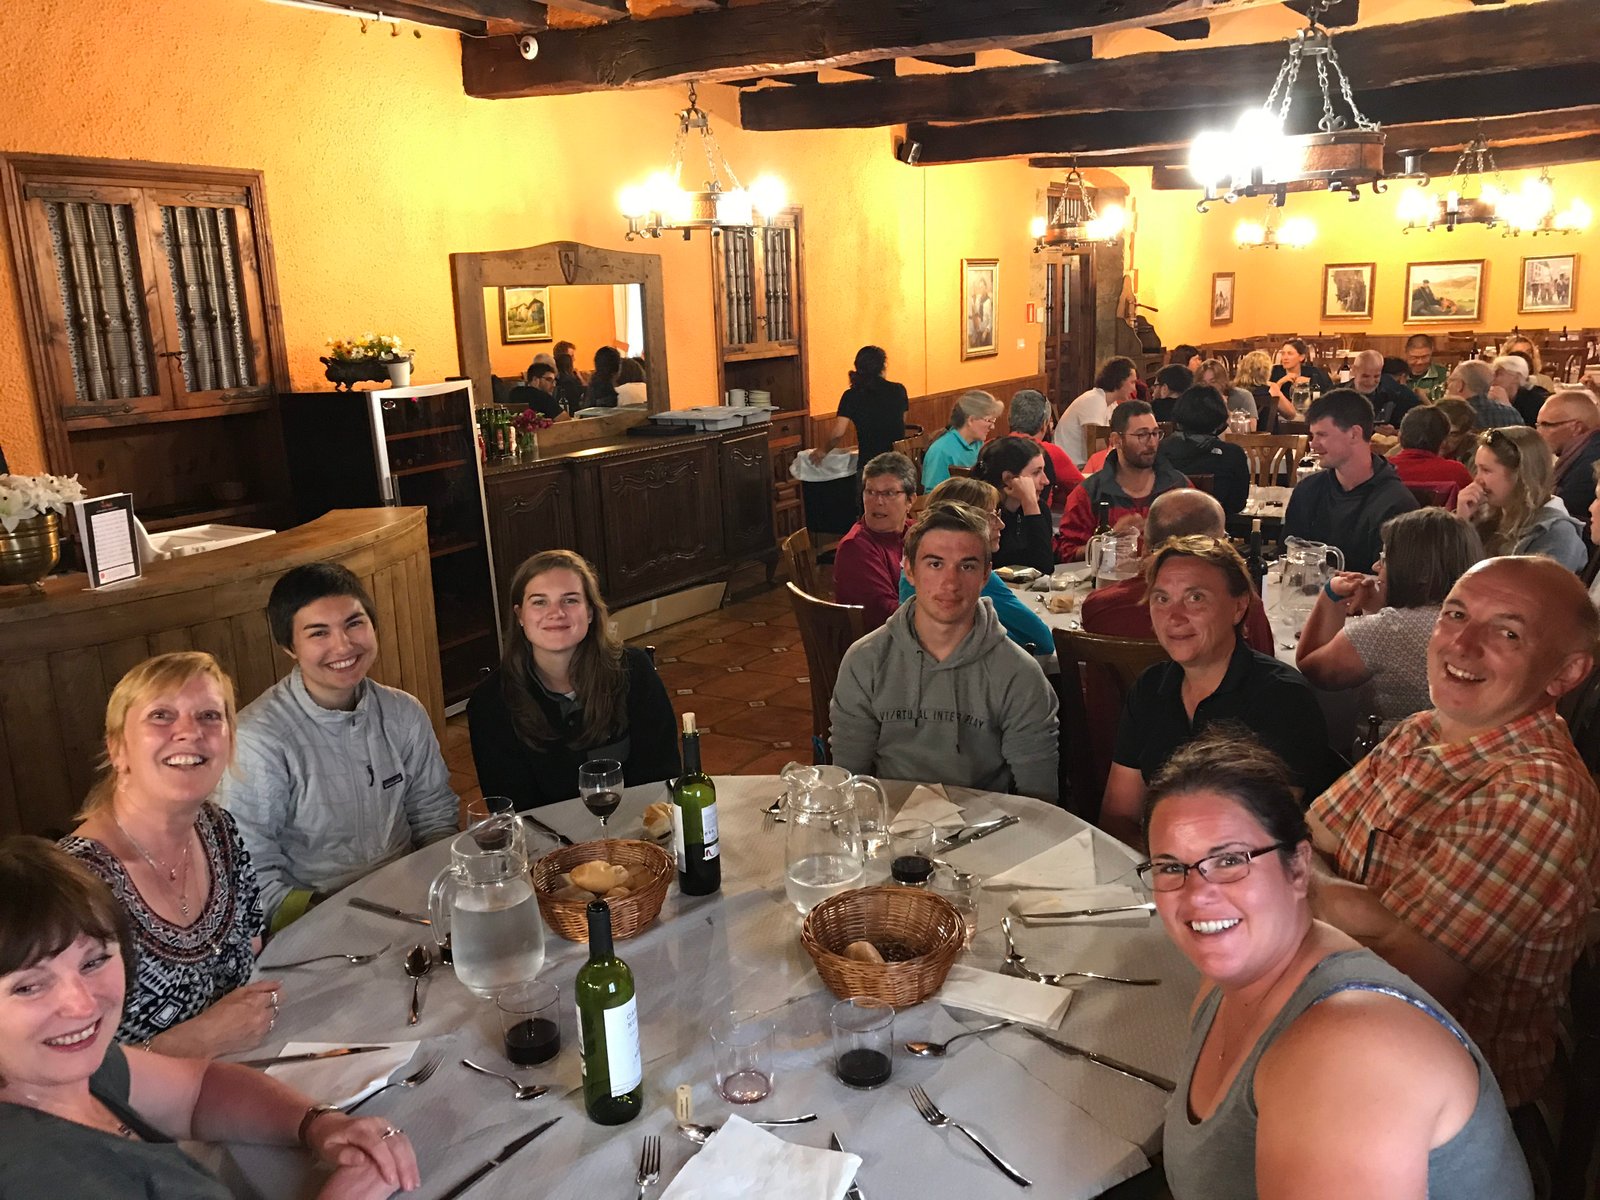
The communal dinner at Orrison was one of the best we ate 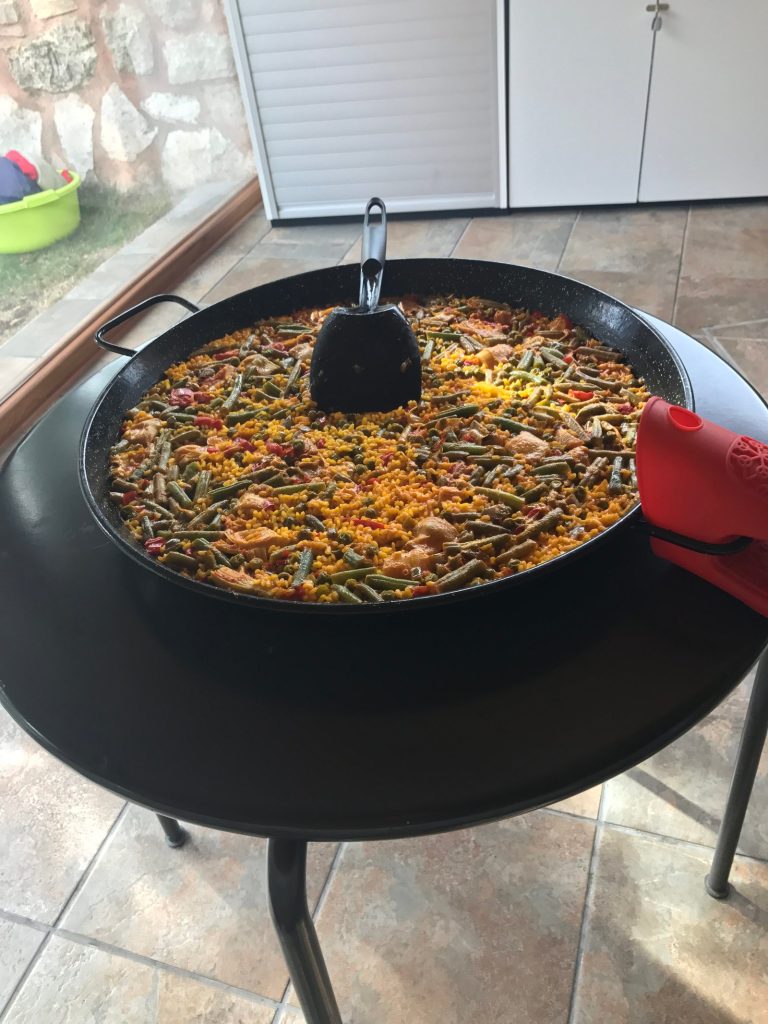
Pealla for five but the cook forgot to add the meat 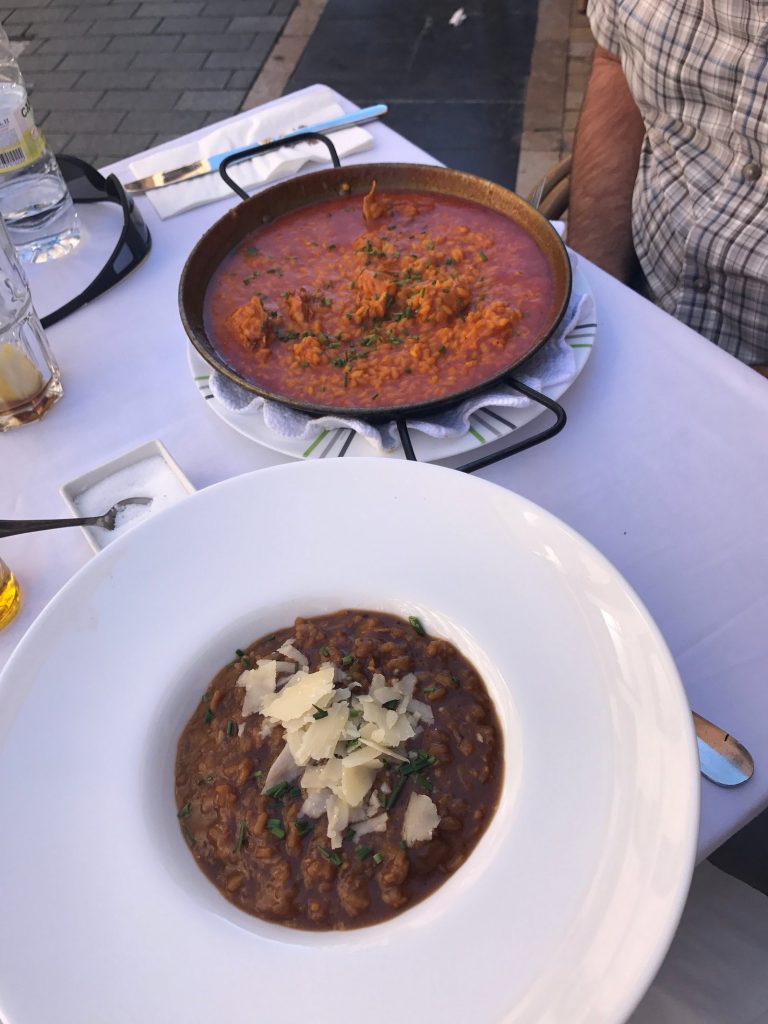
Pealla and a mystery stew 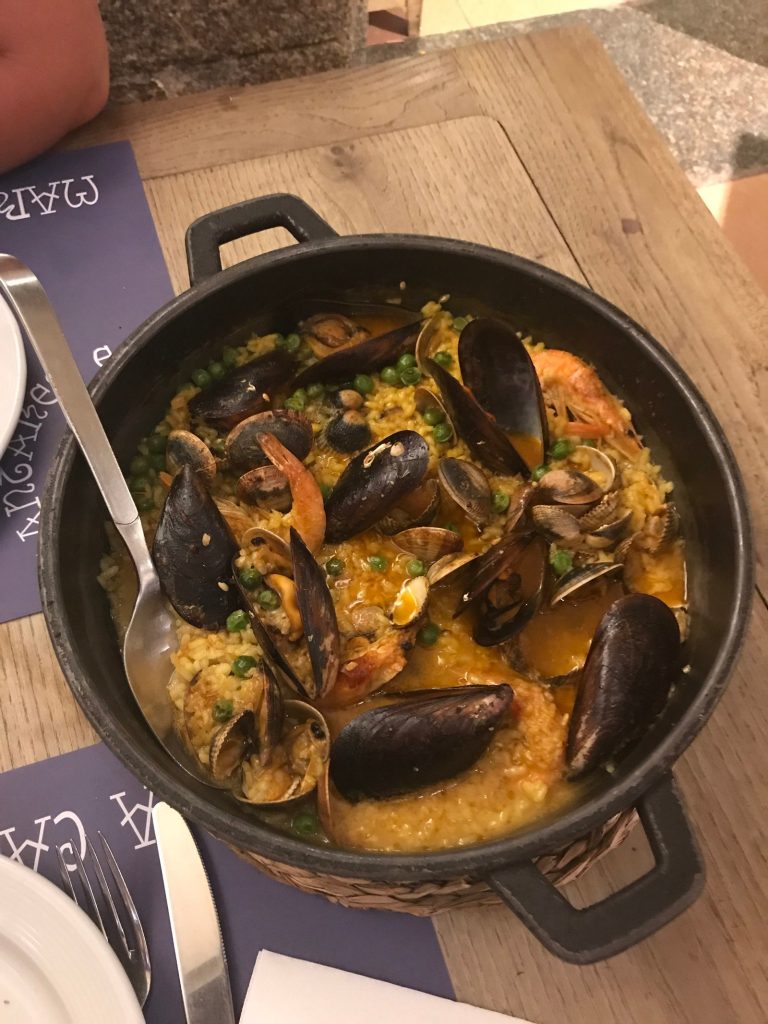
Paella 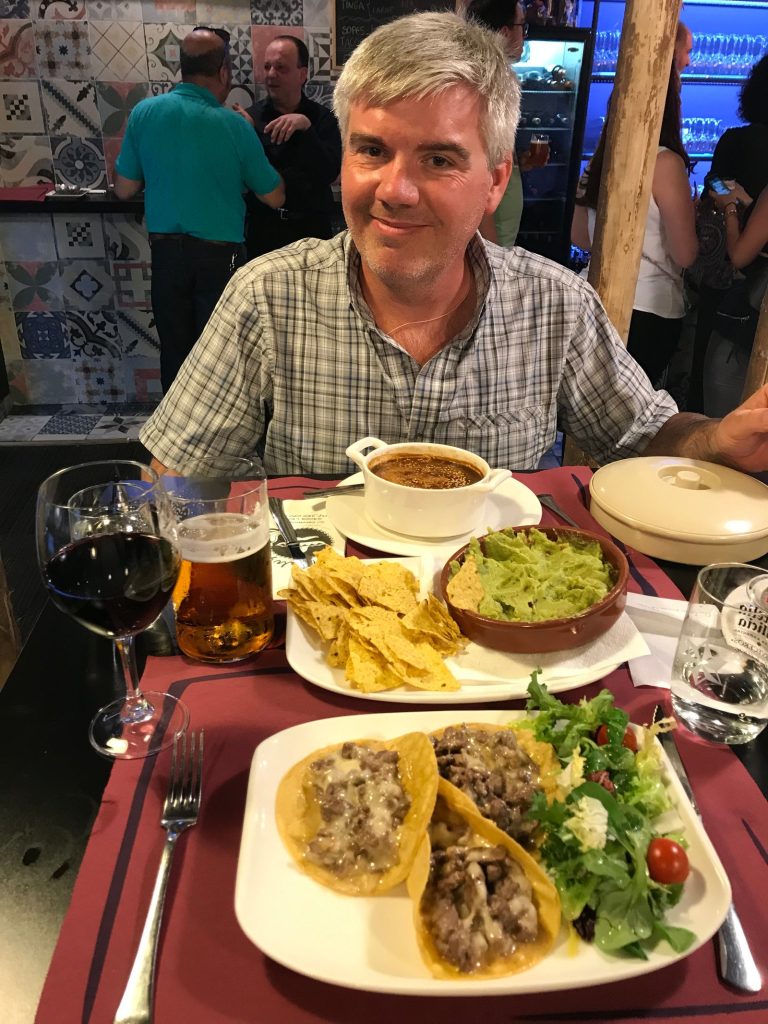
Spanish food IS NOT Mexican food but we did find a few Mexican restaurants in big cities
There are a couple of foods that I have to mention because they are too amazing to leave out. Once in Galicia, seafood is found nearly everywhere, is the freshest that I’ve

Scallops are the symbol of the Camino and usually served grilled with heir roe 
Pulpo (octopus) is boiled and then grilled and topped with olive oil and paprica 
Yes, we ate these! Barnacles are a delicacy and more expensive than most meals. This appetizer platter was about €20.
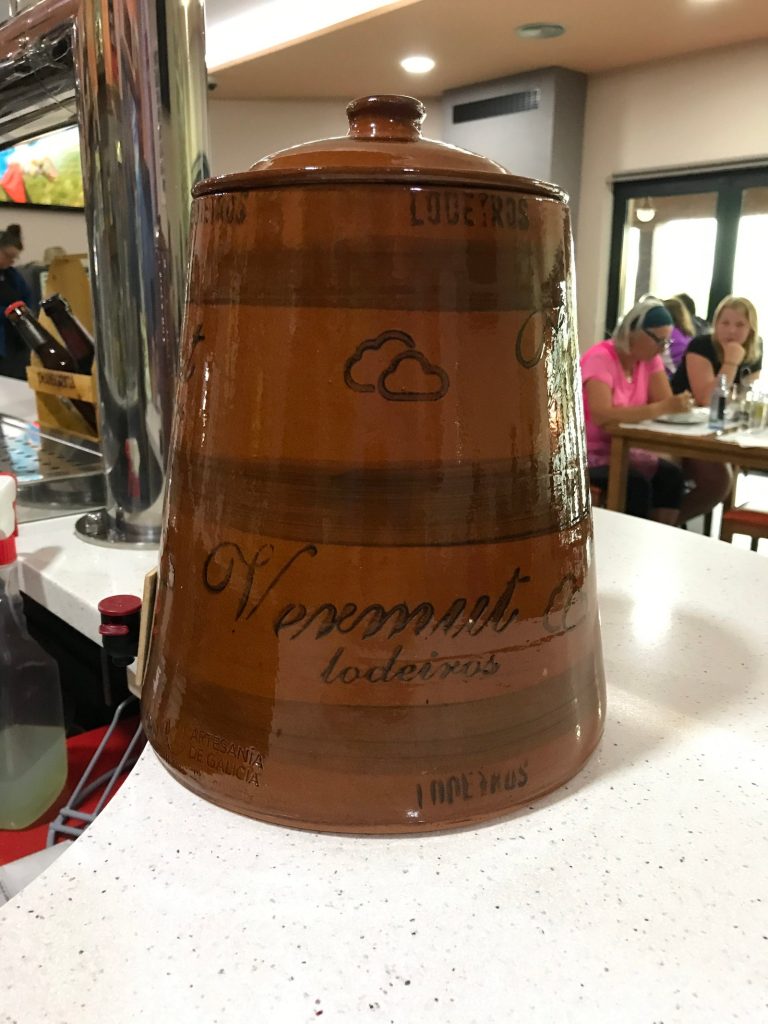
Many restaurants, bars, and even hotels will often serve wine or other alcoholic beverage that they make in house. Orujo, Patxaran, and Vermouth are popular regionally, make for a nice aperitif, and were served after dinner gratis in some places!
Sometimes you just need to eat something familiar and in larger cities, you may run across American fast food. We saw KFC, Burger King, McDonald’s but only stopped once because they had gluten-free buns!

We never cooked our own meals, but many pilgrims do. Markets, supermarkets, and even farmer’s markets are prevalent but be warned, in smaller villages most are closed during siesta and on Sundays. This is a great way to save money and get to know other pilgrims.
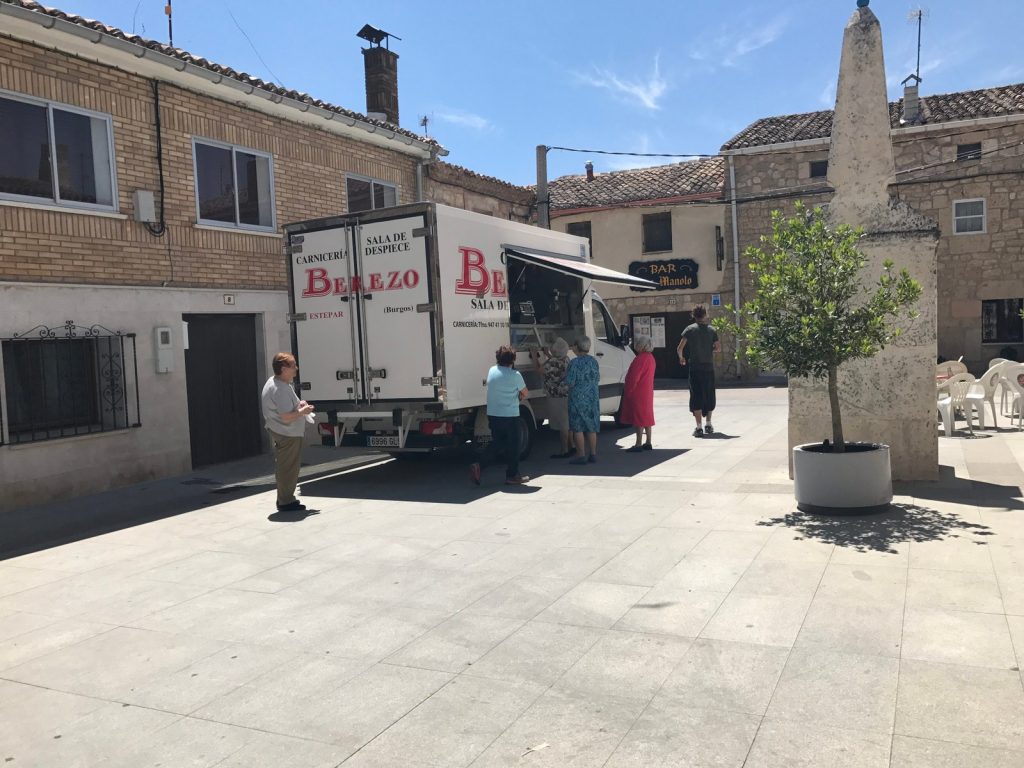
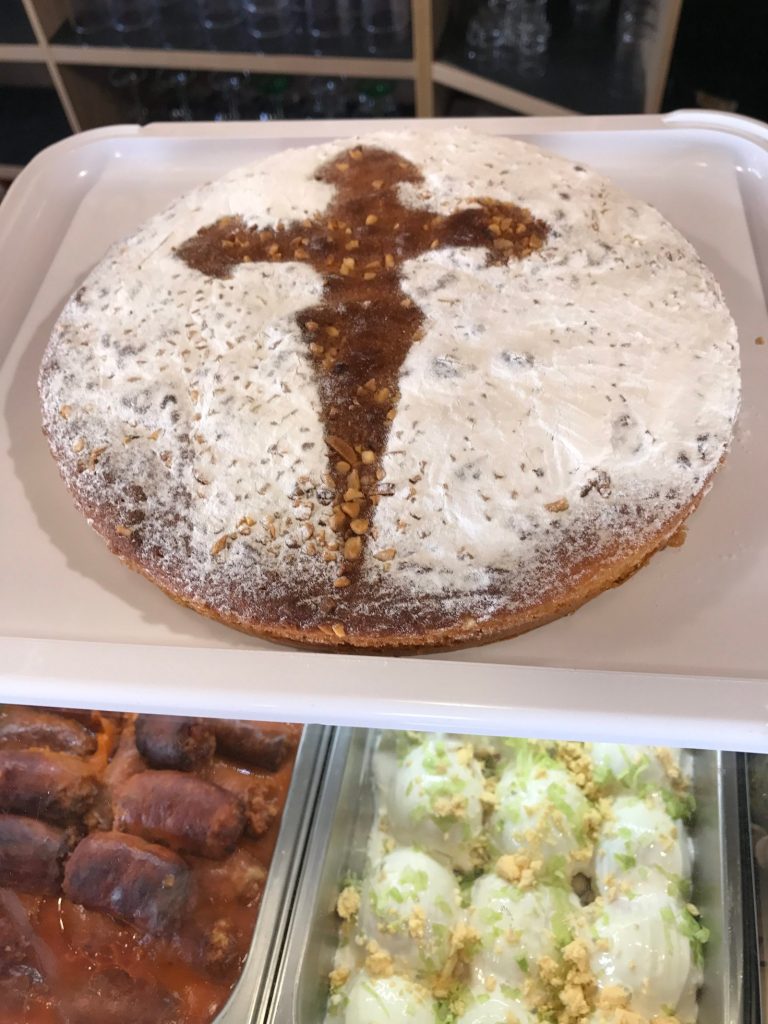
Meat, dairy, and produce trucks make regular deliveries to small villages 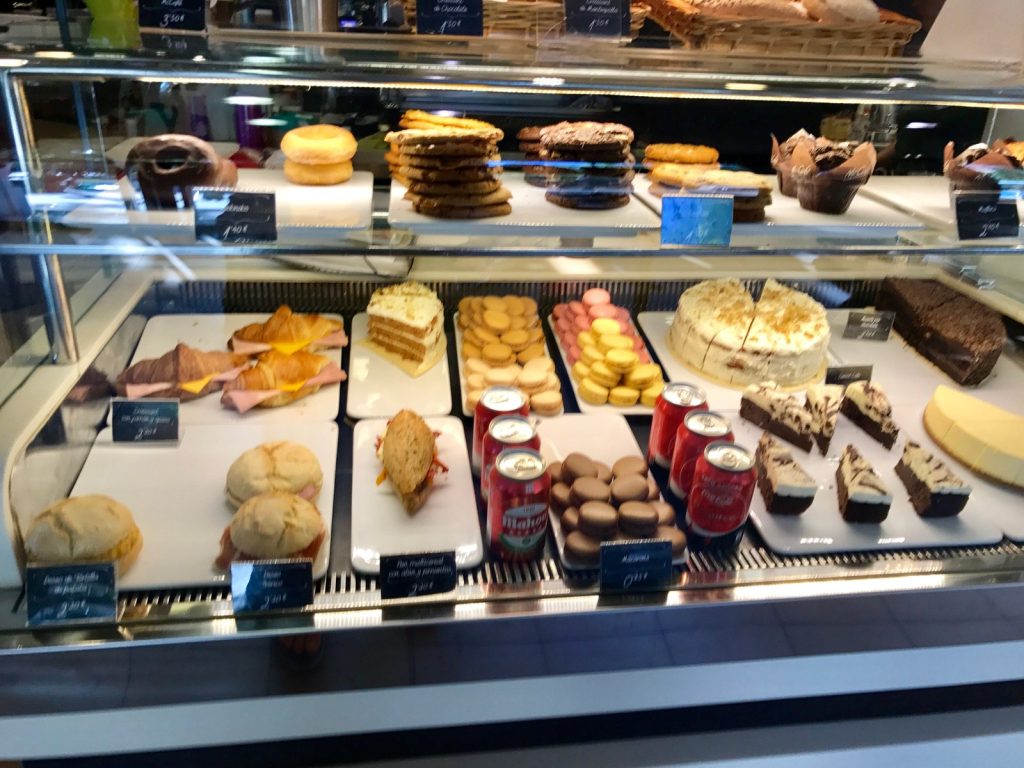
If you have special dietary concerns, most restaurants will work with you to accommodate our restrictions. Make sure you learn the names of your allergies in Spanish so you can communicate with the server. Vegetarians will probably have the greatest difficulty as Spaniards love their meat, but we did run across many vegetarians who said they were far from starving. Michelle did not have too many problems eating “sin gluten” and only got sick once during our entire time in Spain from cross contamination.
Never pass up an opportunity to eat a communal dinner, we met wonderful friends and had a great time, even when the food was only mediocre.

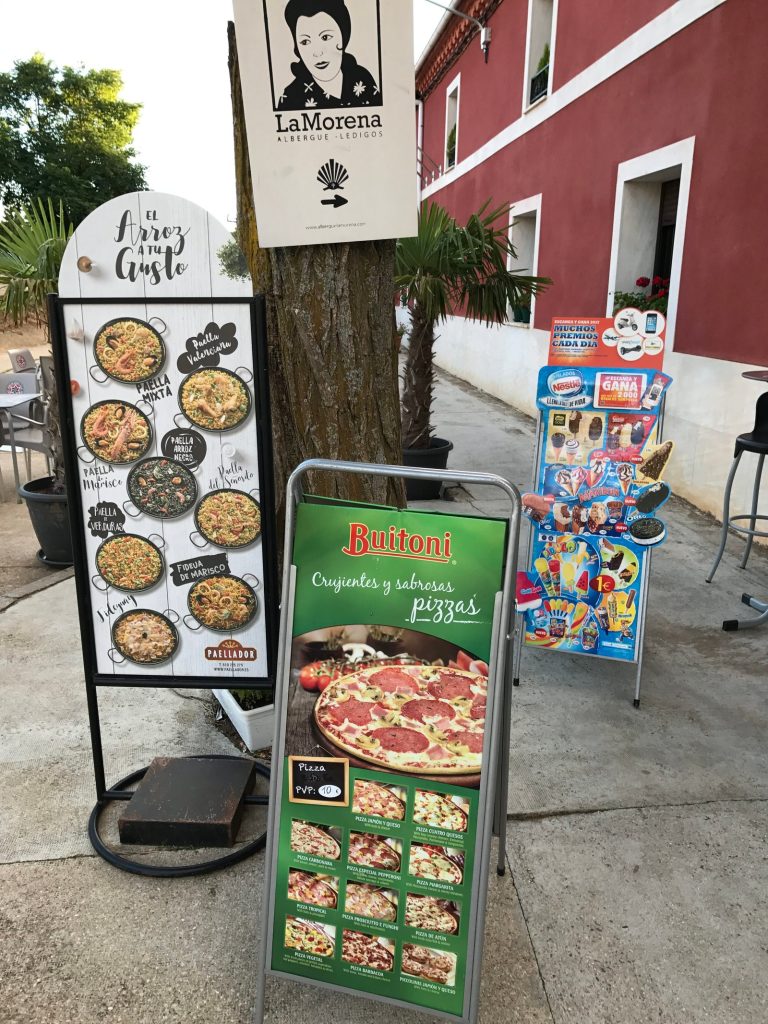
Finally, I can’t recommend enough to use common sense when eating in Spain, just as you would anywhere in the states. If an establishment looks dirty or seedy, don’t go in or leave. We never had any problems and NEVER felt unsafe while in Spain, but there were times we decided not to go into a bar or down a certain street because it didn’t look like our scene. Another thing to be wary of is looking for fresh food. We often didn’t go into places because they had a sign like this outside. All of the food pictured is premade, frozen food that is just reheated. Food is so inexpensive in Spain, why waste your time eating a frozen meal?
If you have additional questions about food or any other subjects on the Camino, let us know in the comments below. If you’ve been, what was your favorite meal?