Sometimes after a big day out exploring we just don’t feel like spending a lot of time cooking. That was the case after our day exploring Cape Coral. After visiting the fantastic Cape Coral Farmer’s Market, we did an eight-mile walk around town and found a great little Italian place for lunch that served gluten-free pizza. A visit to Wicked Dolphin Distillery and pool time back at the campground with some newly invented cocktails finished up our day.
By the time we got back to CC we were exhausted and starving. Here’s a quick dinner that you can throw together in no time at all with things that you might even have on hand.
Start out with a variety of potatoes: red, russet, and Yukon gold are my favorites. Dice them up into bite-sized pieces along with a couple of shallots and put into a microwave safe bowl.
Add about a tablespoon of olive oil and a good sprinkle of salt, garlic powder, and pepper. Cook in the microwave for five minutes or so until the potatoes are mostly cooked but still firm.
While the potatoes are cooking, get the grill heated up and add Italian sausages.
When the sausages almost done, add the potatoes and shallot mixture to the grill. BE CAREFUL to not pour the collected oil and water in the bottom of the bowl onto the grill or you will have some major flareup!
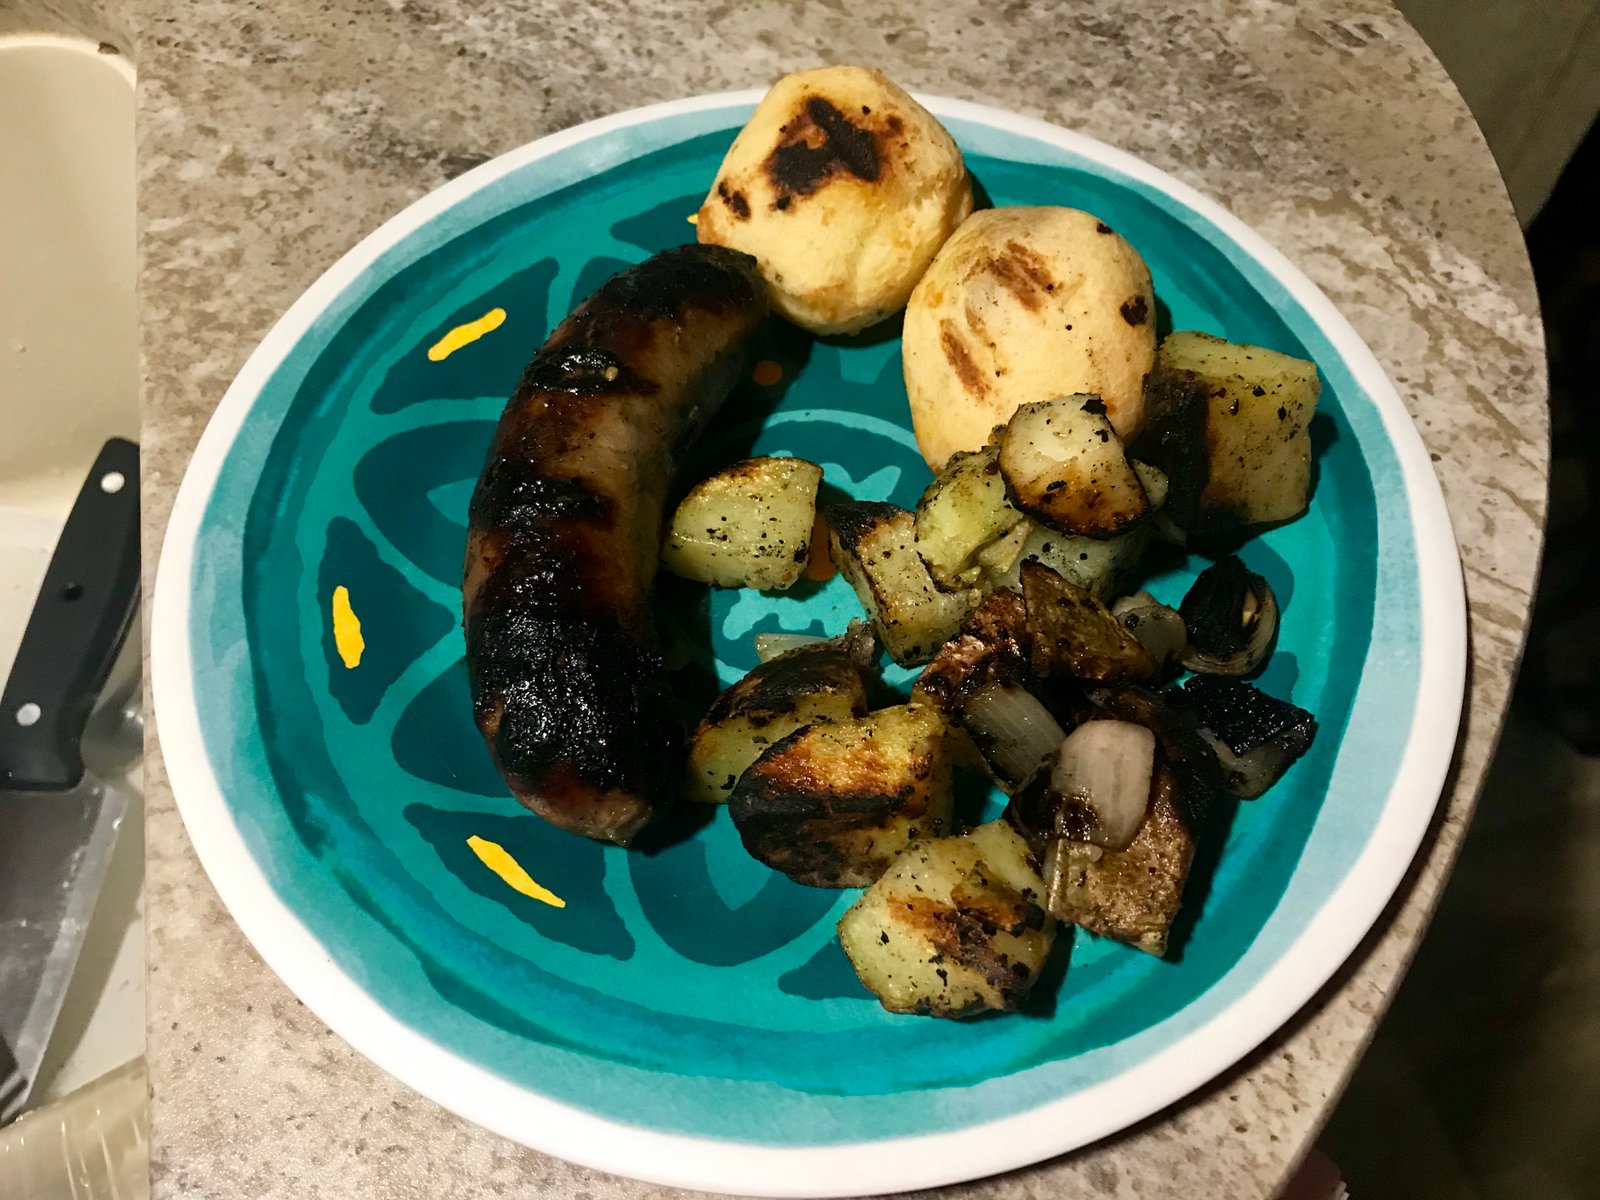
Cook the potatoes and sausage until they are nicely charred. Once they’re done, add a few handfuls of spinach and allow it to wilt for a second before removing everything from the grill and dividing between plates. Sprinkle with a little parmesan cheese.
I would highly recommend making sure that you have plenty light on the grill. We had to keep the lights off because of the no-see-ums and I might have burned things a bit! Also, you might notice that I didn’t use spinach… we couldn’t find any at the farmers market that morning so we just went without.
Grilled Sausages with Potatoes, Shallot, and Spinach
1-2 Italian sausages per person
1 lb of assorted potatoes, such as russet, red, and Yukon gold\
2 shallots
1 T olive oil
1/2 t each salt, garlic powder, and pepper
1 cup spinach leaves
1-2 T parmesan cheese
Cut potatoes and shallots into bite-sized pieces and place into a microwave safe bowl. Top with oil and seasonings and stir to mix. Cook for 4-5 minutes in microwave until almost cooked.
Heat grill and add sausages. Cook for 6-8 minutes and turn. Add the potato-shallot mixture and continue to cook until charred to your liking, another 5-10 minutes, making sure that the sausages are cooked through. Add spinach on top and let wilt then remove to plates.
When we’re home for New Year’s Eve, which isn’t often, we love to serve a buffet of appetizers. Gluten-free crab rangoon, chicken wings, a good charcuterie board like this one from Self Proclaimed Foodie, and shrimp coctail will make any occasion a special event. One of our favorites is an old microwave classic, hot beef dip. The quantities below are a doubled version of the recipe so there is plenty for a crowd. The recipe at the bottom is the regular version.
Begin with a large bottle of dried beef. Dice the meat into small pieces about a quarter inch square and place it into a microwave safe bowl. Cover with water and microwave for about two minutes and let it sit until ready to use.
In another microwave safe bowl, combine a half cup each of diced green onion, greek yogurt (or sour cream), and mayonaise. Add one cup of parmesan cheese, two tablespoons of diced parsley, and two 8-ounce blocks of cream cheese (we always use the reduced fat Neufchatel). Mix everything together until well combined and cook in the microwave for about two minutes.
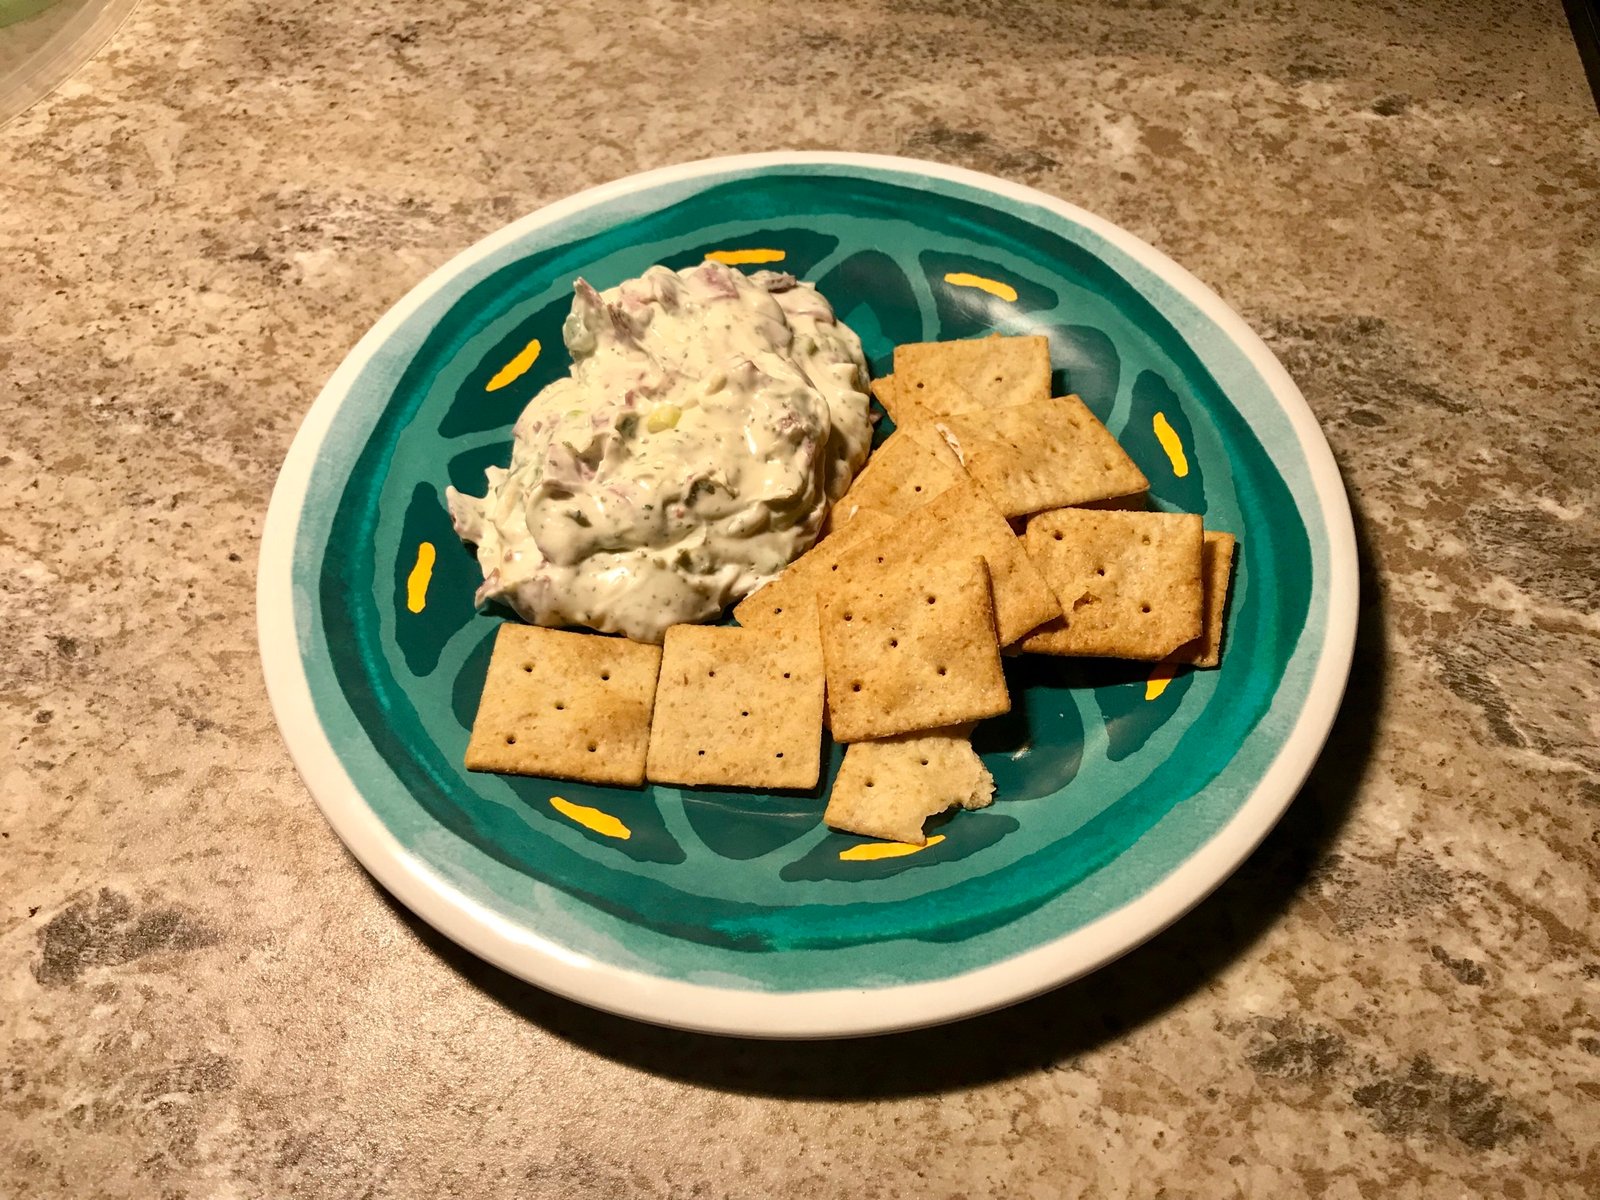
While the cheese mixture is heating, drain the water off of the beef and squeeze off any excess water. Mix the beef into the cheese mixture and cook another one to two minutes until everything is heated through and bubbly. Serve with gluten free crackers.
What are your favorite appetizers to serve for a party or gathering of friends (or maybe just a special treat dinner night)? Leave us a comment below to let us know. Don’t forget to hit subscribe to get notifications sop that you don’t miss a single post!
If you’re following us in Instagram (@cruisinwiththecolemans) you probably already know the we are in Florida right now celebrating Christmas with my parents at Lake Lochloosa. We’re thrilled to get to spend some time with them but we’re even more excited to be heading to the beach later this week.
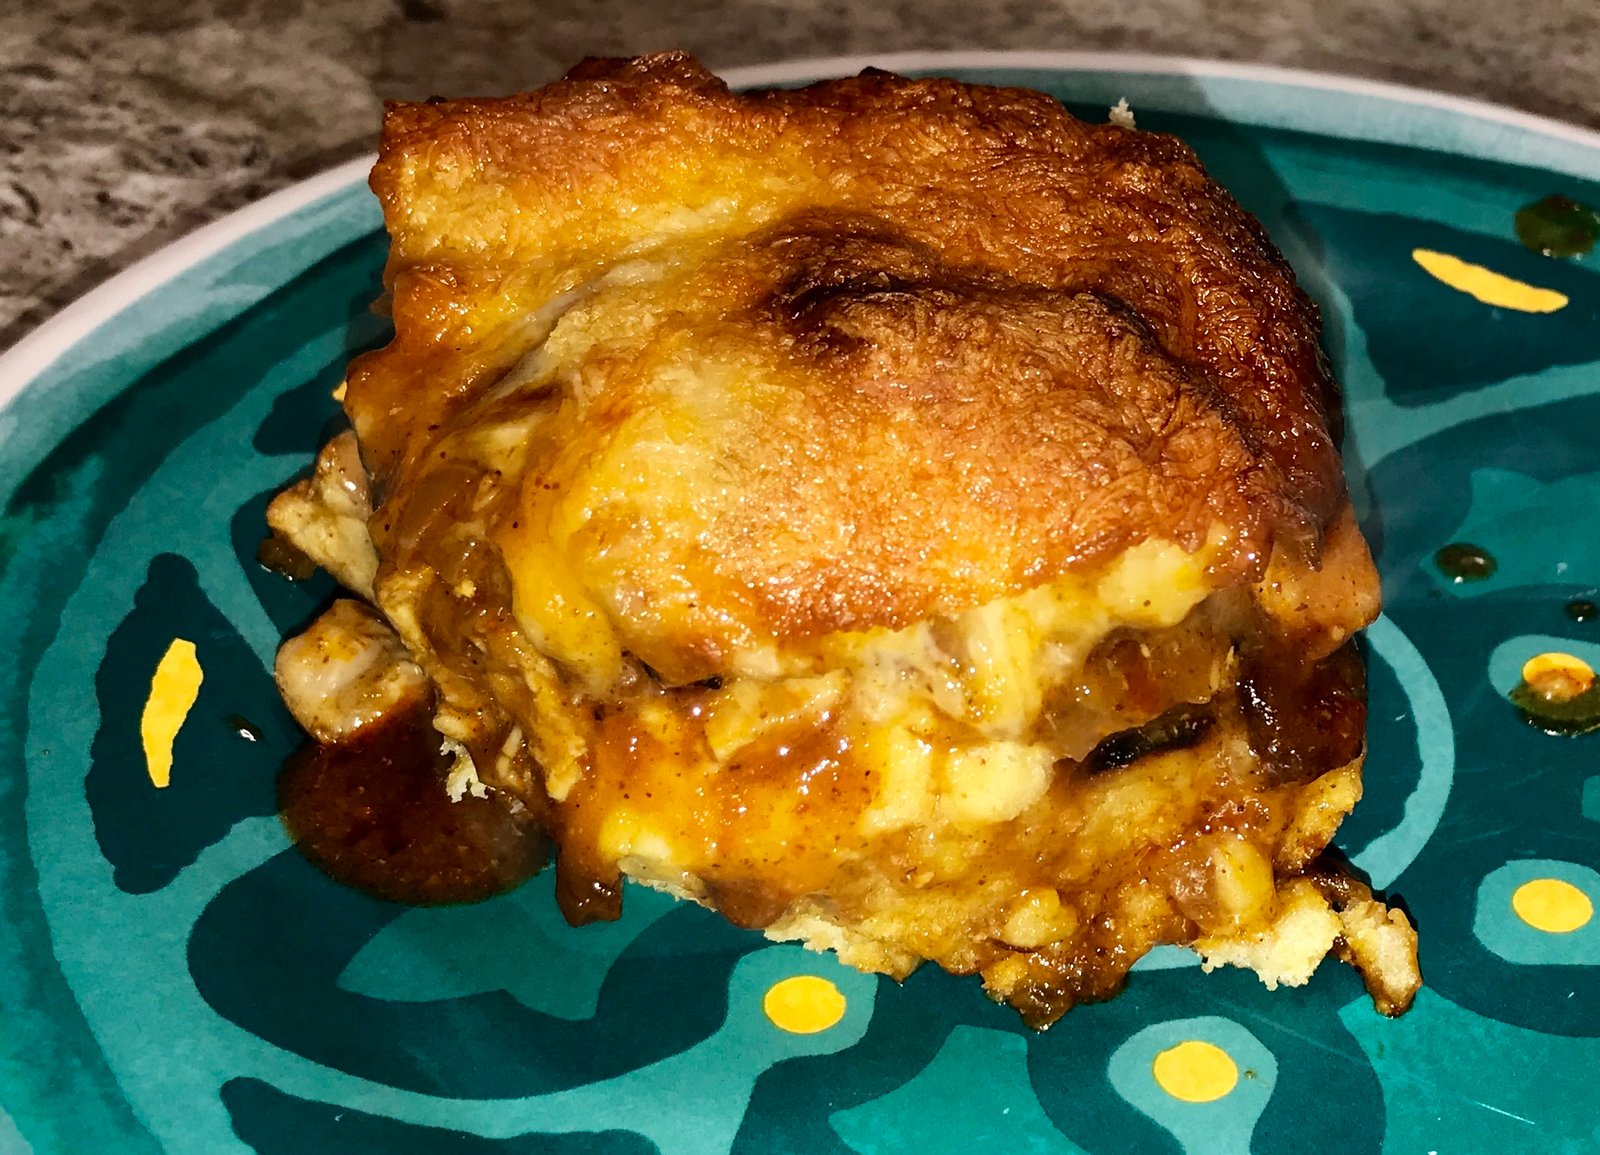
Before we head out to do some kayaking with (hopefully) manatee and not alligators, I wanted to share one more special holiday recipe – dressing. In the Coleman house, we never stuff the turkey. It’s always roasted with plenty of butter, onion, herbs, and spices, but our dressing is served on the side where the edges can get crispy and I know there is no risk of undercooking. Anyone who is gluten free knows that you can’t run into the grocery store and buy a box of gluten-free dressing mix, so this treat has to be a little more labor intensive than usual, but it’s always made with a secret ingredient, LOVE!
Preheat the oven to 250º. Start out with fourteen slices of bread. We use Kinnikinnick gluten-free bread and for this batch we used half white and half multigrain. Stack the bread up and using a serrated bread knife, cut the pieces into quarter inch cubes and toss them into a large bowl.
Melt a stick of butter and add two teaspoons of poultry seasoning, two teaspoons of parsley, and one teaspoon of garlic powder. Pour the butter mixture over the bread and mix thoroughly to get every piece of bread covered in butter and spices.
Spread the mixture on two cookie sheets so that the bread cubes are not crowded and put them in in the oven. The next step is going to take a while, so I hope you’re not in a hurry. Bake the cubes for one hour, stirring them every 10 to 15 minutes. You want the cubes to dry out but not brown or burn. Think of how Stove-Top looks coming out of the box, and that is your goal. Depending on how fresh the bread is, it may even take an hour and a half.
By the way, at this point , these make excellent croutons for a salad!
Dice two stalks of celery, a medium onion, and two cloves of garlic.
Sauté half of a pound of celery in a skillet and add the vegetables. Cook until the celery and onions are soft.
Add the mixture to the bread cubes in a large bowl. Add two cups of chicken or turkey broth and stir until it is mostly absorbed by the bread. Taste the mixrture to adjust seasoning. Add salt is needed. Stir in two eggs and if the mixture is dry, a little more broth.
Pour the entire mixture into a greased casserole dish and bake at 350º for an hour.
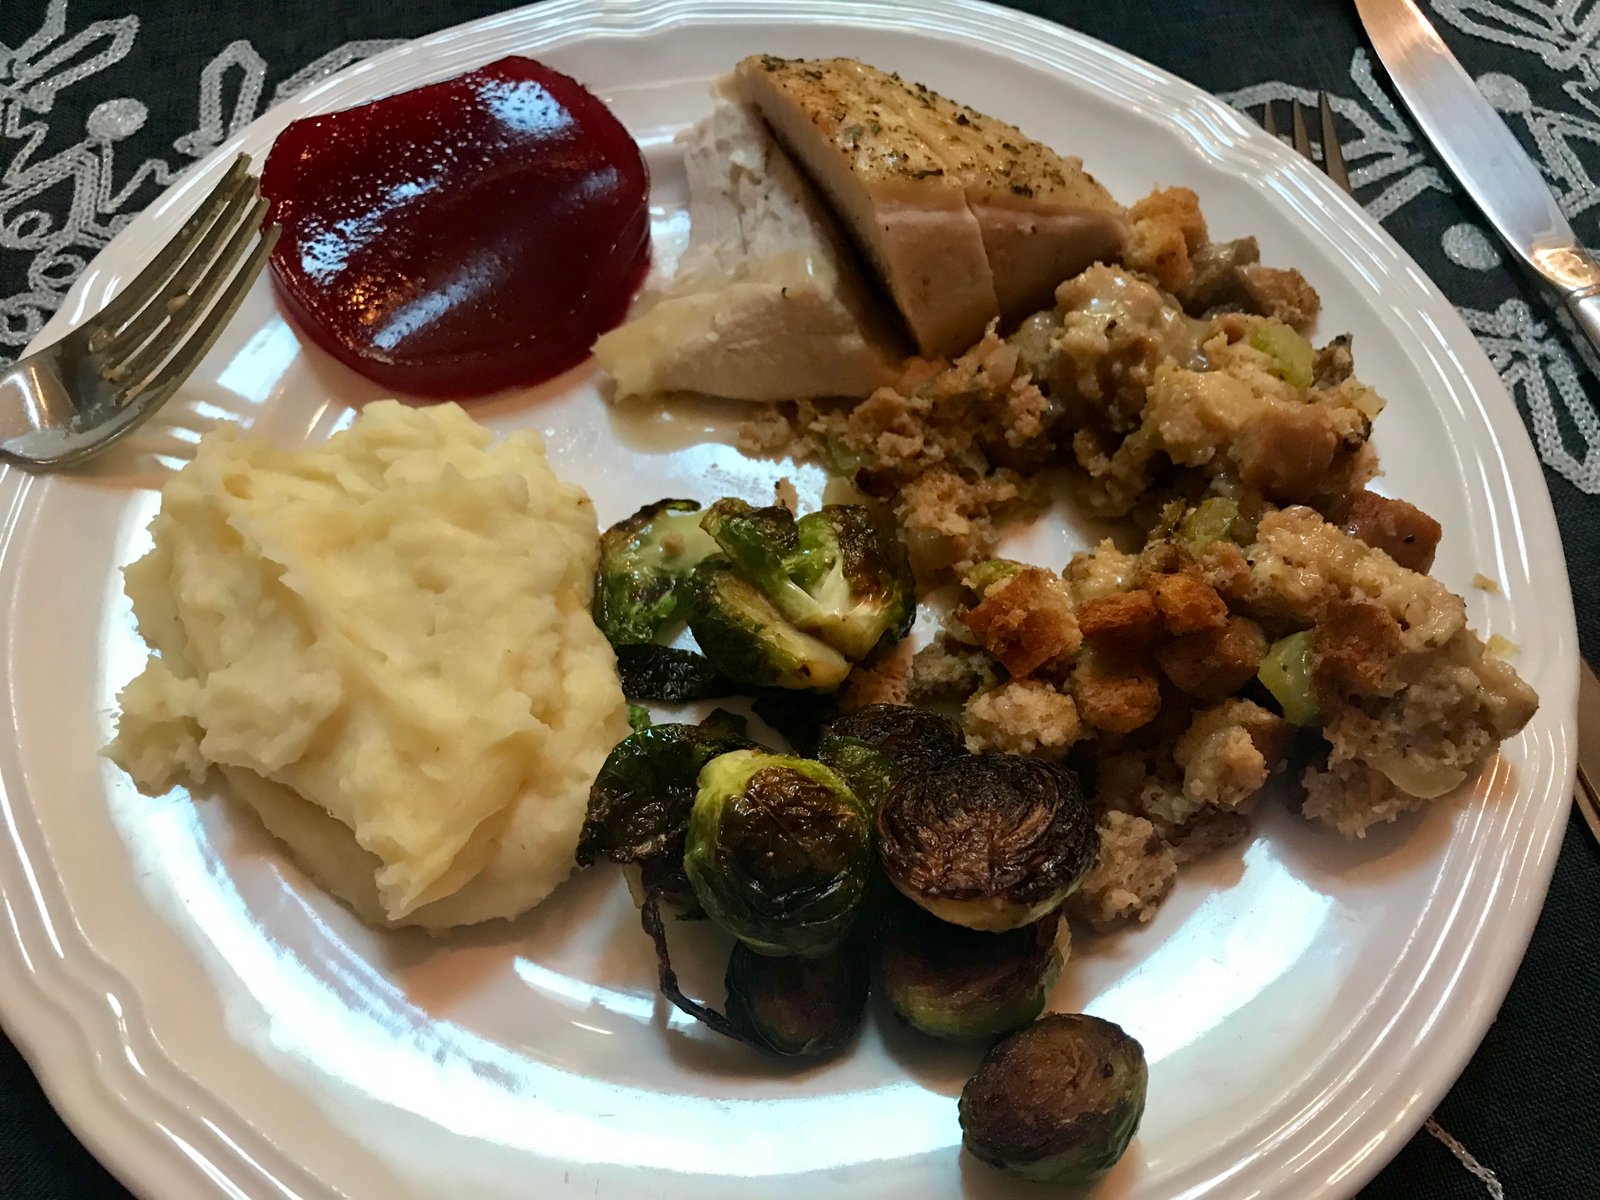
Our Thanksgiving menu included Roasted Turkey, Holiday Mashed Potatoes, Brussel’s Sprouts, Dressing, and of course canned cranberry sauce. For dessert, everyone enjoyed Gluten Free Praline Pumpkin Pie.
Holiday Dressing
14 slices of gluten free bread
1/2 c (1 stick) melted butter
2 t poultry seasing
2 t dried parsley
1 t garlic powder
2 stalks celery
1 medium onion
2 cloves of garlic
1/2 pound breakfast sausage
2-3 cups of turkey or chicken broth
2 eggs
Preheat the oven to 250º. Using a serrated knife, cut the bread into 1/4 inch cubes. Melt the butter and add the poultry seasoning, parsley, and garlic powder. Stir the seasoned butter into the bread cubes and make sure they are well coated. Spread onto 2 cookie sheets and bake for an hour, stirring every 10-15 minutes until the cubes are dry but not browned.
Dice the celery, onion and garlic. Sauté the sausage in a pan and add the vegetables. Cook until soft.
Mix the sausage mixture into the bread crumbs. Add the broth and taste to adjust seasonings. Add salt if needed. Stir in the eggs and add more broth if the mixture seems too dry. Pour into a greased casserole dish and bake at 350º for an hour.
Welcome to the new and improved Cruisin’ with the Colemans website. Here’s a huge shout out to our web designer Elizabeth Kimmel for a fantastic job! Make sure that you click around and explore everything that we have to offer and stay tuned for new features that will be coming soon, including an Etsy store selling prints of some of our favorite travel photos.
As promised before our hiatus, here is my recipe for Gluten Free Praline Pumpkin Pie! When Michelle had to go gluten-free six years ago due to a diagnosis of lifelong heath issues we were concerned many favorite special treats would have to disappear from her diet. Surely we both had to make major adjustments to our cooking, but over the years we have found and developed our own recipes to include most of our favorite menu items into a gluten-free diet. Pie crust is one of those items. I have found two different pie crusts that work well with non-wheat based flour, a pat-in-the-pan crust that involves no rolling and the one that I have here. I have used them both for sweet and savory pies with great success, but this roll out dough is my favorite because it turns out both crispy and flaky. At Thanksgiving dinner this year with some of our neighbors, the ladies asked how I got the crust so flaky and were shocked to discover it was wheat free! With more than a hundred years of pie making experience at the table, I took it as a great compliment!
Let’s start with the crust. Cut a stick of butter into eight slices and put in the freezer while you gather the rest of the ingredients. You’ll need all purpose gluten free flour (such as Pamela’s Artisan Blend), salt, white and dark brown sugar, pecans, more butter, pumpkin puree, evaporated milk, an egg, and almost every spice in your rack. Finally get a measuring cup of water and add several ice cubes.
Preheat the oven to 450º. In the bowl of a food processor (I love my Ninja) place one and a quarter cups of all purpose gluten free flour blend, a teaspoon of salt, and two tablespoons of sugar (we always use Whey Low sugar substitute) and give it a quick pulse to mix the ingredients. Add the butter directly from the freezer and pulse eight to ten more times to combine into a crumbly texture with pea-sized pieces of butter remaining.
Add four tablespoons of ice cold water to the processor and mix together. The dough should mostly clump together and but still appear dry. If the humidity is dry, you may need one to two more tablespoons of water. Be careful not to end up with a sticky mess or you will not be able to roll it out.
Pour the mixture onto a large piece of parchment paper and press together into a mound. Using as little additional flour as possible and a rolling pin, roll into a thin round circle about an inch bigger than the top of your pie pan.
Don’t worry if the edges crack like mine, you’ll be able to press them back together once you line the pan. If the dough is a little too wet, a second piece of parchment on top may be helpful. Carefully transfer the dough to a 9-inch pie pan. If things totally fall apart here, don’t panic. I’ve always found that the worse the crust looks, the easier time you will have convincing everyone that it’s totally home-made. Break off any pieces that are overhanging the edge of the pan and use them to fill in any gaps or cracks that you have. Tuck the edges down and crimp around the pan to create as decorative and edge as you wish.
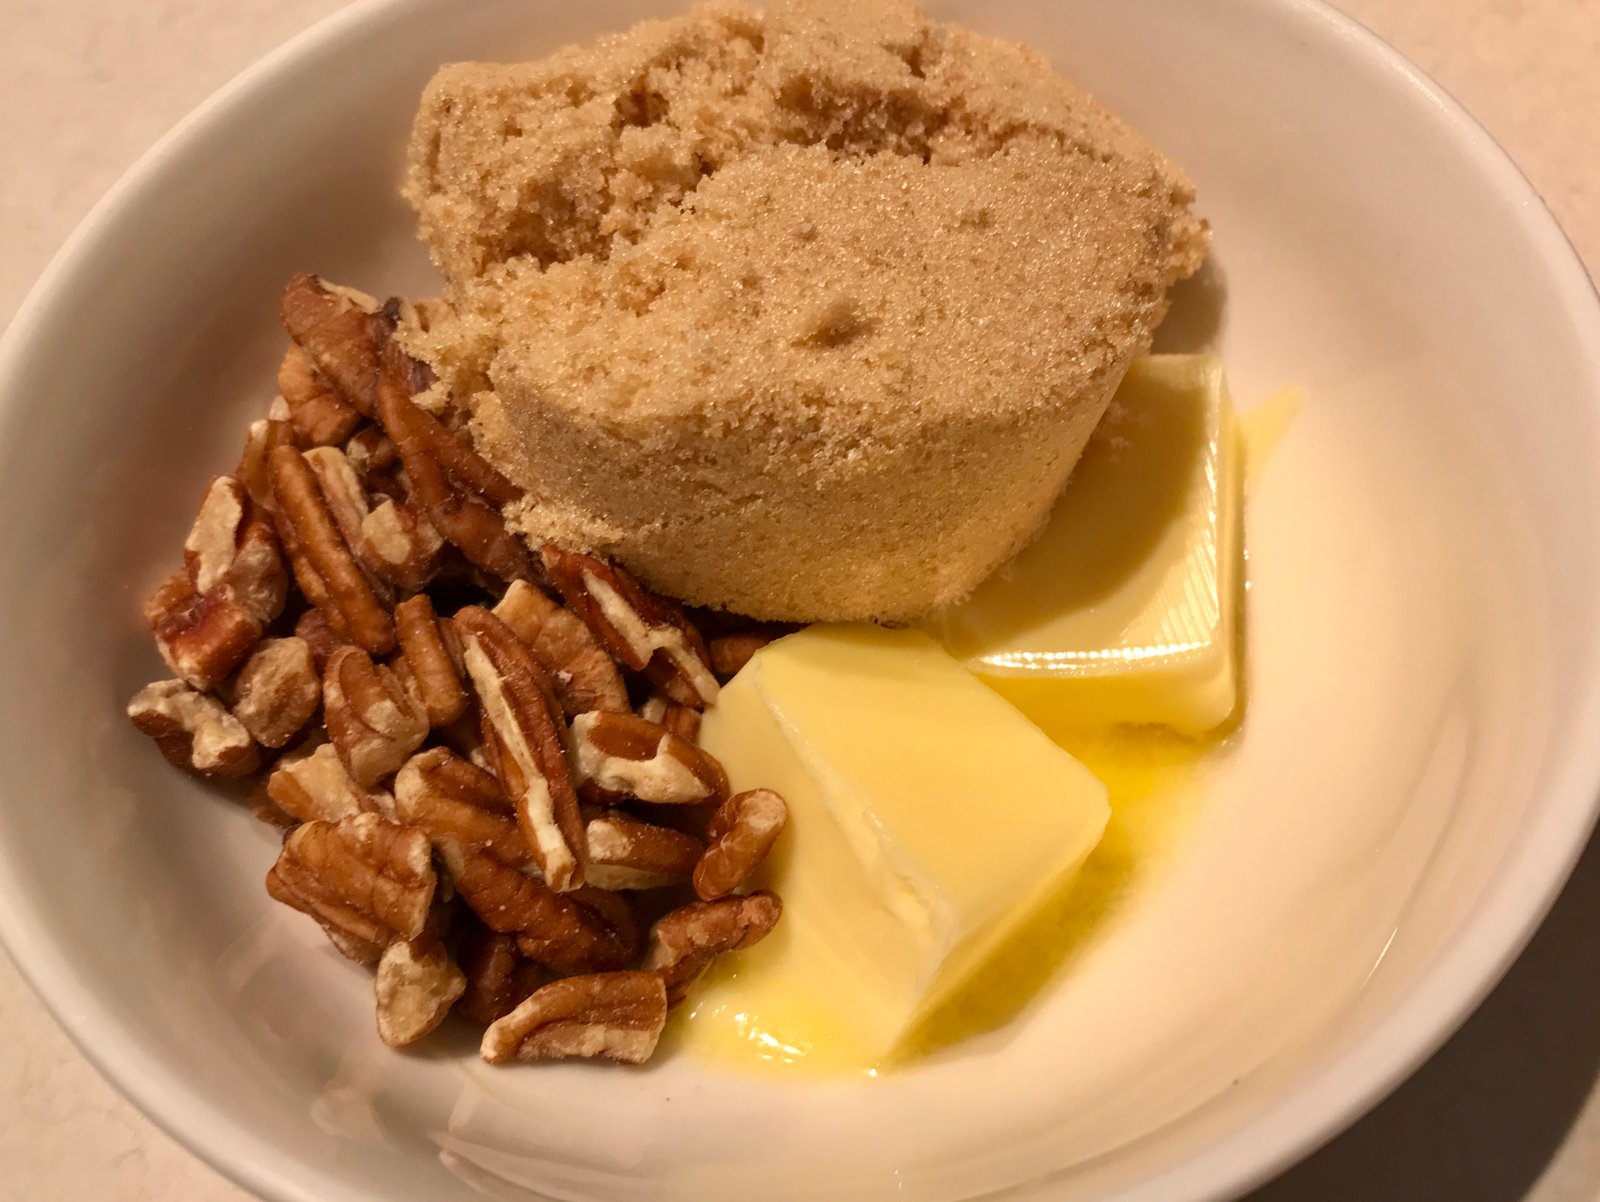
In a small bowl soften two tablespoons of butter and add a third of a cup of brown sugar (such as Whey Low Gold) and about half a cup of chopped pecan pieces.
Mix together with your fingers to create a chunky paste and crumble it into the bottom of the pie pan. Bake for ten minutes until the sugar is bubbly and the crust is set.
You do not want the crust to brown at this point. If the crust gets air bubbles, prick it with a fork. If it begins to slide down into the pan, press it back up with the back of a fork. Once the crust is prebaked, set it aside while you make the filling. Lower the oven to 400º.
Melt one tablespoon of butter in a saute pan and add a 15-oz can of pumpkin puree. This will not only give a toasty flavor to the pie but remove excess liquid from the pumpkin. Let it cook for about ten minutes, stirring occasionally.
Meanwhile, in a large bowl combine a quarter cup of sugar (or Whey Low sugar substitute) a quarter cup of brown sugar (again, Whey Low Gold), two teaspoons of gluten-free all purpose flour blend, one teaspoon of cinnamon, half a teaspoon of ginger, a quarter teaspoon each of salt, nutmeg, and clove, and a dash of allspice. Mix together well to ensure that all of the spices are well combined.
Add one egg and the entire can of evaporated milk and mix thoroughly then stir in the pumpkin. The mixture will be very wet.
Unfortunately this is were things begin to fall apart for me. Because I was cooking several other items at the same time (it was Thanksgiving dinner after all, I forgot to continue taking pictures so you will just have to use your imagination!
Pour the filling into the pie crust. There may be more than you can use, if so, pour the extra into lined muffin cups. Bake the pie for one hour and check that it is set. If the crust is beginning to brown too much, cover the edges with foil to prevent burning. The pie is done when the center is set and no longer jiggles. Don’t worry if the filling cracks in places, you’re going to cover that up with whipped cream anyway, right?
By the way, the secret to the flaky crust? It’s the praline! The caramel layer in the bottom of the crust keeps the pie filling from getting the crust soggy. We hope you enjoy our favorite pumpkin pie, leave a comment below to tell us about your favorite Thankgiving dessert.
Gluten Free Praline Pumpkin Pie
For the crust
1/2 cup butter (1 stick)
1 1/4 cup all ourpose gluten free flour blend
1 t salt
2 T sugar (may omit if making a savory pie)
4 T (or more) ice cold water
For the praline
2 T butter, softened
1/3 c brown sugar
1/2 c chopped pecan pieces
For the filling
1 T butter
1 15-oz can pumpkin puree
1/4 sugar
1/4 brown sugar
2 t gluten free flour blend
1 t cinnamon
1/2 t ginger
1/4 t salt
1/4 t nutmeg
1/4 t clove
dash allspice
1 egg
1 12-oz can evaporated milk
Begin by cutting the butter into 1 T size pieces and and freeze while you gather the remaining ingredients. Pre-heat the oven to 450º.
Combine flour, salt, and sugar in a food processor bowl. Pulse to mix. Add butter and pulse 8-10 times until the butter is mixed but some pea sized pieces remain. Add 4 T ice cold water and pulse again until the dough begins to hold together. You may need to add additional water but be careful that it doesn’t gett too sticky.
Turn the dough out onto a large piece of parchment paper and press together into a flat disk. Useing as little extra flour as possible, roll out the dough with a rolling pin into a circle about 1 inch parger than your pie pan.
Carefully, transfer the crust to a 9-inch pie pan. Press cracks together and pinch the edges to make a decorative crust. Prick the sides of the crust with a fork to keep it from bubbling up. Put the dough in the refridgerator until you are ready to add the praline and bake.
To make the praline, soften the butter and add the brown sugar and pecans. Mix together with your fingers and crumble into the bottom of the pie crust. Bake at 450º for about 10 minutes. Do not the the sides brown and use the back of a fork to press them back up if they start to slouch. When the praline is bubbly, it’s done. Lower the oven to 400º to bake the pie.
Melt another tablespoon of butter in a sauté pan and add the pumpkin. Stir together and simmer over medium heat for 10 minutes.
In a large bowl, combine sugar, flour, and spices and mix thoroughly. Add the egg and evaporated milk and whisk until smooth. Stir in the pumpkin. The mixture will be runny. Pour into the pie crust. If there is extra, pour it into lined muffin tins. Bake the pie for approximately 1 hour until the center is set. If the crust begins to get too brown, cover the edges with foil.
We love flavors inspired by Mexican food and while this tamale pie is far from an authentic dish, it is quick and easy, perfect for RV cooking on a day you need to cook inside and don’t mind firing up the oven.
Start by preparing the cornbread base: mix half of a gluten-free cornbread mix with half a cup of frozen or canned corn (drained), half a cup of Greek yogurt, and on egg. The mixture will be dry and sticky. If it is too dry, add a little milk or half and half. Spread the mixture into a baking pan. Place into a 400º oven and bake for 15 minutes. It will not be golden and crispy and it should be set in the center, but not “done.”
While the cornbread mixture is in the oven, prepare the topping. On the stove top, sauté one large diced onion in olive oil until tender then add 2 cloves of minced garlic for another minute. Add one tablespoon (about half a packet) of taco seasoning, two cups of diced cooked chicken, and about half a cup of enchilada sauce. The chicken can be poached, grilled leftover from a previous meal, or a rotisserie chicken that has been shredded. It doesn’t even have to be chicken. We grilled pork chops the night before and made a couple of extras for this meal.
Take the cornbread out of the oven and poke holes in it with the handle of a wooden spoon. Pour about half a cup of enchilada sauce over the mixture, allowing the sauce to fill in the holes.
Top with the chicken mixture.
Cover the whole thing with a layer of shredded cheddar or Mexi-blend. If yours is as full as mine, place it on a cookie sheet or you will end up with a huge mess (I may speak from experience here)!
Bake for another twenty minutes, until bubbly and the cheese has toasted. Bubbly and toasted are two of my favorite cooking techniques!
Serve with guacamole, green salad, or eat it all by itself. Stay tuned in future weeks for more traditional recipes turned into casseroles for a quick and easy weeknight dinner. Leave a comment below with your favorite dinner casserole recipe, maybe we will feature it as one of our recipes of the week.
Chicken Tamale Pie
1/2 package of gluten-free corn bread mix (we like Krusteaz brand)
1/2 c plain Greek yogurt (sub sour cream if you prefer)
1/2 corn kernels (frozen or drained canned)
1 egg
1 T olive oil
1 large onion, diced
2 cloves garlic, minced
1 T taco seasoning (about 1/2 a packet)
2 c diced chicken or pork, already cooked
1 c enchilada sauce, divided (I buy the small-sized can and use the whole thing)
1 cup of shredded cheddar cheese (or Mexi-cheese, or pepper jack, or whatever you have on hand)
Preheat the oven to 400º. Prepare the base by mixing cornbread mix, yogurt, corn, and egg in a bowl. The mixture will be dry but if it doesn’t come together, add a little milk or half and half. Spread the mixture into a 9×9 pan and bake for 15 minutes while you prepare the topping.
In a large skillet, heat oil and sauté the onion for about 5 minutes, until tender. Add garlic and cook one more minute. Add taco seasoning, 1/2 c sauce, and chicken. Cook until heated through.
Remove the cornbread from the oven. It will not be done but should be mostly set in the center. Poke holes throughout with the handle of a wooden spoon and top with the remaining enchilada sauce. Top with the chicken mixture and finally, the cheese.
Bake for another 20 minutes until bubbly and the cheese has melted and toasted.
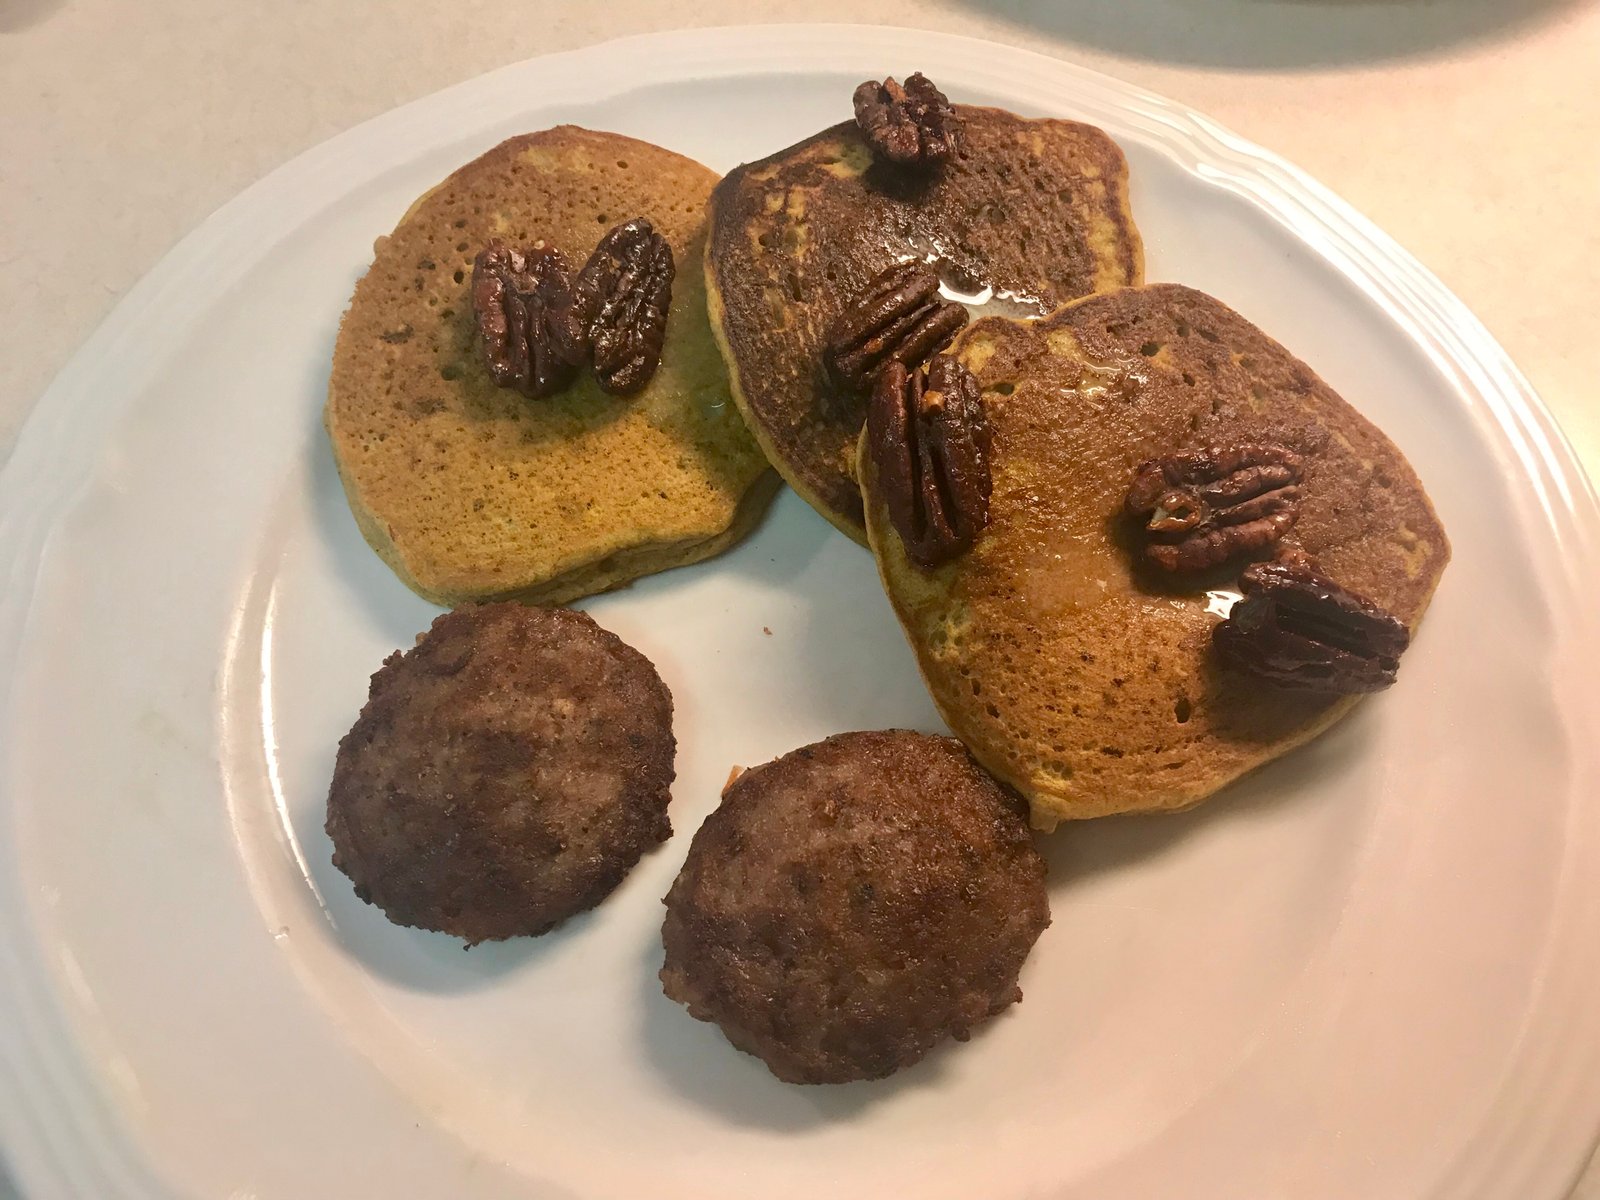
The weather has changed, the leaves are turning colors, and the smell of fireplaces fill the air! Time for pumpkin spice anything and breakfast for dinner!! I did a search online for Pumpkin Pancakes and Once Upon A Chef delivered with a recipe that looked promising. Using Chef Jenn Segal’s recipe as a jumping off point and my favorite pumpkin pie recipe for inspiration, here’s what we came up with for dinner the other night.
Start by preheating the oven to 350º and mix a half cup of Whey Low Gold brown sugar substitute with half a teaspoon of salt, one teaspoon of cinnamon, and half a teaspoon of cayenne pepper (*full disclosure, I only use a heavy dash of cayenne because Michelle does not like a lot of spice), with about a tablespoon of water. Stir in two cups of pecan halves.
Spread the coated pecans onto a cookie sheet covered with parchment paper (NOT wax paper) and pop in the oven for about 15 minutes.
For the pancakes, in a large bowl, combine a half cup of canned pumpkin with three tablespoons of melted butter, and two eggs. Whisk until well mixed.
Add the following spices (yes, all of them!): one and a half teaspoons cinnamon, one teaspoon each of ginger and allspice, half a teaspoon each of nutmeg, clove, and salt. Yes, this seems like a lot of spice but it is an amazing combinations of flavors that you will not regret!
Mix together with one and a half cups of Pamela’s Gluten Free All Purpose Flour Artisan Blend, two teaspoons of baking powder, a quarter teaspoon of baking soda, one and a half cups of half and half, two eggs, and three tablespoons of REAL maple syrup (yes, you could use one of those brands that are on the shelf next to the pancake mixes but you are making breakfast for dinner, splurge). The mixture will seem like a thick cake batter.
It’s probably about time to check on the pecans. These are a little over cooked. Take them out of the oven and let them cool on a cooling rack. If the nuts are sticky, the are not done, put them back in.
Make the pancakes in a hot skillet. For some reason, I did not take any pictures during this step. I pour about a quarter cup of batter for each pancake and use a spatula to flatten the batter out so they are not too thick. Flip once you see some bubbles form on top. As each batch of pancakes is done, place them on the cookie sheet from the pecans and pop them in the oven (which is now turned off) to stay warm.
Break apart the pecans and store the extras in an airtight contain once completely cool. Top the pancakes with pecans and serve with sausage or bacon. We also made mimosas because, well, why not?
What is your favorite breakfast for dinner side? We love maple sausage but tell us yours in the comments!
Sweet and Salty Pecans
1/2 C Whey Low Gold Brown Sugar Substitute (or regular brown sugar)
1/2 t salt
1 t cinnamon
1/2 t cayenne pepper (or less depending on your heat tolerance)
1 T water (or more if needed)
2 C pecans halves
Preheat oven to 350º.
Combine all ingredients except pecans in a medium bowl. The mixture should be thickish. Add the pecans and stir until well coated.
Pour the pecan mixture onto a parchment lined baking sheet. Make sure that the nuts are spread in a single layer and bake for about 15 minutes.
Remove the nuts from the oven to check. If the nuts are sticky, bake a little longer. They should look a little crusty on top and caramelized on the bottom. Slide the parchment onto a cooling rack to let the nuts cool.
Break apart the nuts and keep extras in an airtight container, if you can resist eating them all!
Pumpkin Pie Pancakes
1/2 C canned pumpkin
3 T butter, melted
2 eggs
1 1/2 t cinnamon
1 t ginger
1 t allspice
1/2 t nutmeg
1/2 t clove
1/2 t salt
1 1/2 c half and half
3 T real maple syrup
1 1/2 c gluten-free flour blend (such as Pamela’s Artisan Blend)
2 t baking powder
1/2 t baking soda
In a bowl, mix together pumpkin, butter, eggs, all of the spices, and salt. Whisk until well combined. Add the milk and syrup and combine.
Add flour and other dry ingredients and mix well.
In a hot skillet, add a little cooking spray if needed, and use 1/4 c of batter for each pancake. Cook until bubbles form on the top and flip. The pancakes will rise quite a bit and be very fluffy. Keep in a warm oven until all of the pancakes are ready to serve.
Top pancakes with butter, pecans, maple syrup, and serve with your favorite breakfast sides.
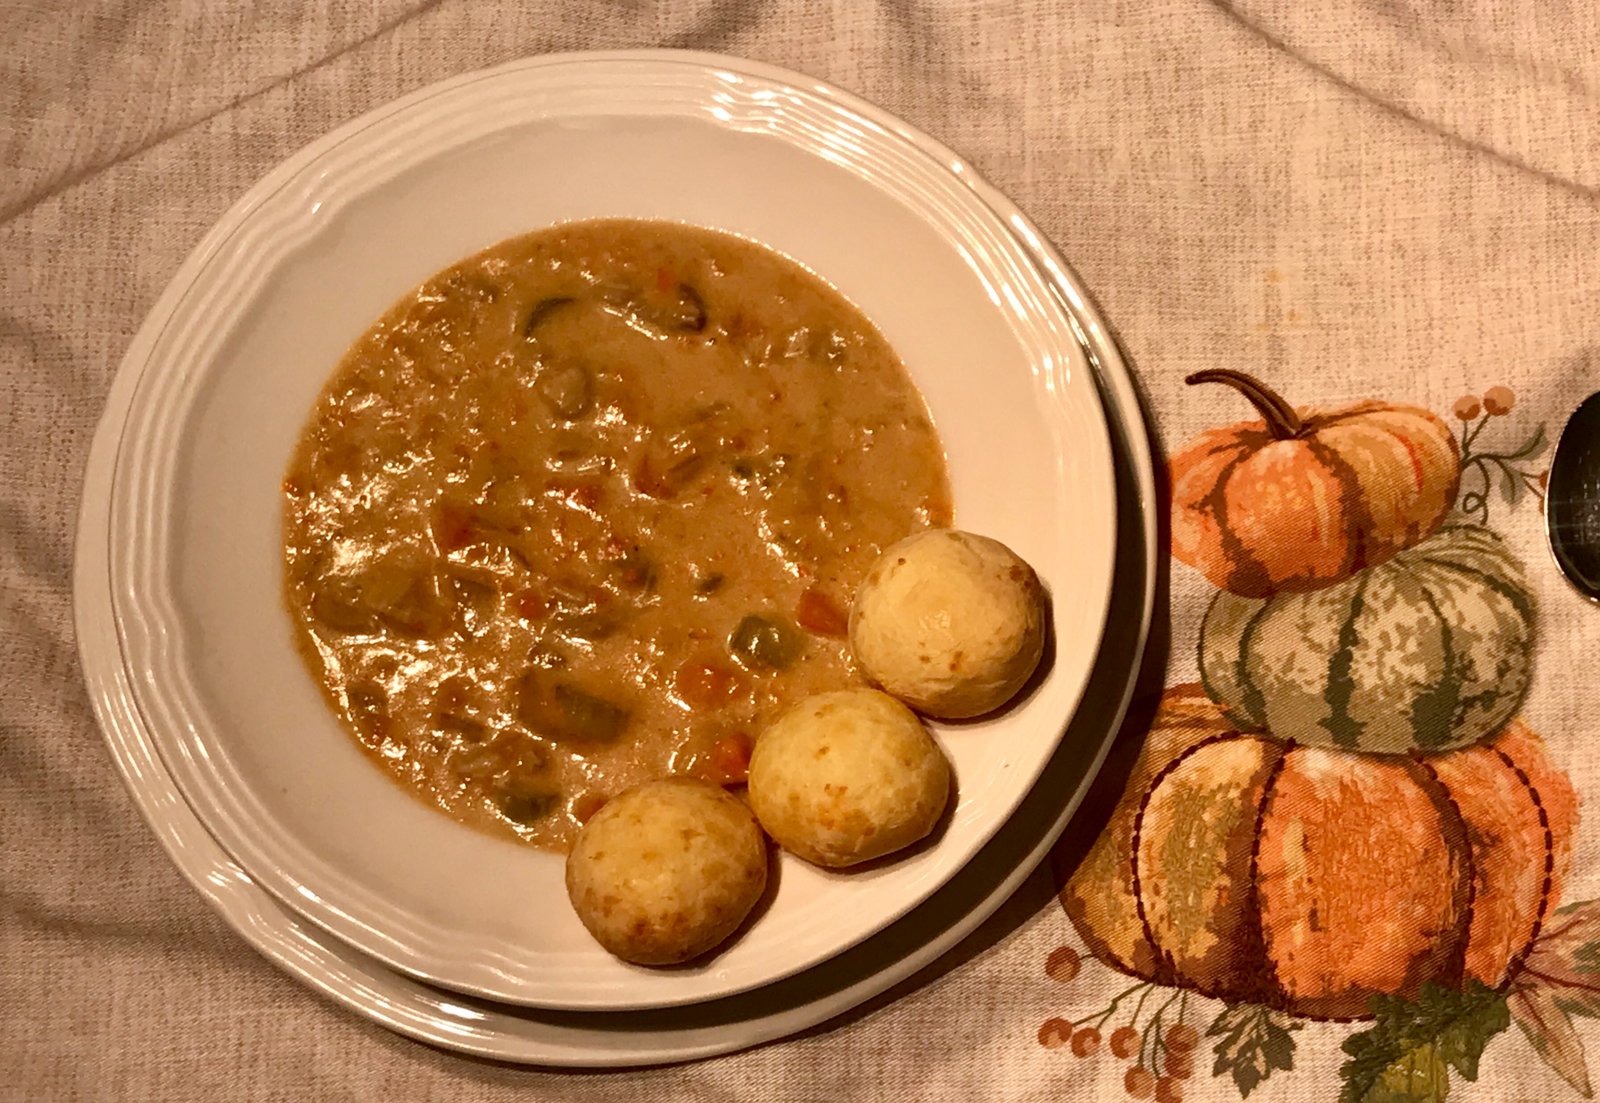
As the weather cools, we love to start making heartier meals and one of my favorite things to cook are creamy, thick soups. Krissy at SelfProclainedFoodie.com has created a wonderful rich and creamy soup with lots of flavor and wonderful texture. I’ve made a few adjustments to her recipe as I’ve given it here, but you can compare her original recipe here.
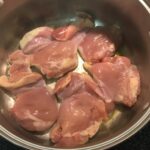
Begin by heating one tablespoon of olive oil in a large pot over med high heat. Add one pound of chicken thighs, making sure that the pot is not too crowded. The chicken will stick to the bottom of the pan, it will release on its own as the chicken cooks. Turn the chicken after about seven to nine minutes. Continue to cook until the chicken is done. Remove it to a bowl to cool.
Deglaze the pan with a half cup of dry white wine or dry sherry. A note on cooking with wine or sherry: never cook with wine that you wouldn’t drink. Most “cooking” wines have lots of added sugar and salt. If the wine tastes bad by itself, it will taste bad in a recipe. I never use expensive wine for cooking, but a $10-20 bottle that tastes good will add depth and complexity to any recipe that you add it to. Adding wine to the pan at this time will allow you to scrape up the bits of stuck chicken and browned bits that are full of flavor. Remove the bits and remaining liquid to the same bowl as the chicken.
While the chicken is cooking, dice one large onion, four stalks of celery, and two large carrots. Add two tablespoons of butter to the pot and once melted, add the diced veggies, called a mirepoix, to the pan and lower the heat to medium. If the butter starts to brown, the heat is too high. The liquid released from the veggies should help keep things from burning. Let the vegetables cook until soft and lightly browned. Remove the veggies to another bowl.
Add three more tablespoons of butter to the pot along with three or four cloves of minced garlic. Cook until fragrant and bubbly. Add six tablespoons of gluten-free flour blend and stir well. Cook the roux over medium heat until lightly browned, about five minutes, stirring constantly. Roux can be tricky, once the color starts to change, it can burn very quickly. If the roux gets too dark, or if you see black flecks, toss it out and start over because it will make the entire soup tasted scorched and bitter.
Add two cups of half and half and whisk until the soup thickens. Add four cups of chicken broth along with all of the accumulated juice and wine from the bowl of chicken. Add the cooked vegetables and use an immersion blender to partially puree the mixture. I like some larger chunks left behind.
Dice up the chicken, add it to the pot, and season to taste with salt and pepper.
We love to serve the soup with Pao de Queijo, a Brazilian cheese bread that is naturally gluten-free and a glass of the wine that was used to deglaze. If you try the soup, let us know in the comments what you serve on the side.
Creamy Chicken Soup (based on the recipe from Self Proclaimed Foodie)
1 lb boneless, skinless chicken thighs
1 T olive oil
1/2 c dry white or dry sherry
5 T butter, divided
1 large onion, diced
4 stalks of celery, diced
2 large carrots, peeled and diced
3-4 cloves of garlic, minced
6 T gluten-free flour blend
2 c half and half
4 c chicken broth
salt and pepper, to taste
In a heavy pot, heat olive oil over medium high heat and cook chicken thighs until browned, about 7-9 minutes on each side. The chicken will stick and then release from the pan when ready to be turned. Transfer the chicken to a bowl.
Deglaze the pot by adding wine and scrapping the browned bits from the bottom of the pot. Add bits and remaining liquid to the chicken bowl.
Add 2 T butter and lower heat a little. Add all vegetables except garlic to the pot and cook, stirring occasionally, until vegetables are soft and slightly browned, about 10 minutes. Remove to another bowl.
Melt remaining 3 T of butter and add garlic. Cook until fragrant, 2-3 minutes and add flour. Stirring constantly, cook flour until a rich light brown color. Be careful not to burn or scorch the roux. If it begins to burn, toss it out and start this step over after cleaning the pot.
Add half and half to the roux and whisk until thickened. Whisk in the chicken broth and accumulated juices and wine from the bowl of chicken.
Add the cooked vegetables to the pot and use an immersion blender to slightly puree the mixture. Leave chucks to your liking or puree completely smooth.
Dice the chicken and add to the pot. Taste the soup and adjust the seasonings to your liking with salt and pepper. Makes 5-6 servings.
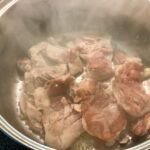
While staying in Houghton, Michigan, we decided to try a new experience and chartered a fishing boat with Sand Point Charters in Lake Superior. More on that story later because, true to form, it turned into a much bigger adventure than we expected! We had a successful day on the water and ended up with some salmon and trout. Once we got to Michelle’s parents in Illinois we made dinner for them one night with our freshly caught salmon. Here is one of our favorite fish recipes.
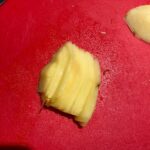
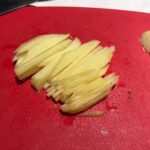
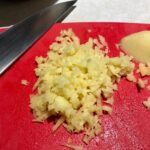
Start off by making the bourbon glaze. Mince a large finger of ginger. I mentioned this a few weeks ago, but here’s how to do it. Begin by cutting the peel off of the ginger and slicing it into 1/8 inch slices. Next stack the slices and cut into julienne strips. Finally mince as finely as you’re able. I like to do a larger amount when I’m home and put it into a mini ice-cube tray with some water. Once frozen, I keep it in a baggy in the freezer to use as needed!
Mix 5 tablespoons of brown sugar (we use Whey Low Gold, a sugar substitute), 5 tablespoons bourbon (I prefer Evan Williams), 3 tablespoons San-J Tamari Gluten Free Soy Sauce, 2 tablespoons minced ginger, 5 cloves of minced garlic, and the juice of one lime in a resealable bag. Add four 6-oz filets of salmon and let marinade for about 30 minutes in the fridge.
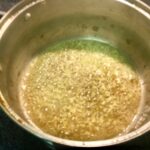
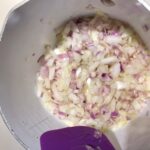
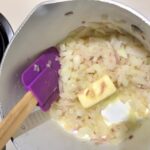
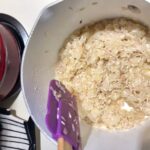
While your waiting, dice an onion and shallot finely. Heat 1 tablespoon of olive oil in a saucepan and saute onions and shallot until soft. Add 2 tablespoons of butter and 1 cup of rice. Saute the rice until it starts to smell “toasty,” you may even hear some of the grains pop a little. You are adding flavor right now, so don’t skip this step! Add two cups of chicken broth (we prefer Kitchen Accomplice concentrated broths) and 1 tablespoon of dried parsley and bring to a boil. Cover, reduce heat and simmer for fifteen minutes or until all liquid is absorbed.
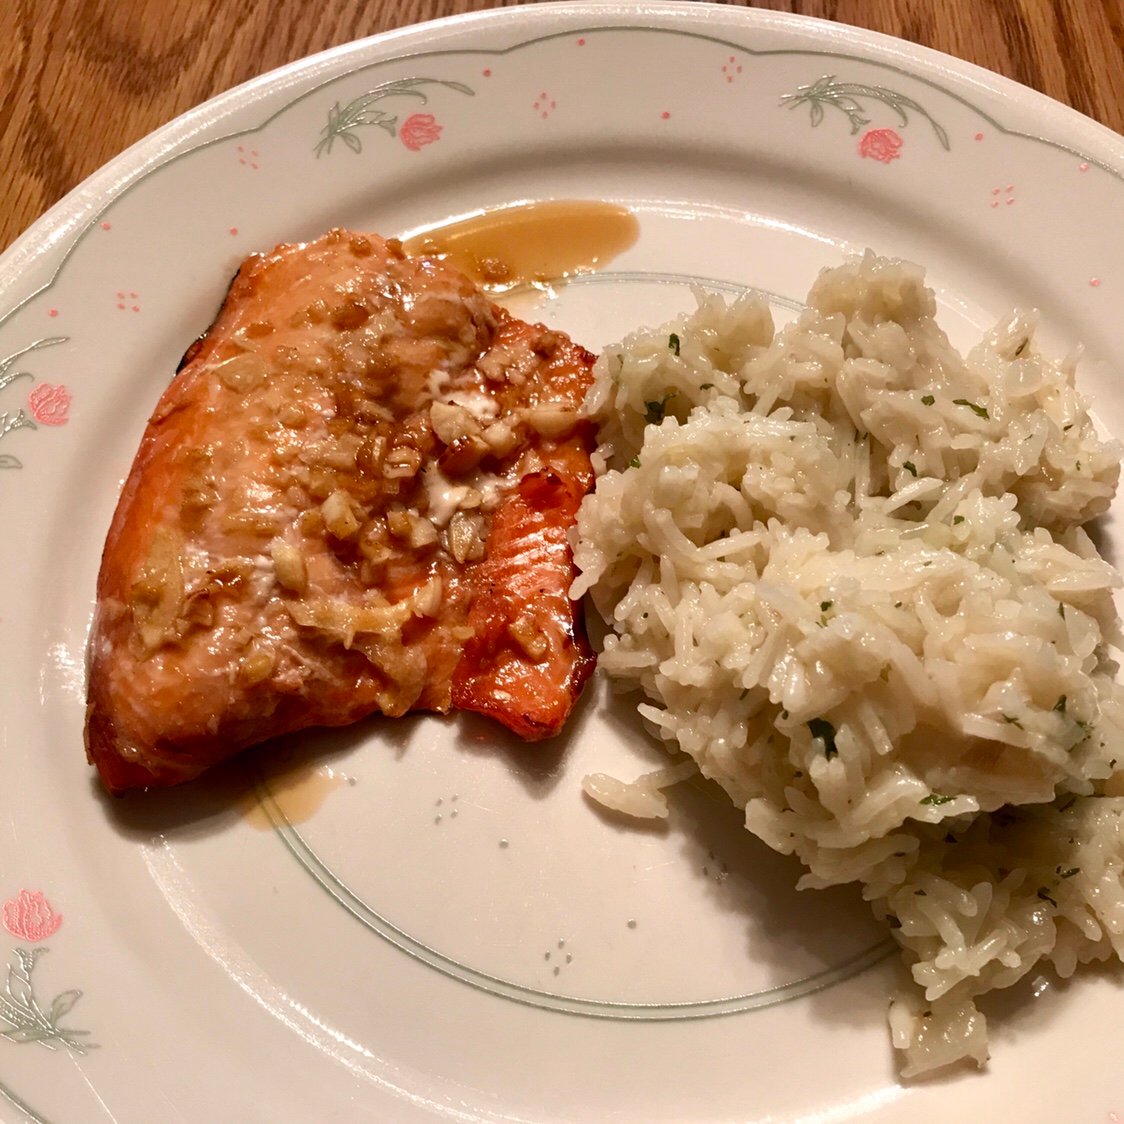
While the onions are sauteing, it’s time to heat the grill. Once the broth and rice come to a boil, put the fish on the grill over medium heat. Use either a piece of foil or a cedar plank to keep the fish from falling through the rack! The fish should cook on medium to low heat for about 10 minutes. Do not flip it unless the filets are really thick and are not cooking through.
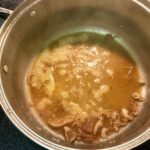
Take the remaining marinade from the bag and place it in a small saucepan. Bring to a simmer and reduce the liquid to half and allow it to thicken. This will become an amazing glaze to spoon over the finished salmon (I really like it on the rice too).
I like to serve this meal with either sugar snap or snow peas for some additional color on the plate, but the sweet corn had just come in so that’s what we enjoyed on this night.
Mix all ingredients in a resealable plastic bag and let marinate for about 30 minutes in the refrigerator. Grill salmon over medium heat for about 10 minutes on foil. Turn only if the filets are thick and will not cook through otherwise. While the salmon is cooking, place the remaining marinade in a saucepan and simmer to reduce the liquid to half. Spoon glaze over the salmon at the table.
Rice Pilaf
1 sweet onion, diced
1 shallot, finely minced
1 T olive oil
2 T butter
1 C Jasmine rice
2 C chicken broth
1 T dried parsley
Heat oil over medium heat and saute onion and shallot until soft, about 5 minutes. Add butter and melt. Add rice and cook until it begins to smell “nutty.” Add the broth and parsley and bring to a boil. Reduce heat to low, cover, and simmer for 15 minutes or until liquid is absorbed.
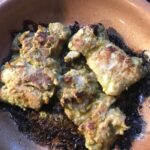
Who doesn’t love stuffed pepper poppers? Well, probably anyone who doesn’t like too much heat or is trying to eat healthy since they are breaded and deep-fried. The only guilt that you will feel eating these stuffed peppers is how many of them you will end up eating, but don’t worry they are actually pretty healthy too. The grilled jerk chicken is just a bonus yummy!
I know, it looks like a lot of ingredients, but lots of flavor takes a little work and it’s not really so much stuff. By the way, this recipe works best on the grill but it was pouring rain outside, so everything was done on the stove or in the oven and worked out just fine!
Start out by making the world’s worst smoothy. Combine 2-3 green onions (white and green parts), 1 large shallot, 1 T brown sugar, 2 T fresh lime juice, 2 T olive oil, 1/2 t allspice, 4 cloves of garlic, and a large Serrano chili in a food processor (or in our case, the Ninja cup). Someone will notice that in the first picture, we did not use a serrano. The store didn’t have them so I subbed an Anaheim. Use the chili of your choice based on heat and flavor preferences (our favorite is poblano). Blend it until smooth, and remember, be careful of touching your eyes, nose, mouth, or anything else you love. (On a side note, be really careful cleaning up afterwards, those pepper oils can really mess up the next thing you make in the same bowl.)
Pour the mixture into a bowl or baggie and add 6-8 chicken thighs, legs, drums, breasts, or what ever else you have lying around. We’ve used different cuts but prefer thighs for this recipe. Let it sit while you prep the peppers.
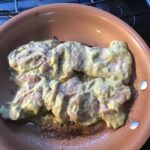
In another bowl, combine 1/4 c finely chopped green onion, another finely diced shallot, 1 T lime juice, 2 T chopped cilantro, 4 oz (half a package) of reduced fat cream cheese, 1/2 C FAGE 2% Greek yogurt and mix well. Scoop it all into a baggie and toss it back in the fridge for a minute.
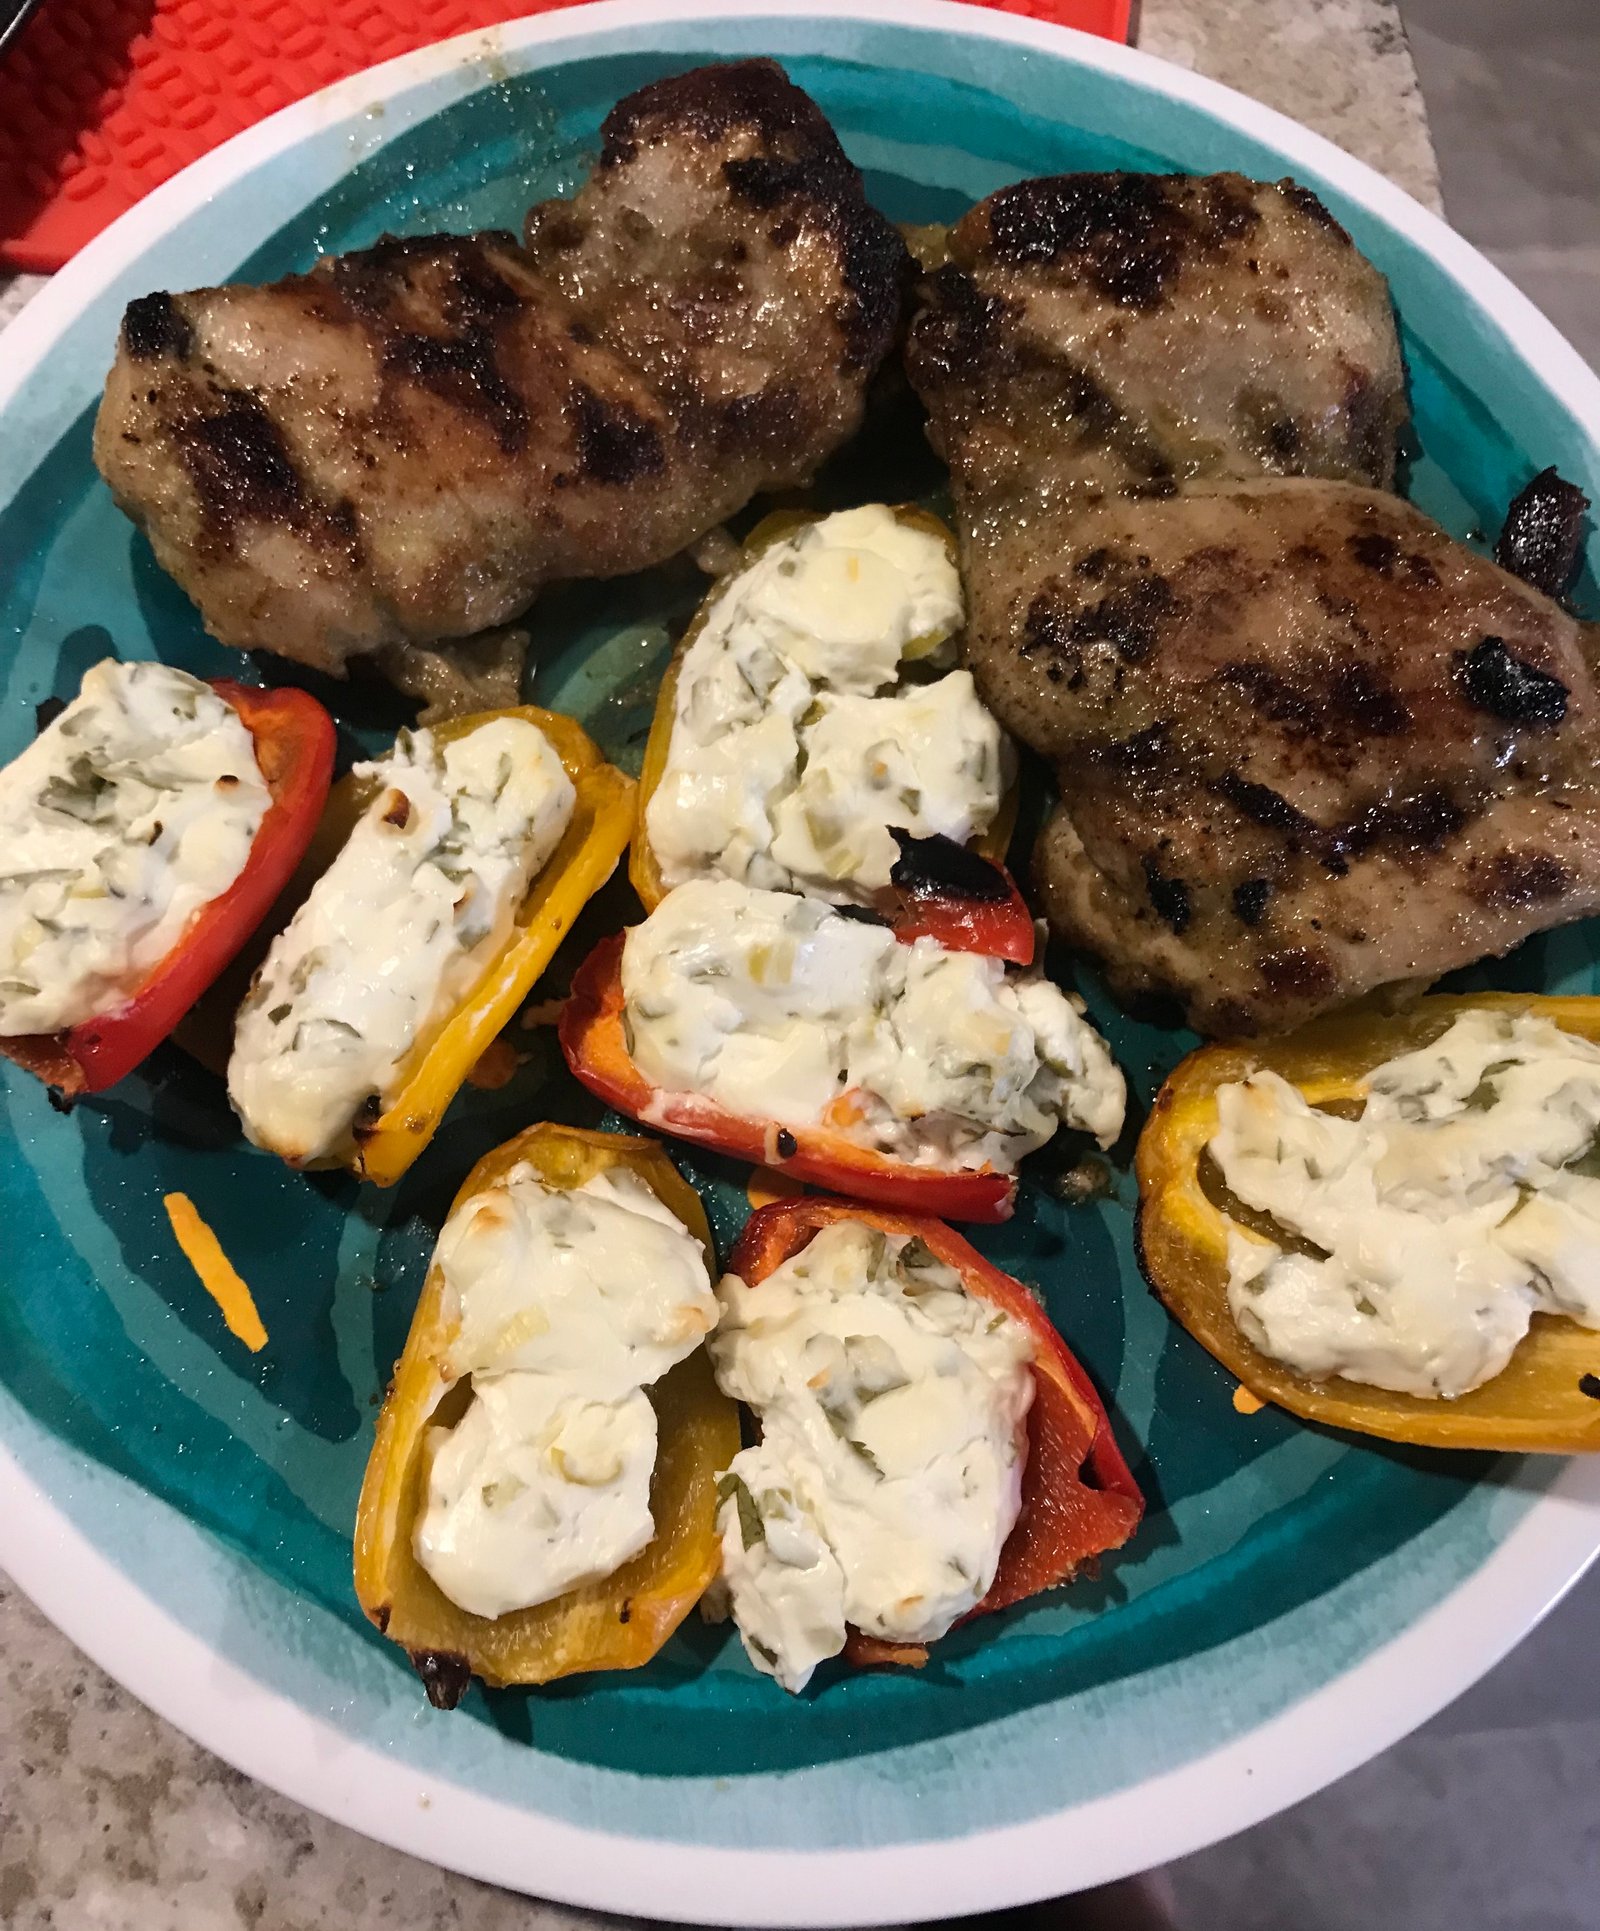
Take a bag of mini sweet peppers and cut in half and core them. Arrange onto a grill pan. Take the bag of filling and snip the corner of the bag off to create a piping bag. Pipe filling into each pepper. I missed taking a picture of this step, guess I was too hungry!
Heat your grill and start the chicken first. The peppers will take almost as long so get them going right away. I usually place them directly on the grate but if the peppers are small, you may want to put down a piece of foil or use a grill pan so they don’t fall through. Turn the chicken and rearrange the peppers if your grill heat is uneven. You want the chicken crispy on the edges and the bottoms of the peppers blistered but not burnt. The filling will not get very melty if you use reduced fat cheese, so you have to peek underneath.
Serve with some fresh lime wedges and some crusty bread. Let us know how hot you like your jerk in the comments below!
Here’s the original recipe from Cooking Light magazine and here is the version with my modifications.
Jerk Chicken and Stuffed Mini Bell Peppers
Ingredients
Chicken topping
2-3 green onions
1 large chopped shallot
1 T brown sugar
2 T fresh lime juice
2 T olive oil
1/2 t ground allspice
4 garlic cloves
1 large Serrano chile, stemmed and seeded (depending on you heat preference, sub another pepper or leave the seeds in)
8 bone-in chicken thighs, skinned
Pepper filling:
1/2 C (4 ounces) 1/3-less-fat cream cheese
1/4 C finely chopped green onion
another finely diced shallot
1 T lime juice
2 T chopped fresh cilantro
1/2 C light sour cream
1 package mini bell peppers
How to Make It
1. Preheat grill to medium-high heat. After preheating, reduce one side to low.
2. Combine topping ingredients (except chicken) in a mini food processor; process until smooth. Combine mixture and chicken in a medium bowl or large baggie; toss well.
3. Combine remaining green onions, remaining shallots, remaining juice, cheese, cilantro, and sour cream. Cut and core the bell peppers lengthwise; discard seeds. Put cheese mixture in a bag, cut off the tip, and pipe filling into peppers. Place peppers on grill rack coated with cooking spray over medium-high heat. Grill 7 minutes or until peppers are lightly charred.
4. Place chicken on grill rack coated with cooking spray over medium-high heat. Cover and grill 5 minutes on each side. Move chicken over low heat. Cover and grill 5 minutes on each side or until done.
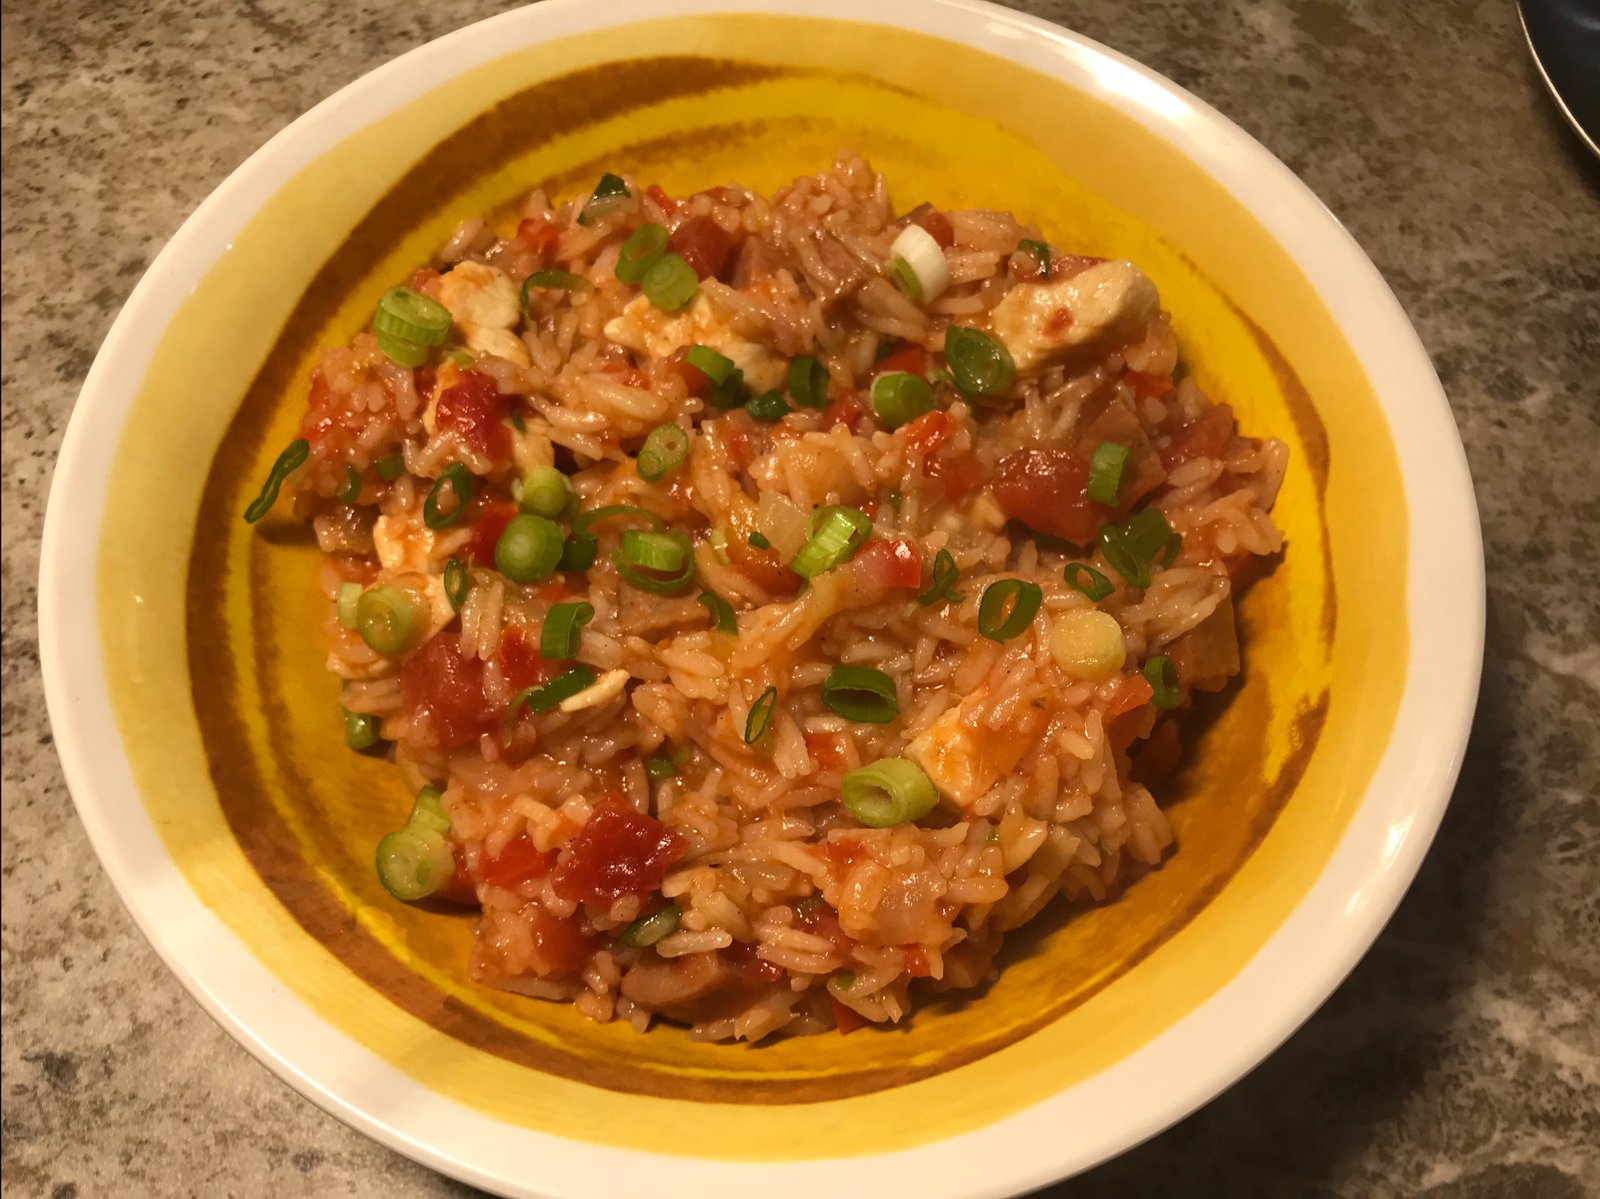
We made a decision when we were tent campers that we did not want to create lots of trash so we always use real plates, silverware, and cups to reduce our footprint just a little. Whether you are in a tent or RV, washing dishes is a big bummer so one pot meals are always helpful, especially when we are dry camping. We love this Jambalaya, though it gets toned down a little since Michelle is not a big fan of too much spice. The recipe calls for some time savers such as precooked rice and frozen onion and pepper but we usually use fresh ingredients.
Start out by chopping a small white onion, bell pepper and about 6 oz of andouille sausage. Meanwhile cook rice according to package directions (1 cup of rice to 2 cups of liquid will yield about 3-4 cups of rice needed for this recipe).
Heat a tablespoon oil in a pot, add onion, pepper, and sausage, and sauté until veggies are soft and meat begins to brown.
Dice 12 oz of chicken breast and add it to the pot, cooking until the chicken is lightly browned.
Add 2 cans of diced tomatoes, 2 teaspoons of Tony Chachere’s Cajun Seasoning (we only use about 1/2 teaspoon), and the rice to the pot. Cover, reduce heat to medium, and let simmer until liquid is absorbed. If you really want a one pot dish, add the rice and liquid together before the tomatoes and simmer about 20 minutes then add tomatoes.
Divide into bowls and top with green onions. Add some Crystal hot sauce as desired to give some more heat!
I made several changes to the original recipe from Cooking Light to help tone down the heat a little, but you may want to check out the original. Here’s my version:
One Pan Jambalaya
1 tablespoon canola oil
1 small white onion, chopped
1 bell pepper, chopped
6 ounces andouille sausage, finely chopped
12 ounces skinless, boneless chicken breasts, cut into bite-size pieces
2 cans unsalted diced tomatoes
2 teaspoons salt-free Cajun seasoning (such as Tony Chachere’s)
1 cup rice
4 green onions, chopped
1 lemon, cut into wedges
Hot sauce (optional)
Chop onion, pepper, and sausage. Heat canola oil in a large skillet over medium-high. Add onion mixture and sausage. Cook until vegetables are tender, stirring occasionally. Add chicken, cooking until lightly browned, stirring occasionally.
Add rice and 2 cups of water and cajon seasoning to pot. Cover, reduce heat to medium and simmer 15 minutes or until liquid is absorbed. Add tomatoes, cover again and simmer 10 minutes, stirring occasionally. Remove pan from heat.
Divide rice mixture evenly among 4 bowls. sprinkle with green onions and serve with lemon wedges and hot sauce, if desired.
Let us know how hot you like your jambalaya in the comments.
★ 25 years guiding★ 48 U.S. states★ 10 countries★ 3,000+ Camino miles
RV tips, travel inspiration, and updates on the trips we're planning — delivered to your inbox each month.
Questions about this trip?
Send us an inquiry.
Tell us what you'd like to know about this trip and we'll get right back to you.
Know before you go
Activity Level.
Every Cruisin' with the Colemans trip comes with an activity level so you know, before you lace up, roughly how hard the walking will be. Think of it as the overall rhythm of the trip — a few days might push a little past it and a few will feel gentler, but it's an honest read on what your legs are signing up for.
Nobody knows your body better than you do. We're all for a good challenge, but pick a level that matches your current fitness and trail experience and the whole walk gets more fun. Not sure where you land? Reach out — we've walked every one of these ourselves and we're always happy to talk it through.
Grades
EasyEasy0–8 km (0–5 miles)
Gentle, mostly flat days on well-kept, easy-to-follow paths. Ideal if you're new to multi-day walking or simply want a relaxed pace with plenty of time to soak it all in.
Easy – ModerateEasy–Moderate8–16 km (5–10 miles)
A little more distance over mixed ground — mostly maintained trails, quiet lanes, and the occasional gentle climb. A good fit if you're reasonably active and ready for a few longer stretches.
ModerateModerate16–20 km (10–12 miles)
Fuller days on varied, sometimes rugged terrain with regular ups and downs. Great for steady hikers in good shape, or determined first-timers chasing a real sense of accomplishment.
Moderate – StrenuousModerate–Strenuous20–24 km (12–15 miles)
Long days with sustained, often steep climbs and descents on rough trail. You'll want solid fitness; a few exposed spots call for a head for heights, and navigation can get trickier when the weather turns.
StrenuousStrenuous24–28 km (15–17 miles)
Big days on demanding, often remote mountain terrain — serious distance and elevation for experienced, fit hikers. Expect rough footing, the odd exposed or aided section, and higher altitude on some routes.
ExtremeExtreme+28 km (+17 miles)
Our toughest walking, built for very fit, very experienced hikers. Rugged, sometimes remote mountain terrain with scrambling, exposure, and aided sections — plus altitude, weather, and navigation that all add to the challenge.
Where you rest
Accommodations Levels.
Where you sleep is part of the story, so we hand-pick locally run places that welcome you like an old friend. The level shifts a little from trip to trip depending on the route, but the goal never does: a clean, comfortable, genuinely local stay at the end of every walking day.
Most nights you'll land in friendly, independent or family-run hotels, guest houses, and B&Bs chosen for their charm and the little touches that feel like home. Some trips lean a touch more luxurious; others, especially in the remote stretches, mean simpler refuges or huts. Either way, we've picked each one to help you rest up and wake ready for the trail.
Basic – A Place to Rest Your HeadBasic
Mountain huts, refuges, and simple B&Bs. Ensuite rooms aren't a given, and you may share a dorm with fellow walkers — but what you trade in polish you more than gain back in camaraderie and a big, rustic welcome.
Classic – Charming Without the FrillsClassic
Locally owned B&Bs, guest houses, and small inns that feel like a home away from home — usually family-run, cozy or freshly kept, and well placed for the next day's walk. A warm welcome comes as standard.
Comfort – A Little More...ComfortableComfort
Characterful, locally owned hotels and B&Bs with the little extras that make a stay feel special — décor rooted in the region, the occasional spot to unwind, and sometimes a kitchen worth lingering over.
In Style – For Those who Want to Treat ThemselvesIn Style
First-class stays in boutique hotels, vineyards, and country manors — often in the best seats in the house, from hilltop towns to the water's edge, with standout service and, now and then, a truly memorable table.
Mixed – Boutique Hotels to Mountain Huts, all in One TripMixed
One trip, a bit of everything. You might bed down in Classic or Comfort rooms through the towns and villages, then a refuge or other Basic spot up in the mountains where that's all there is — an honest, memorable mix that matches the journey.